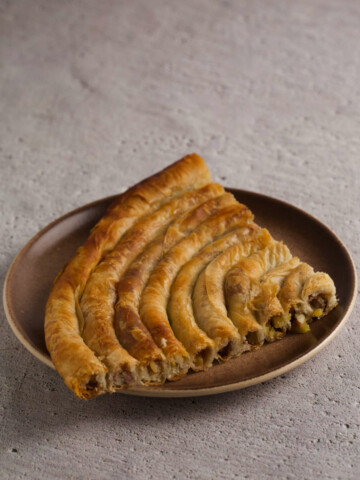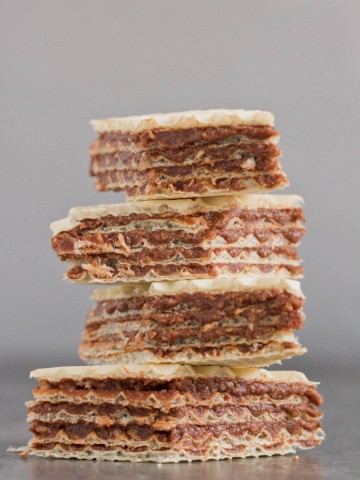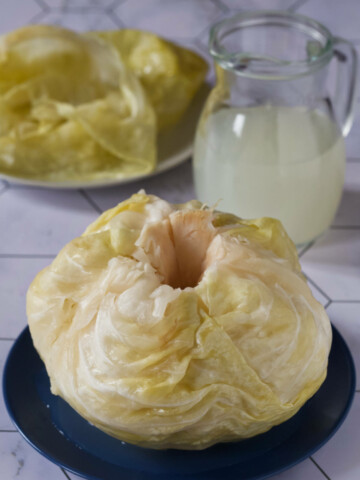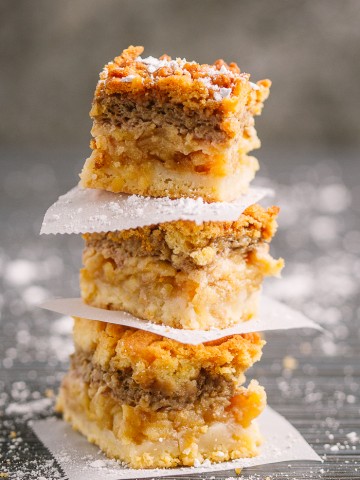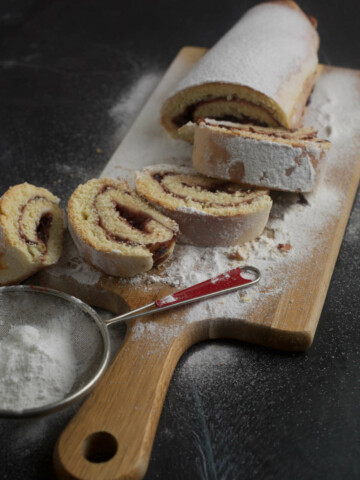
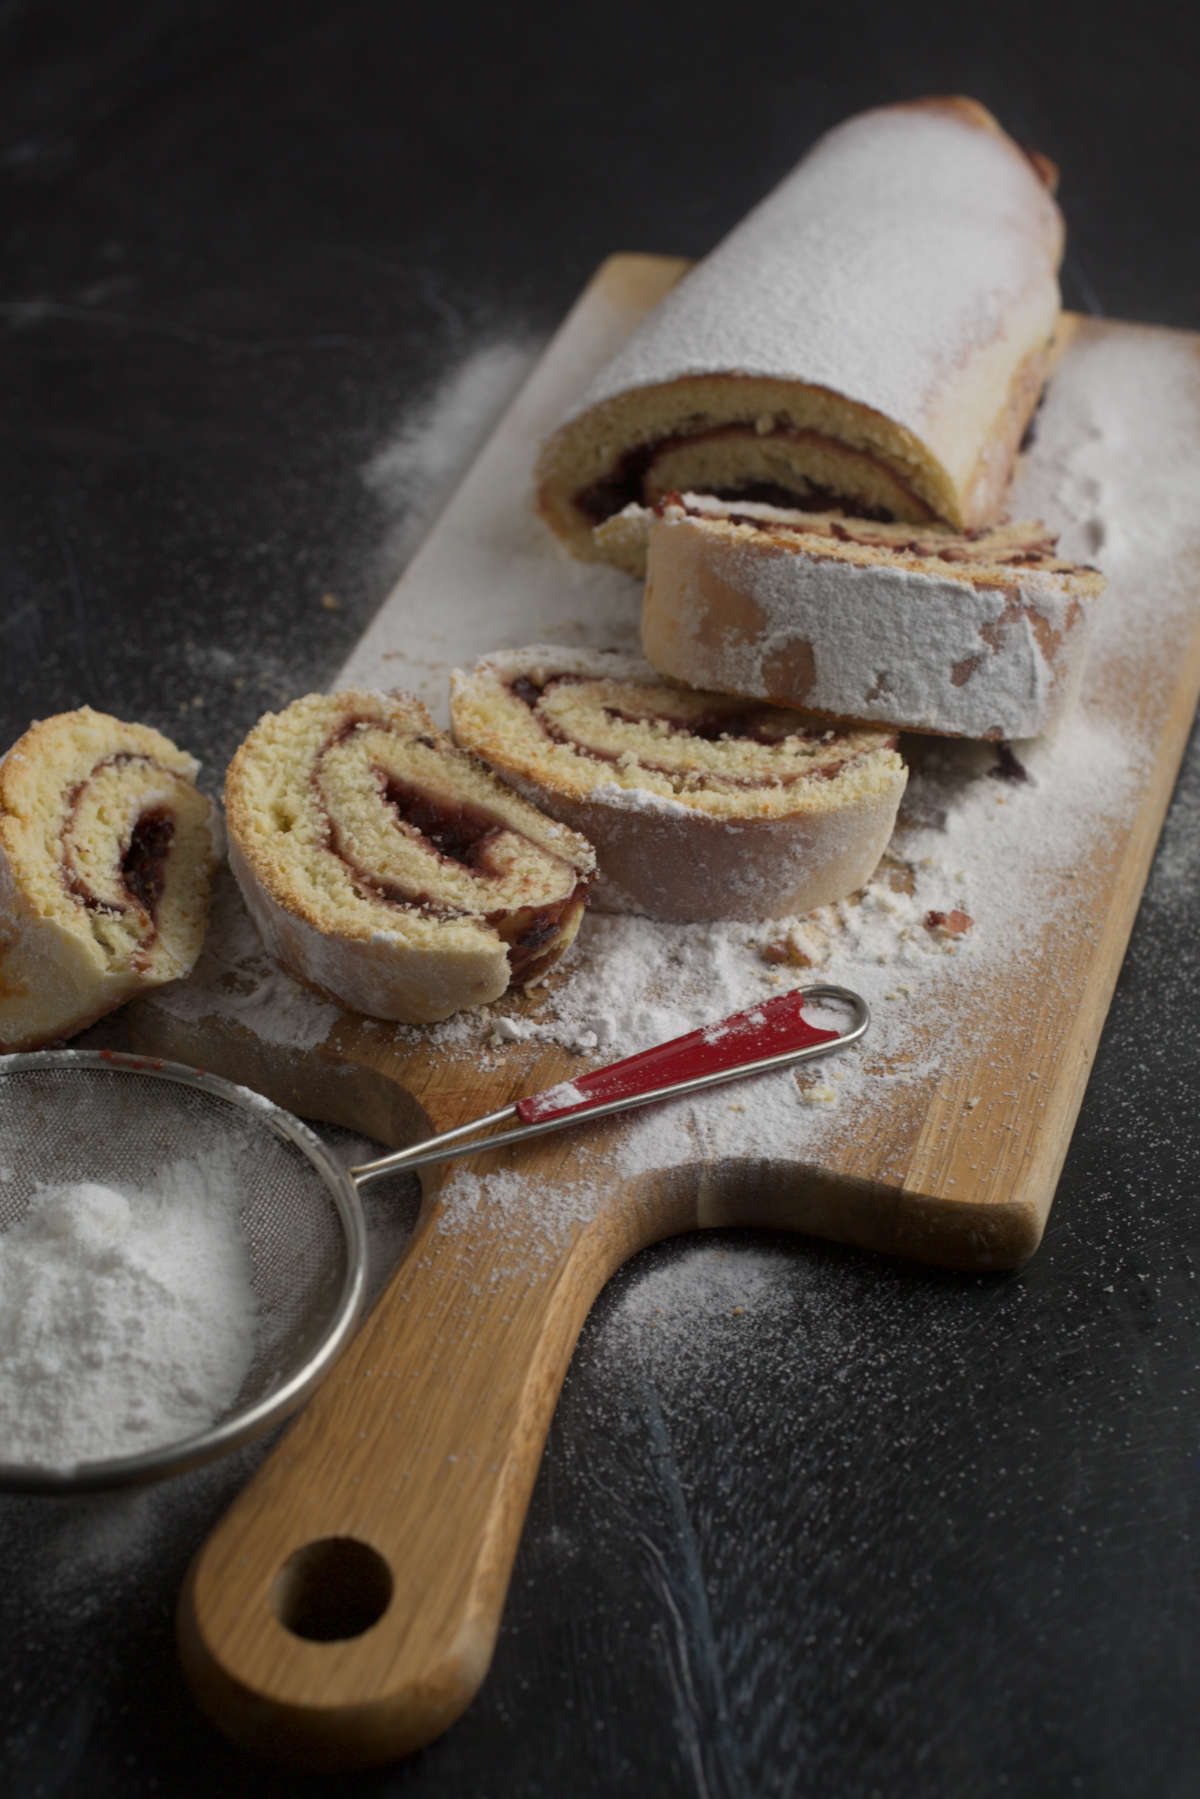
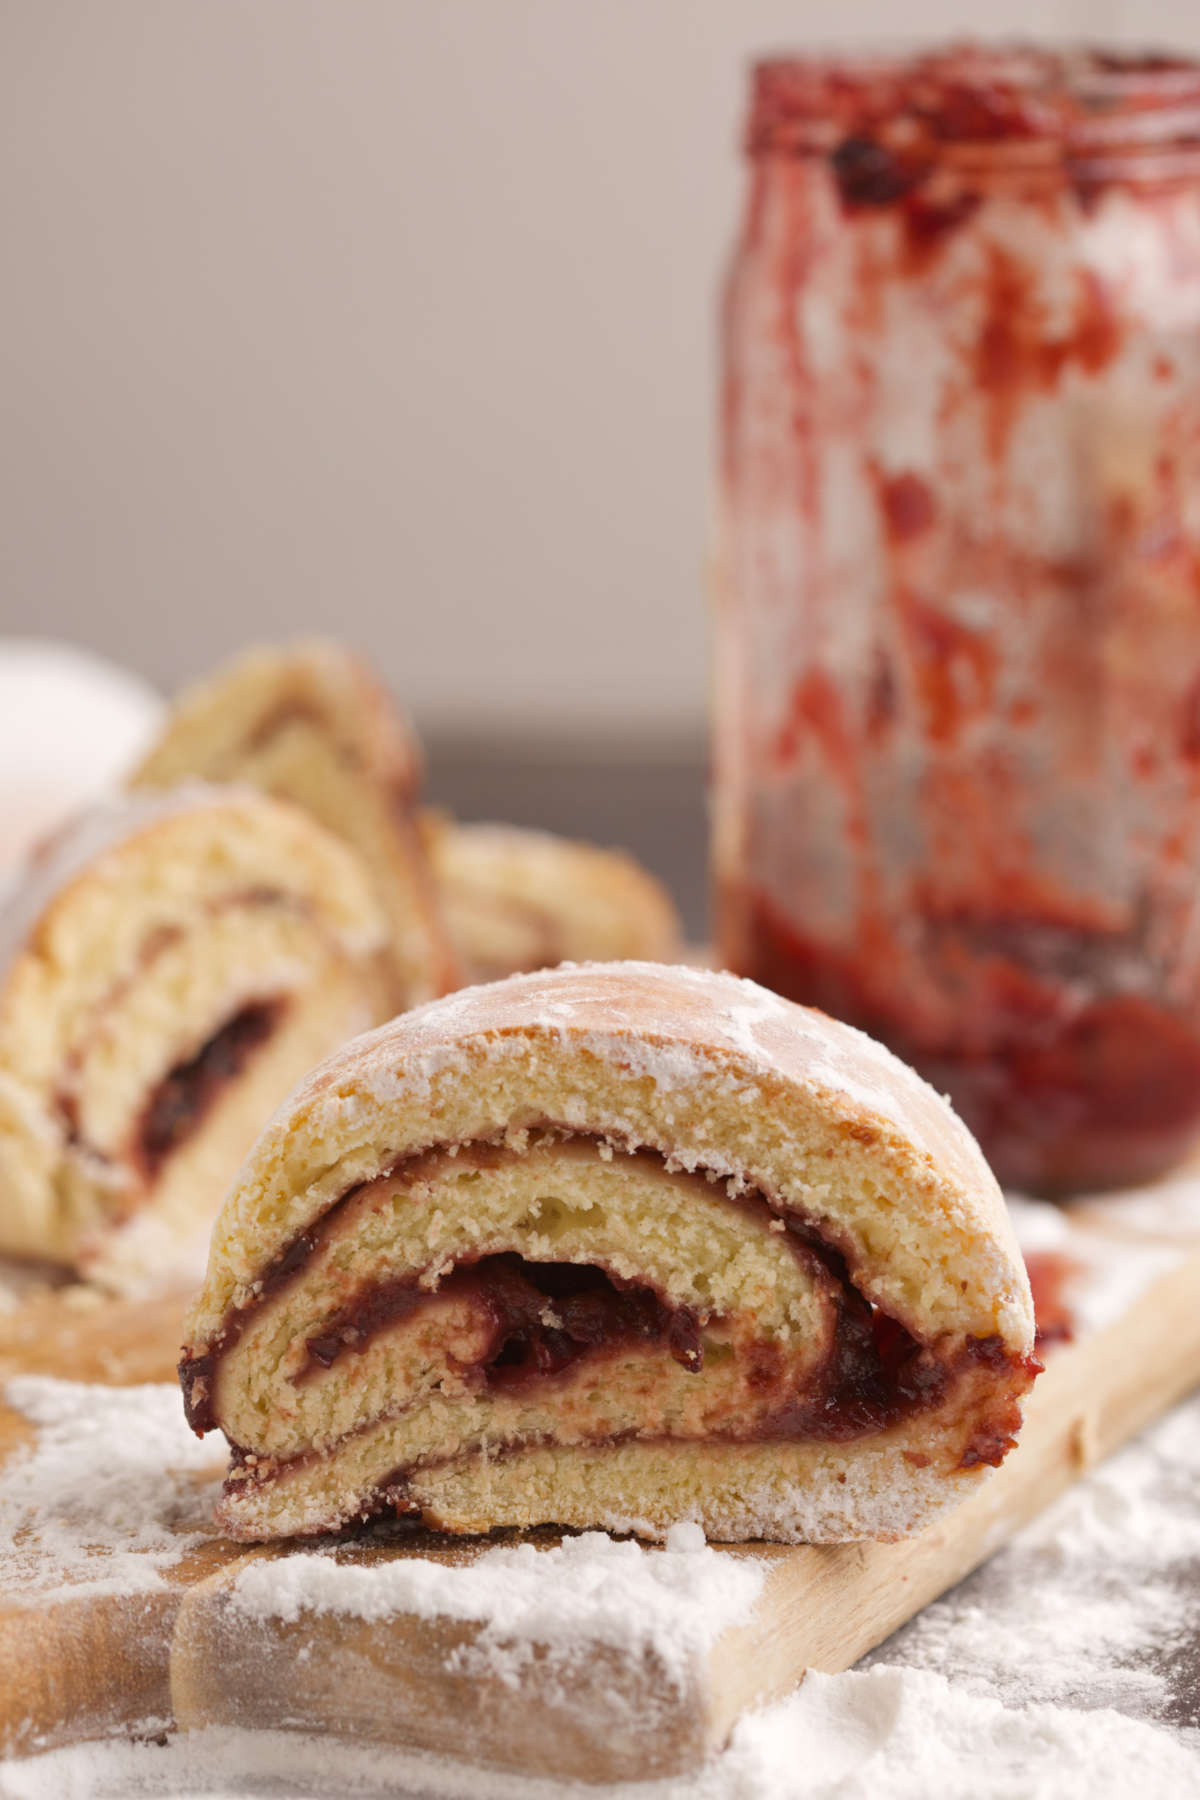
Here’s a simple and easy roulade recipe with plum jam, the way it’s made in the Balkans. Soft and filled to the brinks with a rich, succulent jam, this strudel is the most perfect comfort meal.
Background
Roulades, and/ or strudels (we'll be using the terms interchangeably), were brought over to the Balkans during the Austro-Hungarian rule. They're quite popular in the area, especially during the long, cold winter months.
The main difference between Germanic and Balkan strudels is in the dough.
Balkan roulade dough tends to be on the thicker side. The dough is rolled out in a thick rectangle, stuffed up with jams or different fillings, and rolled in. This process makes them soft and meaty. They're best consumed while they're still warm.
Meanwhile, German inspired roulades, crisps and strudels are usually made with phyllo dough. This makes them crispier, and more croissant-like. (Kind of like savory Balkan pies.)
Today's roulade recipe is simply delicious.
It's all about a perfectly baked dough filled with a tingling jam sweetness that ends in a sneaky pinch of sour. Such a specific taste can only come from plums. The combination of these two is magnificent.
Shall we?
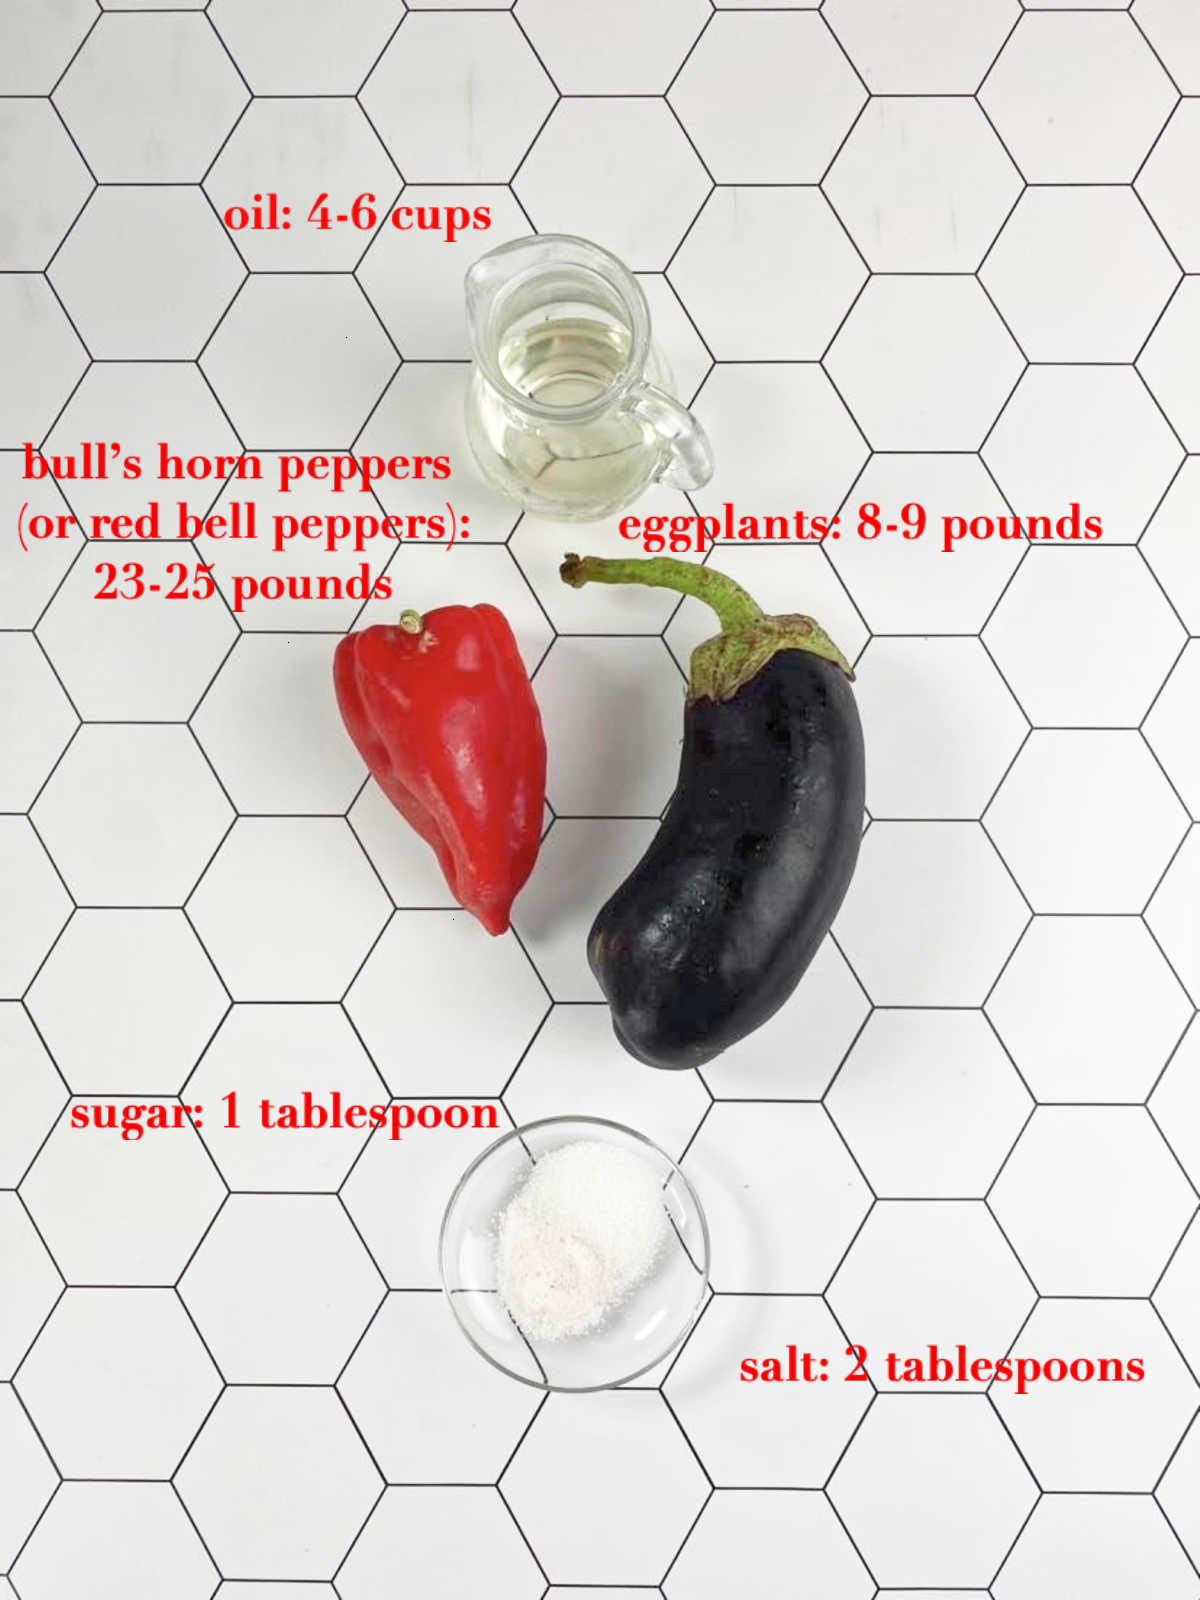
Ingredients
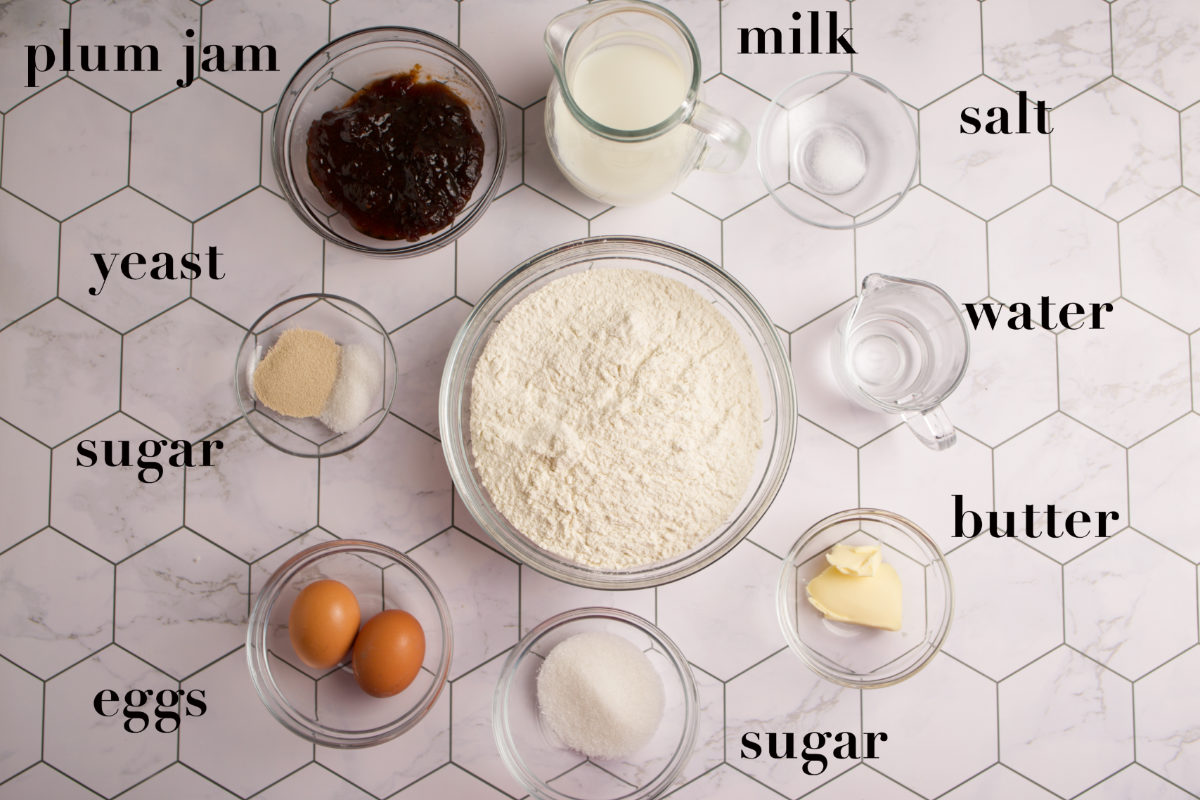
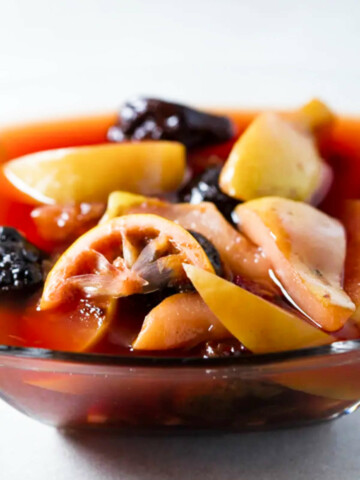
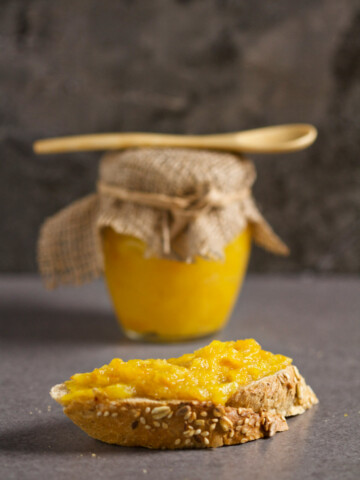
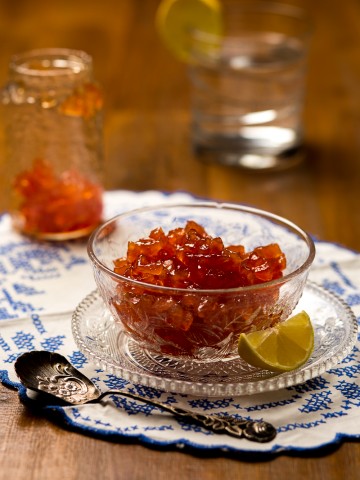
- Jam: Plum jam is the best for this roulade recipe. Other berry jams like strawberry, blackberry, raspberry also work great. Avoid: jellies and preserves with a high water content.
- Milk: Regular milk works best. Substitute with soy or almond milk.
- Flour: While you're welcome to experiment with other flours, we tested many different onese. Our verdict is that the white flour is best for this type of pastry.
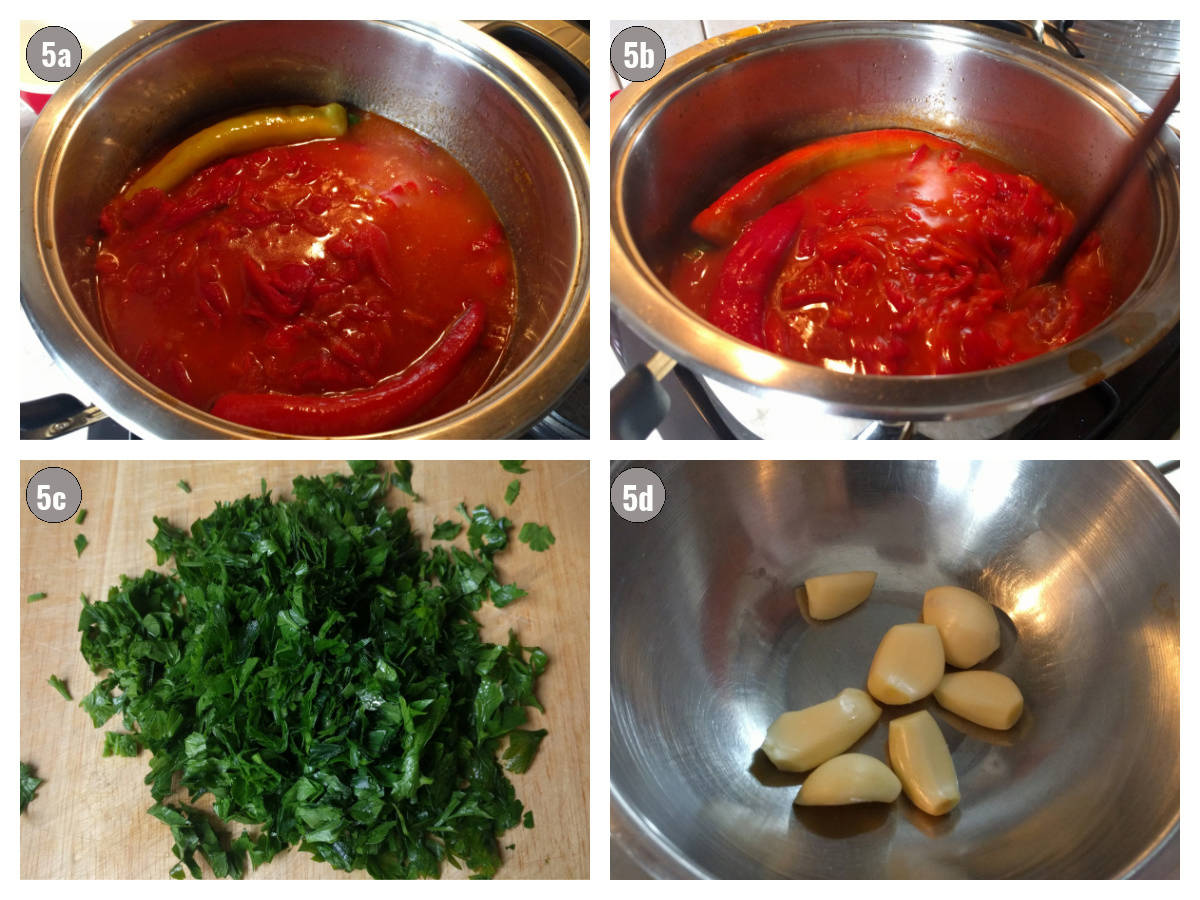
Instructions
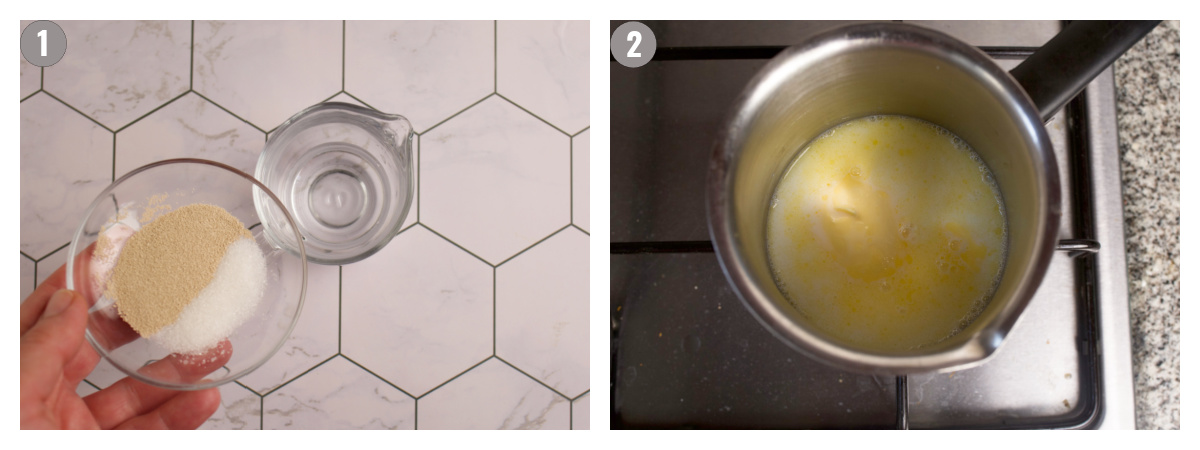
1. Bloom the yeast.
2. Dissolve the butter in milk. Cool.
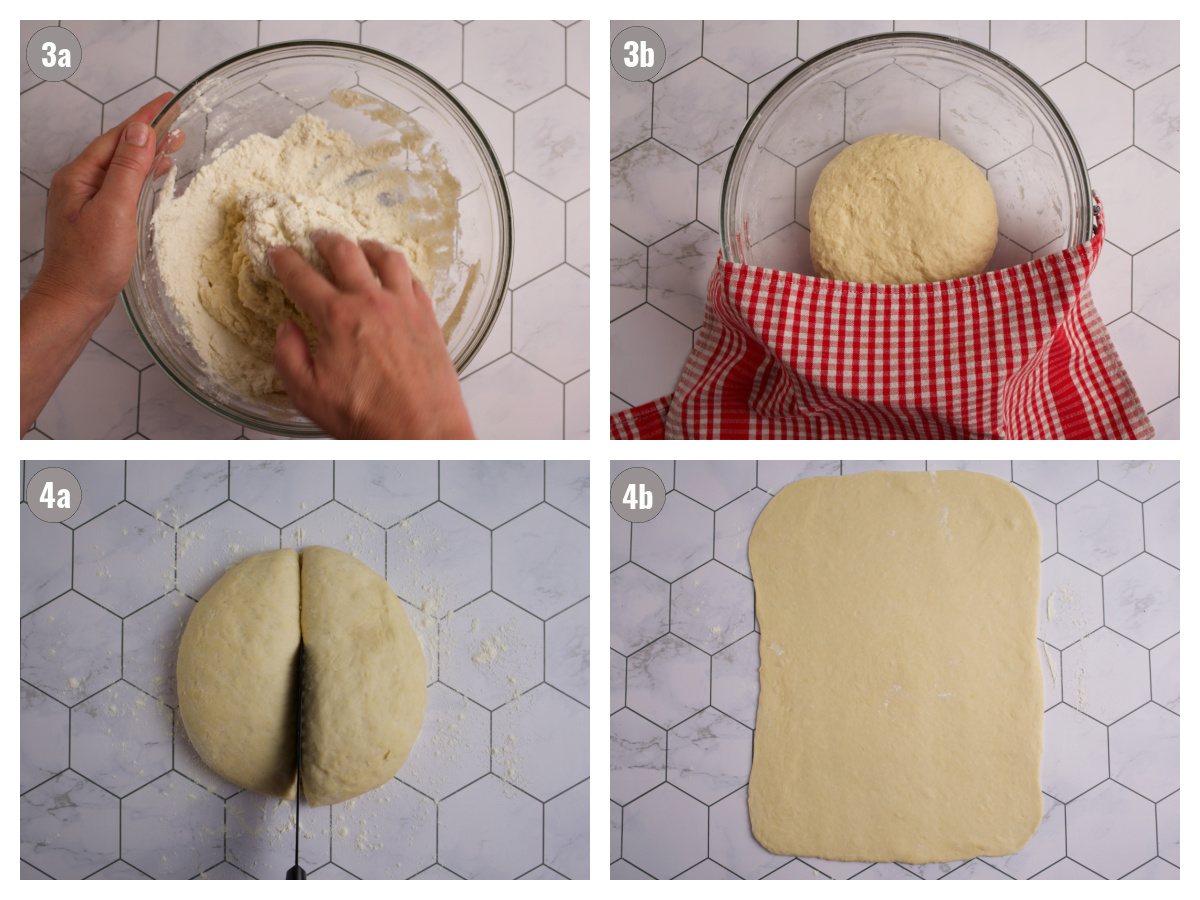
3. Combine all ingredients except one egg yolk. Knead until you get an elastic ball. Rest.
4. Divide the dough in two. Work each ball. Roll into a rectangle.
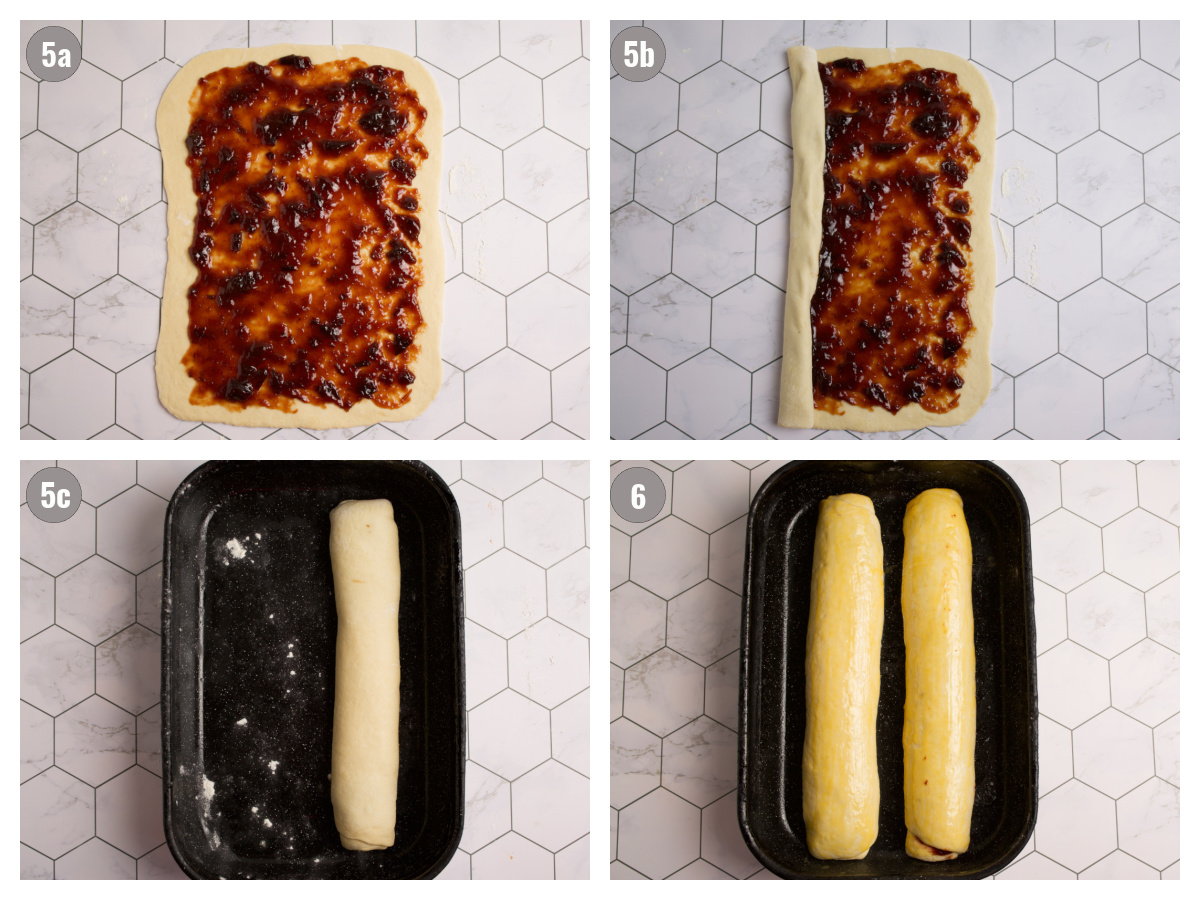
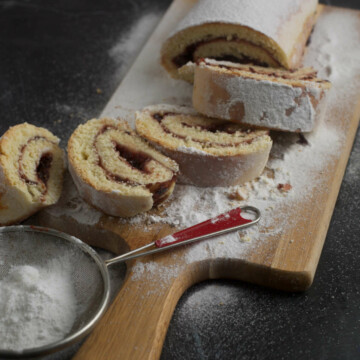
5. Spread jam over it. Roll it up. Transfer to pan. Repeat with the second dough ball.
6. Paint with egg wash. Rest.
7. (Not pictured) Bake.
Handling
Serving: Serve 20-30 minutes after baking. It goes great with a refreshing drink like the elderberry cordial, or a warm one, like our homemade mint tea.
Storing: Milk-based dough pastries, strudles and roulades are best consumed on the same day they're made. After a while they harden. While you are welcome to warm it up in the oven, the taste simply isn't the same.
Recipe FAQs
A roulade (rouladen) is a roll filled with sweet or savory fillings. Some savory roulades include doughs stuffed with different meats, or even meat stuffed with eggs. Sweet roulades (like the one here), are often the equivalent of strudels, pastries, or even torts. They're often filled with preserves, jams, or tort fillings.
Yes. This roll is ultimately Balkan štrudla. Povitica is usually made with poppy seeds or a walnut filling. Preparation process is more or less the same.
Different roulades are rolled differently. Our strudel roulade is rolled lightly to prevent the jam from getting out. Other ones are rolled more tightly.
Similar Recipes
- Povitica: Poppy Seed Strudel Roll
- Chocolate Cake Rolls (Roulade)
- Crescent Rolls
- Nutella Rolls
- Butter Rolls with Jam
Thoughts?
If you make this roulade recipe with jam and like it, please consider giving it a ⭐️⭐️⭐️⭐️⭐️ (5-star) rating. This helps others find the recipe more easily!
Also, feel free to leave a comment (I read each one!), and don't forget to tag a photo #balkanlunchbox, or us @balkanlunchbox, on IG.
Prijatno and bon appetit!
Roulade Recipe with Plum Jam
Ingredients
- 2 teaspoons instant yeast
- 4 tablespoons white sugar, divided 2 teaspoons for yeast, 2 for dough
- 2 tablespoons butter
- 10 ounces milk
- 16-17 ounces white flour plus a little bit more
- ½ teaspoon table salt
- 2 eggs, divided 1 whole egg and 1 egg white for the dough, and remaining egg yolk for egg wash
- 10 ounces plum jam
- (Optional) powdered sugar for dusting
Instructions
- In a small bowl combine baker’s yeast, sugar, and an ounce of water. Set aside for ten minutes, or until it starts to bubble up.
- (Parallel to step #1) In a small pot combine milk and butter. Heat on low until butter dissolves. Set aside to cool for a few minutes.
- In a large bowl combine flour, salt, and sugar. Whisk together. Add one whole egg and egg white, plus yeast, and mix. At this point slowly start adding milk and butter. Using your hand knead the dough vigorously until you get one elastic, smooth bowl (about 6-8 minutes). If more liquid is necessary, add some lukewarm water. Cover with a kitchen cloth, and leave in a warm place for 45-60 minutes, or until the dough doubles in size.
- Sprinkle your working area with flour. Cut the dough into two equal pieces, and knead each piece for 2-3 minutes. With a rolling pin, roll the dough out into a rectangle. (One side should match the length of your baking pan. For example, our dough rectangles were about 13x11 inches.)
- Spread half of the plum jam over the rectangle, leaving about an inch on all sides. As you’re spreading the jam on the dough, spread more on the side you’ll start rolling from. Roll the dough carefully, and not too tightly, so as to leave as much jam inside as possible. Roll the dough in until you have a loaf. Meanwhile, sprinkle a 9x13 inch (23x33 cm) pan with flour. Transfer the loaf into the pan by placing the end side of the roll on the bottom. (Repeat this step for the second dough ball.)
- Paint roulade loaves with egg wash. Leave in a warm place for another 45-60 minutes. After first 30 minutes have passed, heat up your oven to 390°F (200°C).
- Bake for 15 minutes. Lower the temperature to 350°F (175°C), and bake for another 20 minutes. If the roulades start to blush too much, cover with foil. Test for doneness with a toothpick. If necessary, add a few more minutes to the baking time.
- Serve 20-30 minutes after baking. Dust with powdered sugar if you wish. The roulade goes great with a refreshing drink like the elderberry cordial, or a warm one, like our homemade mint tea. Milk-based dough pastries are best consumed on the same day they're made as they harden faster. Warm it up in the oven.