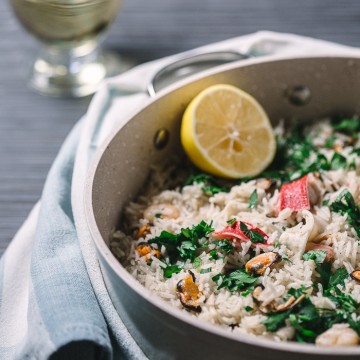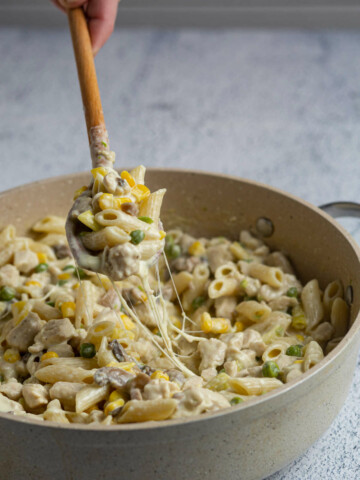
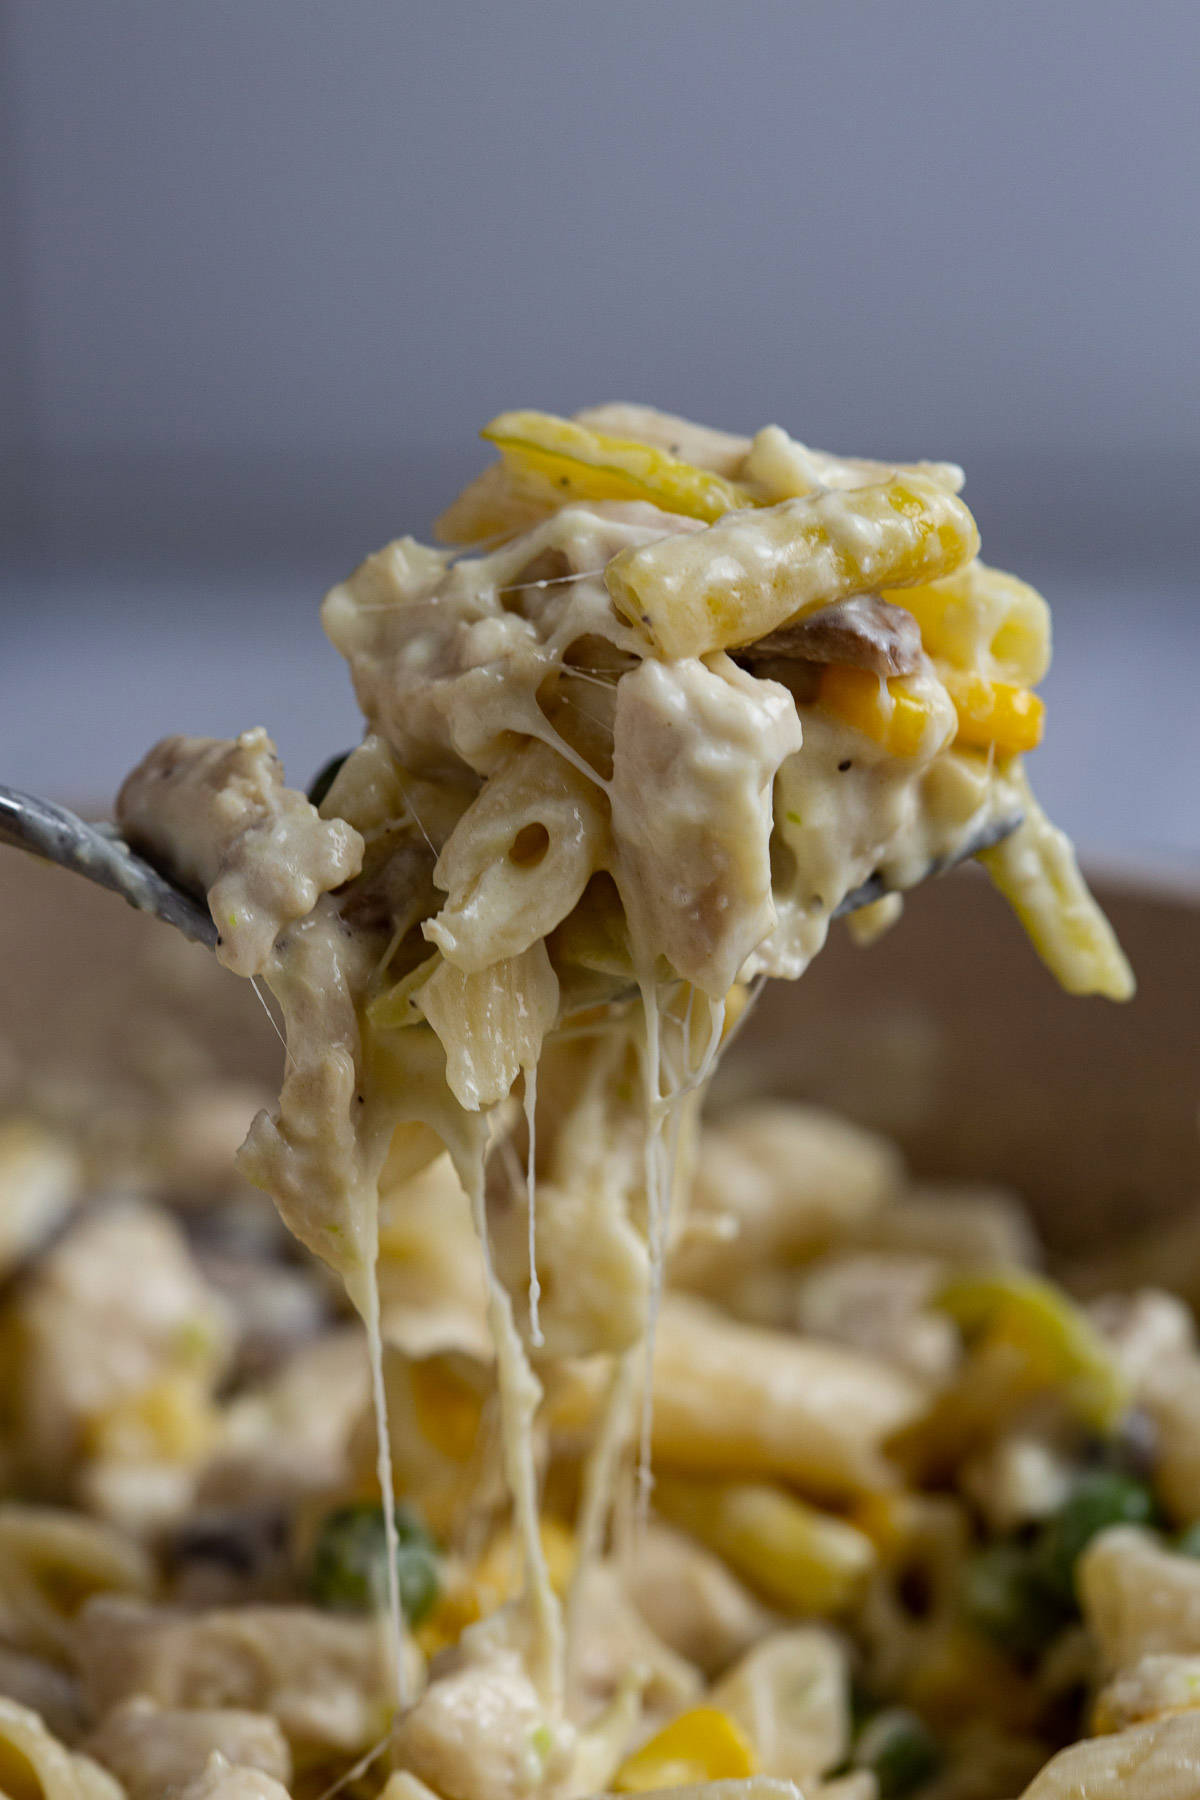
Frozen Mixed Vegetables with Creamy Chicken and Edam Cheese is the quick and easy dinner idea you need tonight! Dice chicken breasts, pull out your fave veggie mix (we love peas and beans), and add a splash of heavy cream plus Edam. Dinner done in thirty!
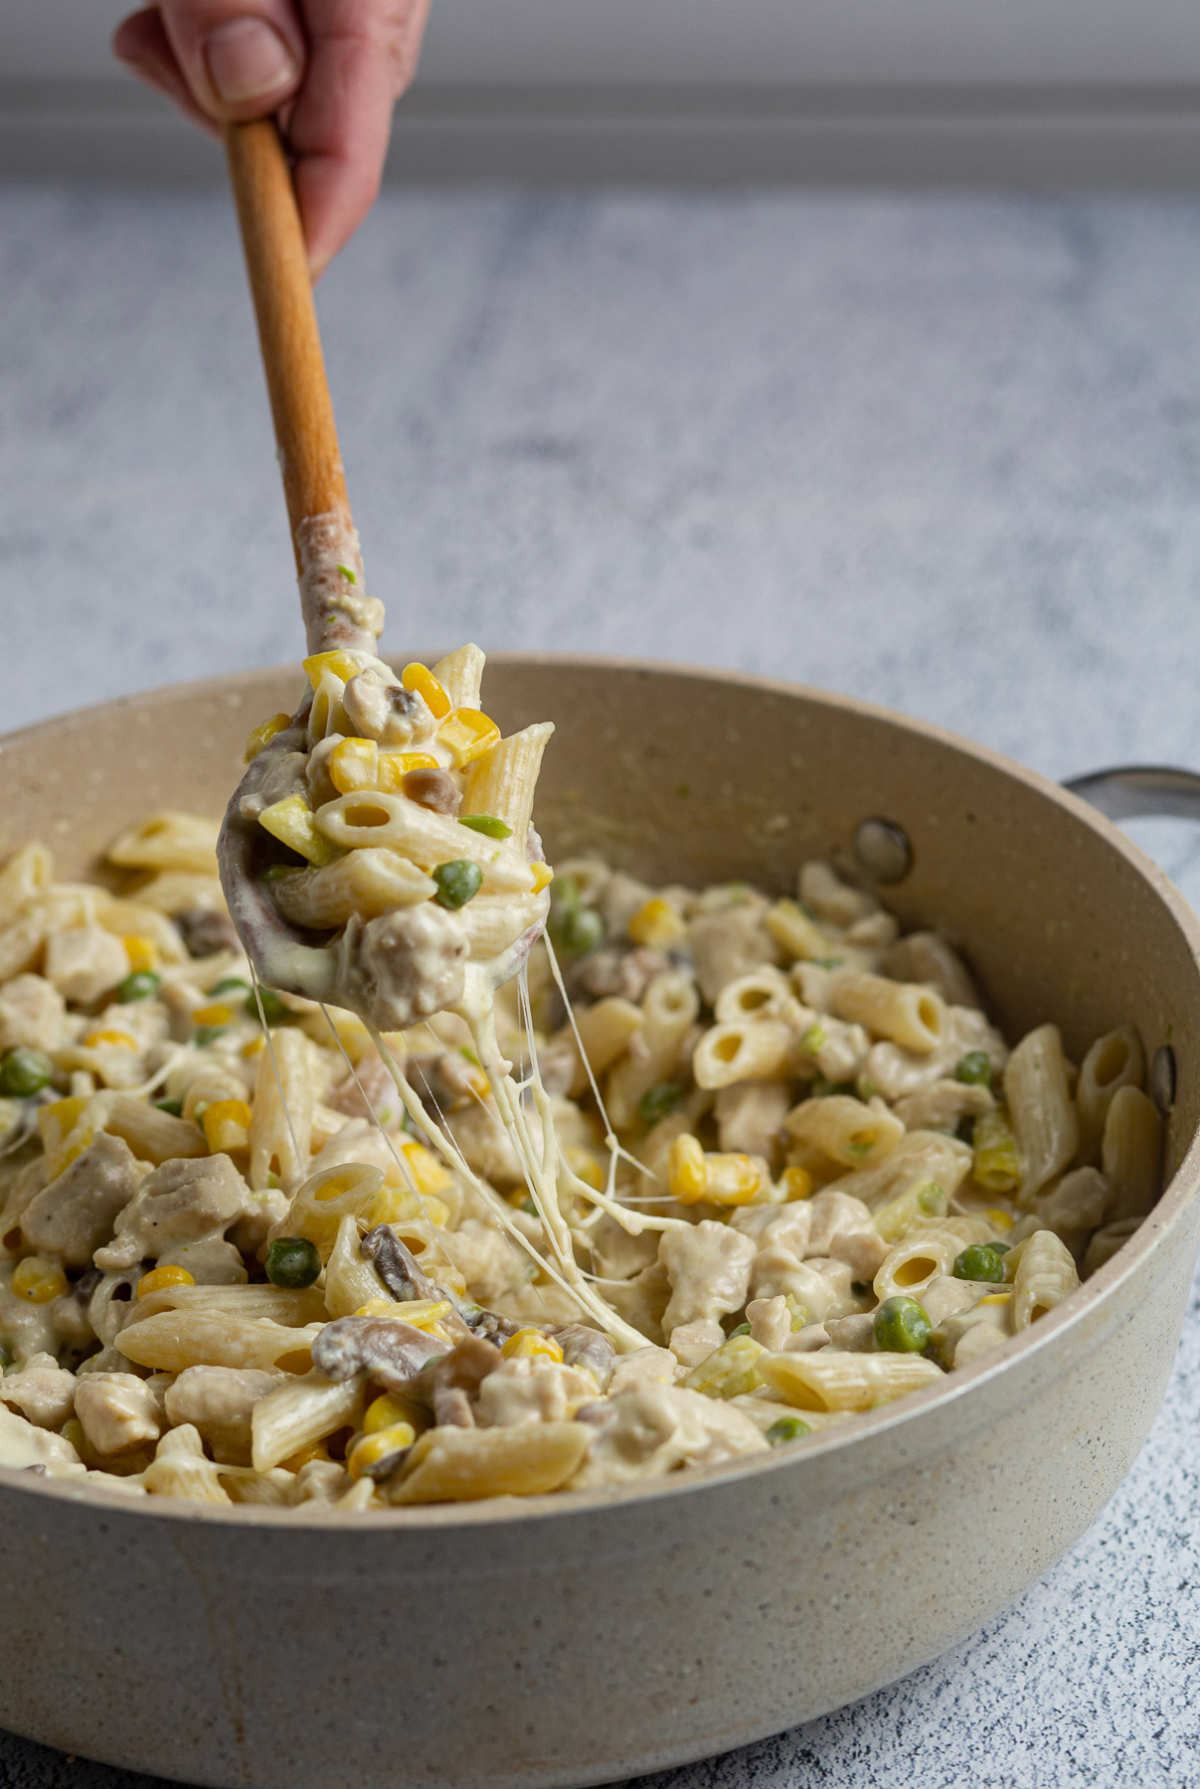
Quick Creamy Chicken and Vegetables Dinner
I get it.
You're overworked and exhausted and it's only Tuesday.
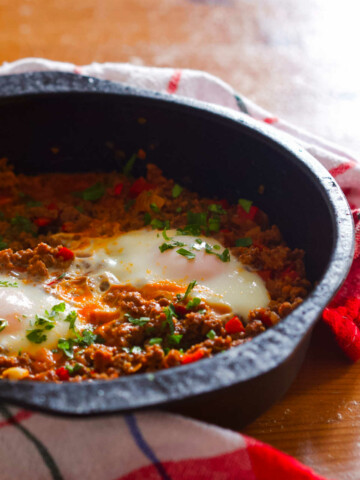
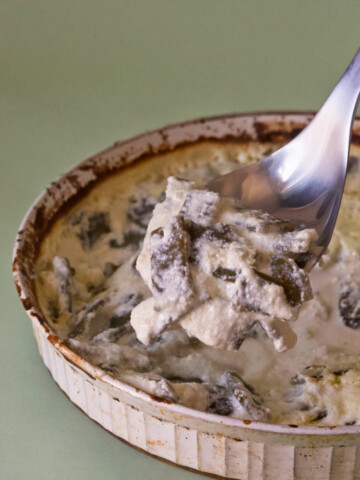
Thought I’d share a simple chicken and vegetables dinner recipe with you tonight. (This is a favorite of mine!) I'm talking creamy chicken, lots of cheesy Edam, and your favorite frozen vegetable medley.
It doesn't get easier! Plus...
...I'll bestow you with my secret weapon: THE ingredient I use when I want to wing it and still have a tasty dinner.
Don't worry, I won't keep you guessing and make you read my life story. The secret ingredient is heavy cream.
Use it. Use lots of it.
Why You'll Love Today's Chicken and Vegetables
Let me count the ways!
Reason #1. It's a 30-minute dinner! In fact, if it takes you longer come yell at me in the comments.
Reason #2. You need more excuses to eat Edam (Edammer)! This semi-hard scrumptiousness from the Netherlands was Europe's most popular cheese for 5 centuries!
(Newsflash: we're still crazy about it!)
Just imagine Gouda and Cheddar having a baby. That's Edam cheese for you. Delicious with soft overtones, just hard enough, and versatile beyond belief.
Melted Edam has a supple and velvety consistency. Paired with heavy cream it creates a rich, bechamel-like sauce. You can have it with veggies, meat, pasta, or grains.
Reason #3. Use any frozen vegetable mix you want! Open up your freezer and grab the first veggie bag you see. How great is that?
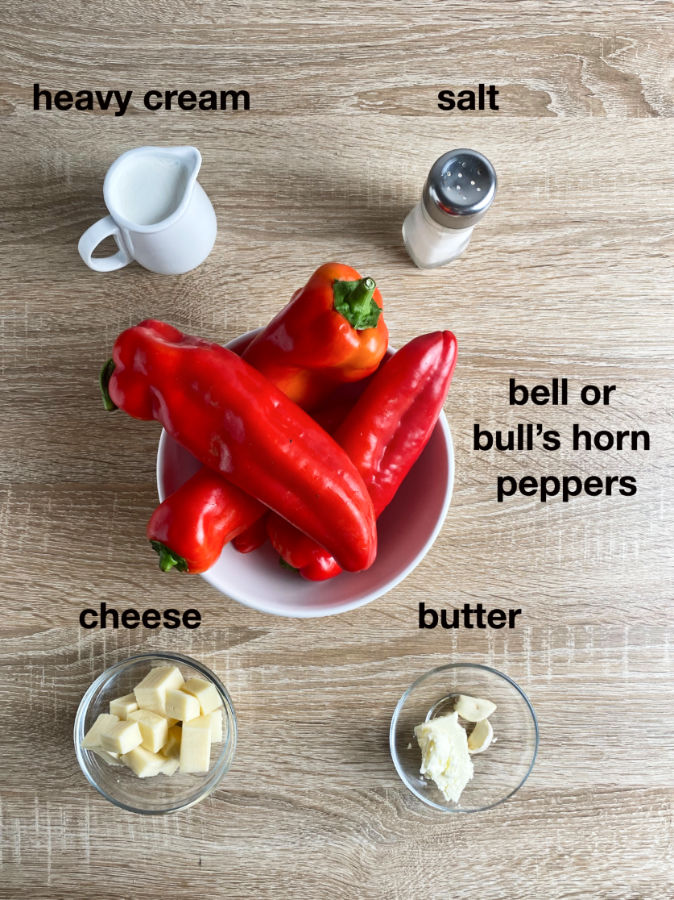
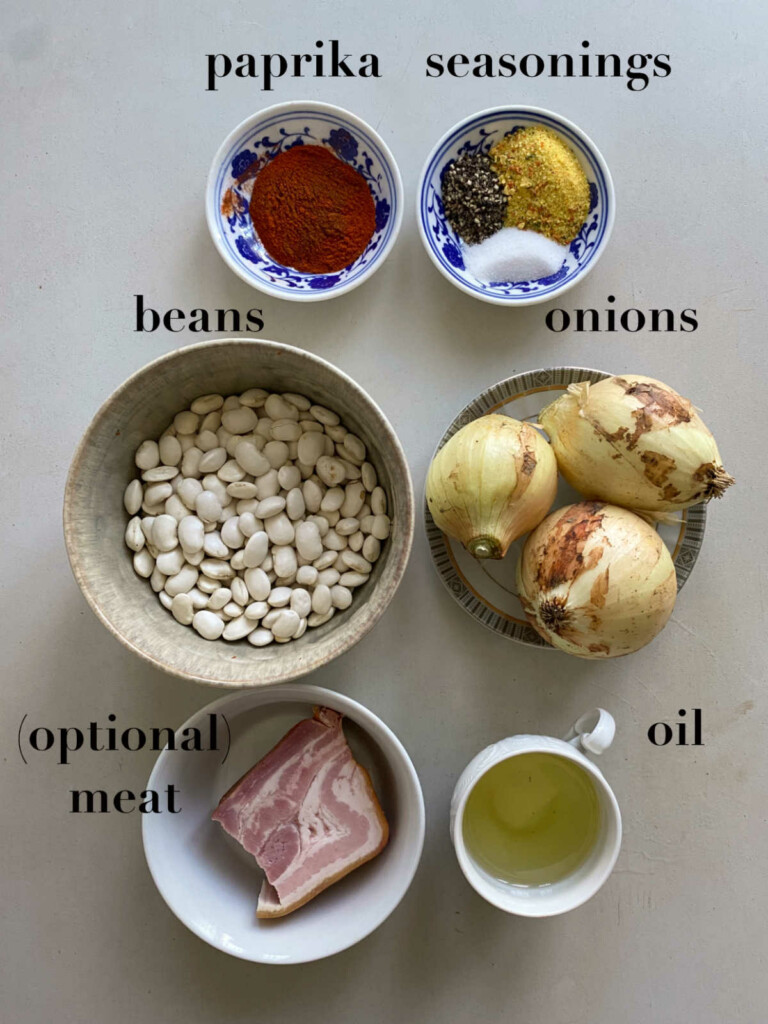
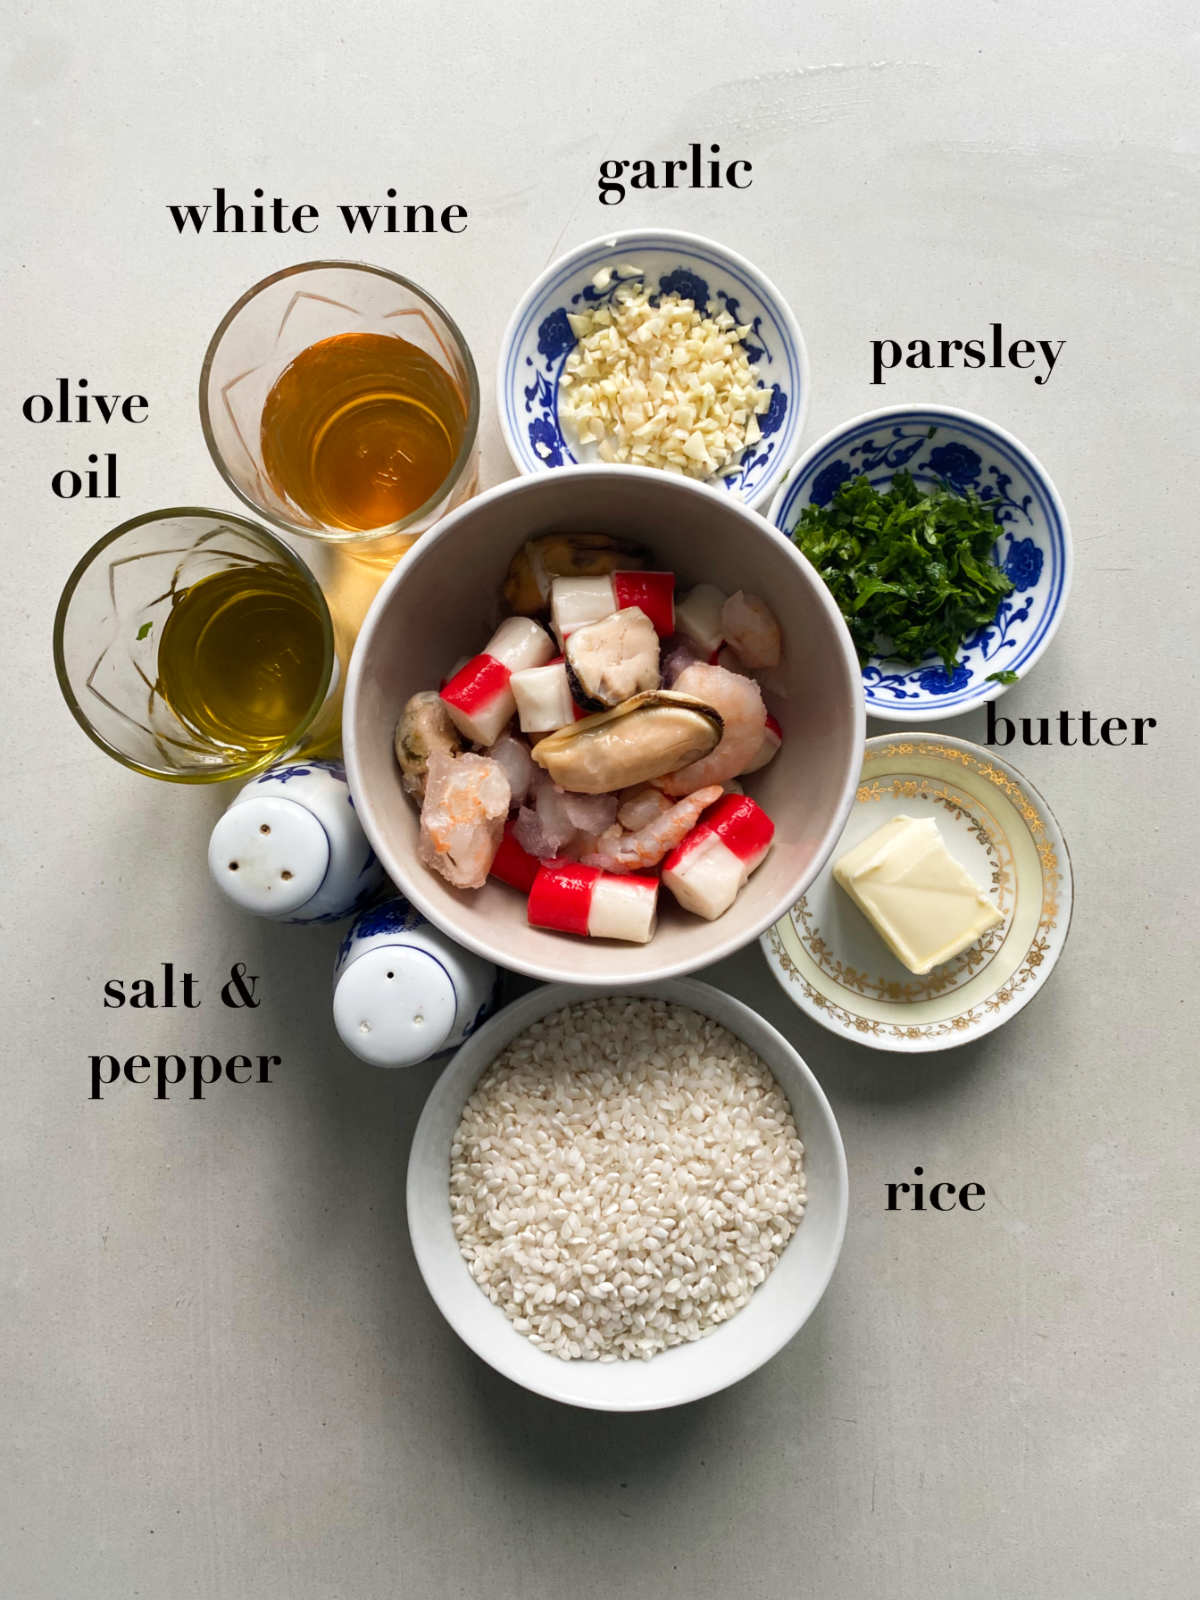
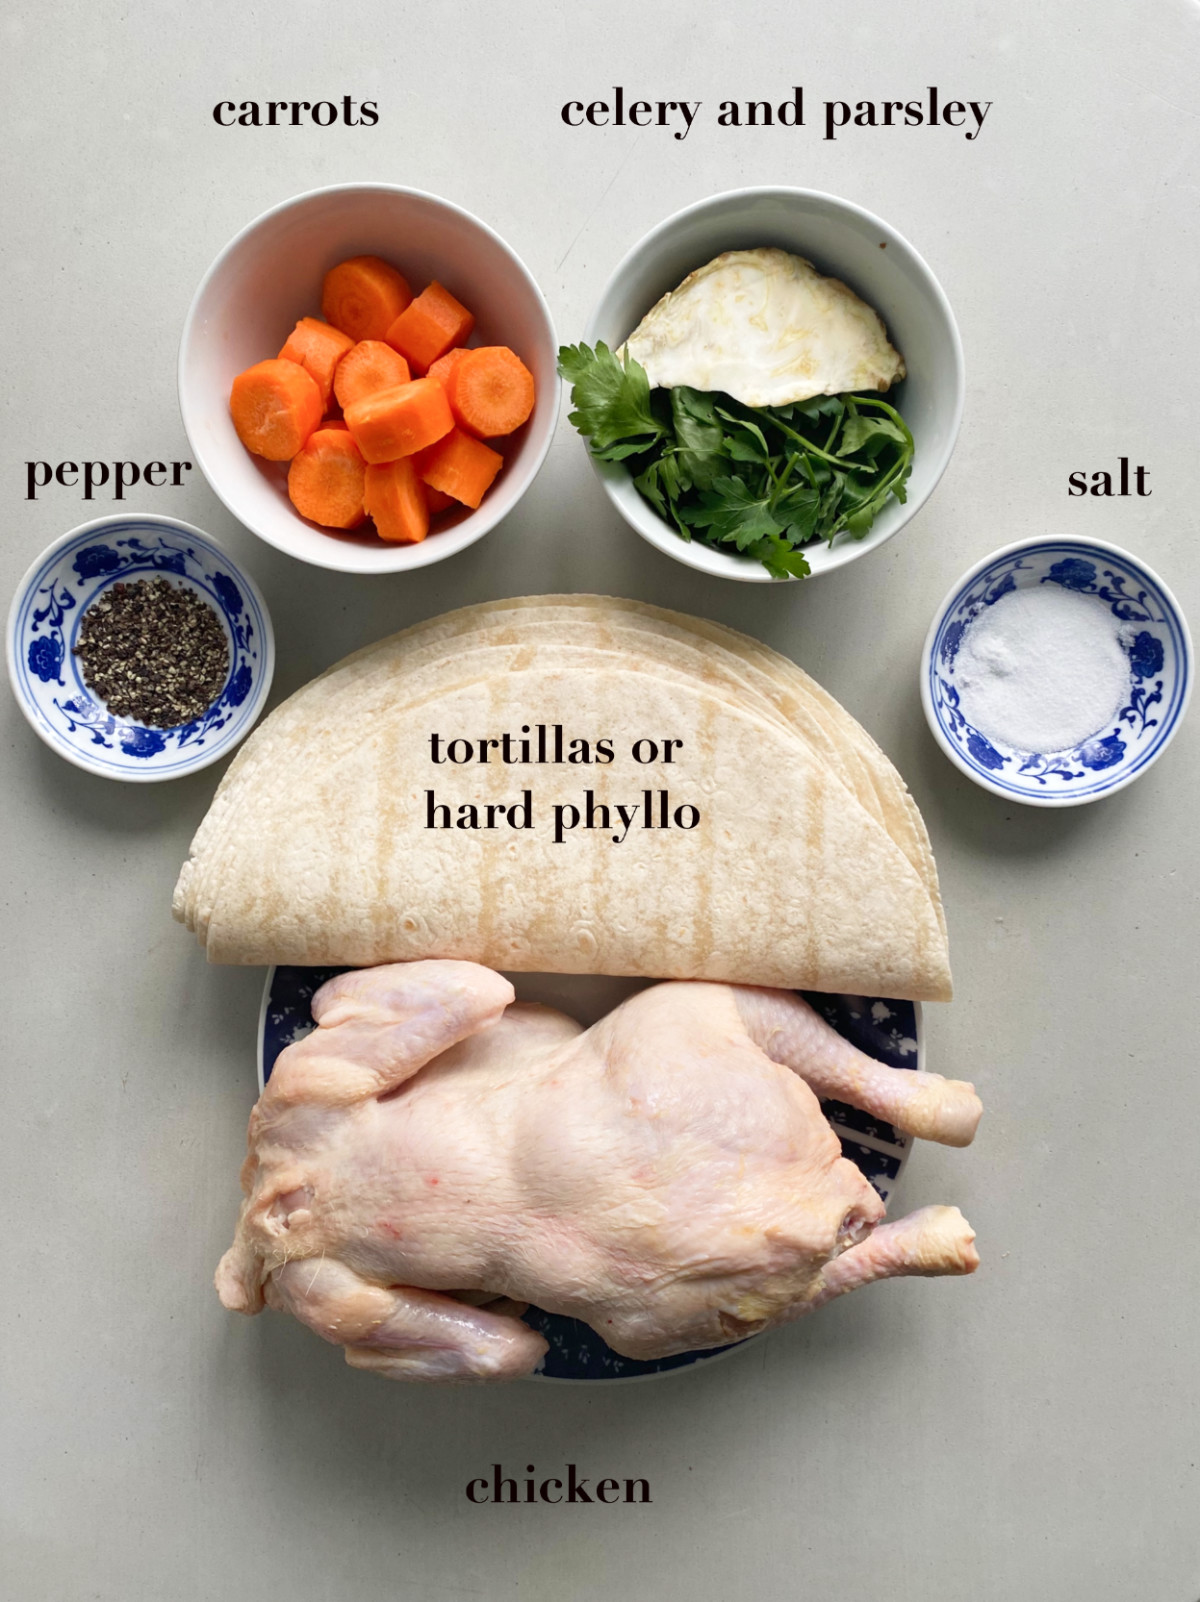
Ingredients
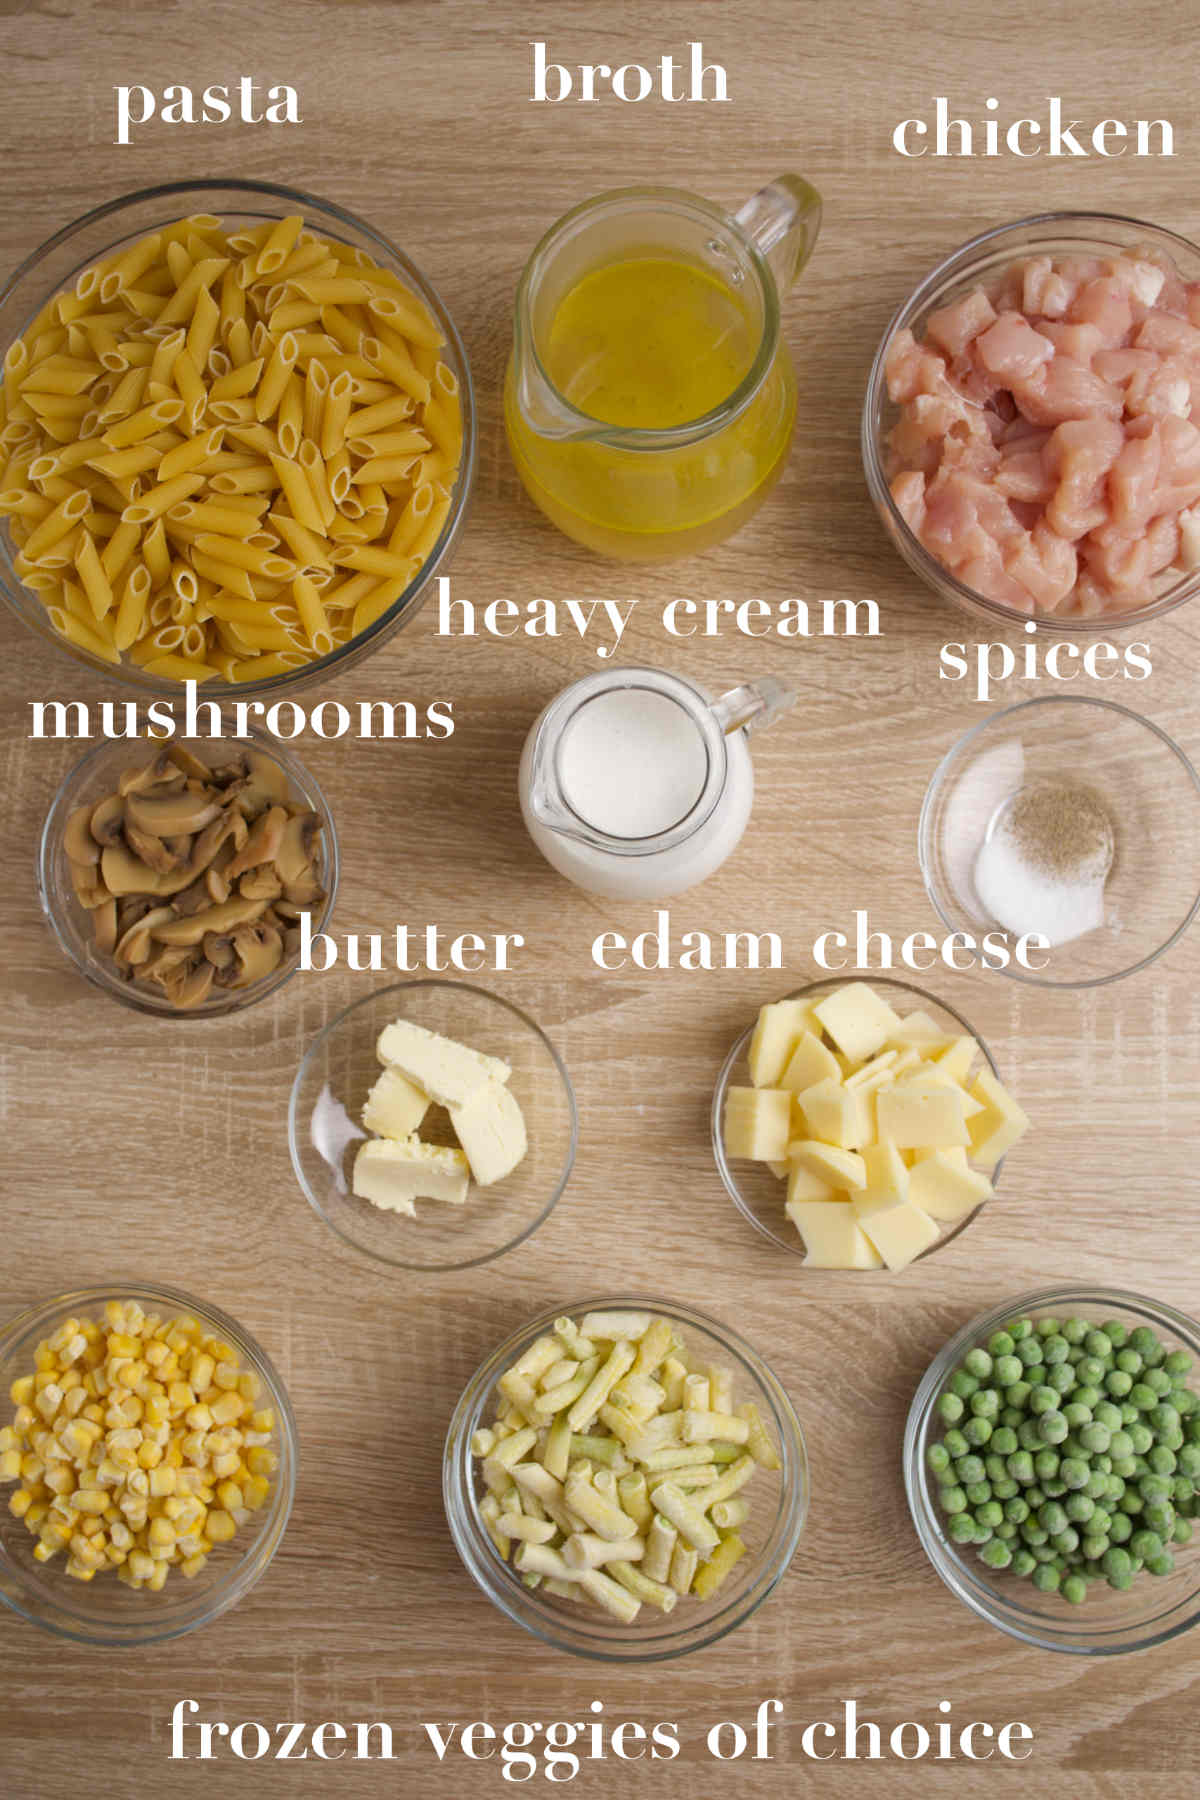
Ingredient Notes
Here are some suggestions.
- Chicken: Use chicken breasts or skinless chicken thighs. Sub with turkey breast.
- Butter: Sub with vegetable, canola, olive, or avocado oil.
- Veggie options: Choose the vegetable mix you like most. Peas, green beans, snow peas, carrots, peppers, mushrooms, corn, broccoli, cauliflower all work well. Leafy greens, on the other hand, aren't a good choice.
- Edam Cheese: Although the recipe is heavily based on Edam, good alternatives are non-smoked Gouda and mild Cheddar.
- Heavy Cream: Sub with milk and butter, half-and-half and butter, or Greek yogurt and milk.
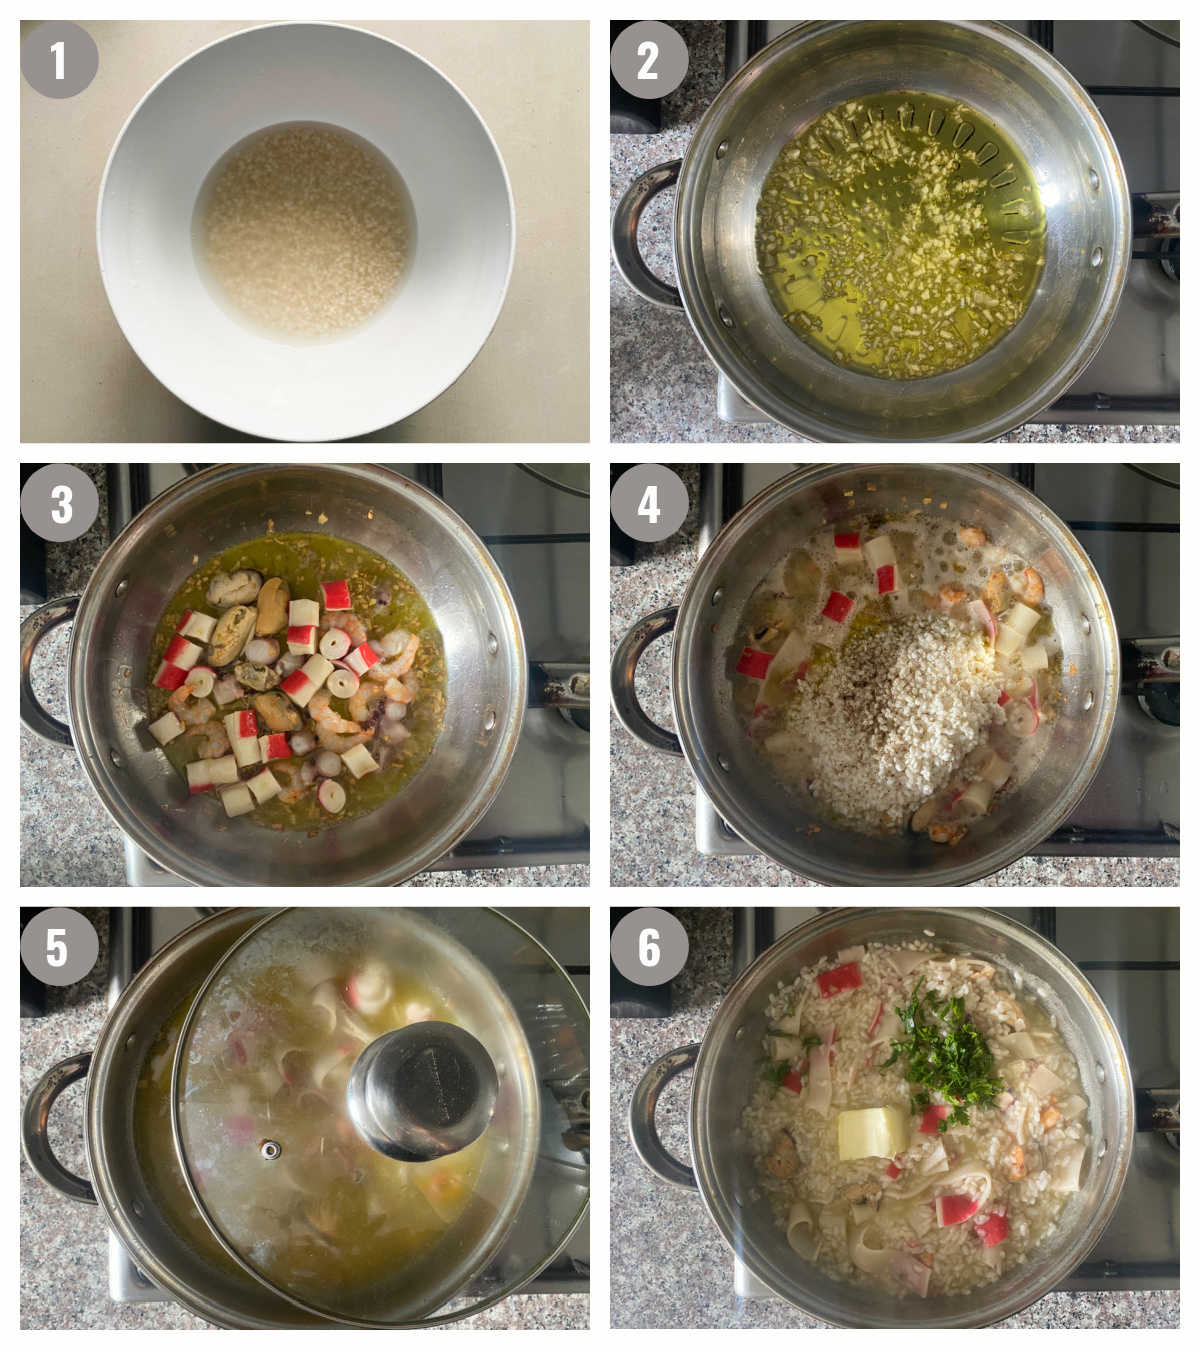
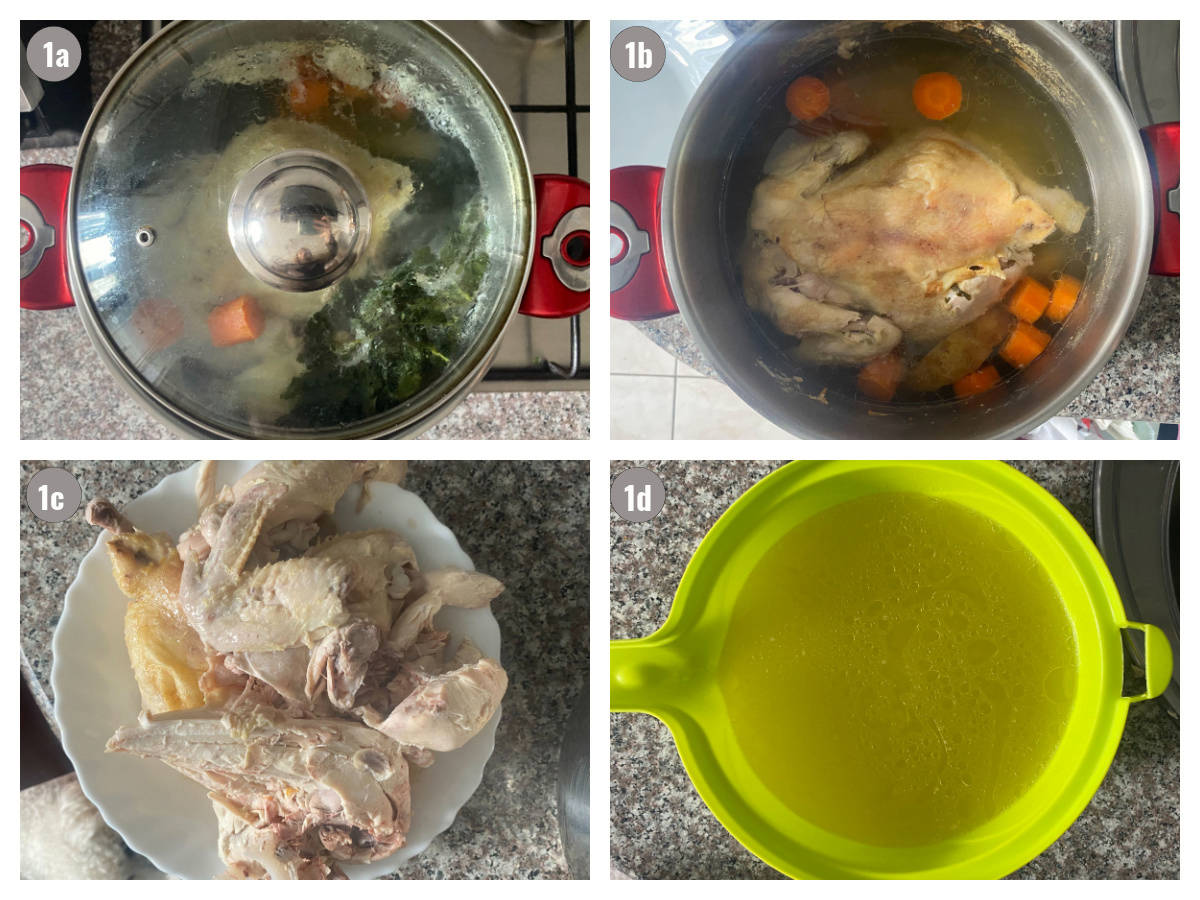
Lightning-fast Instructions
(Our lightning-fast instructions are here to give you an idea of how to make this chicken and vegetables dish. For more detailed information look at the recipe card below!)
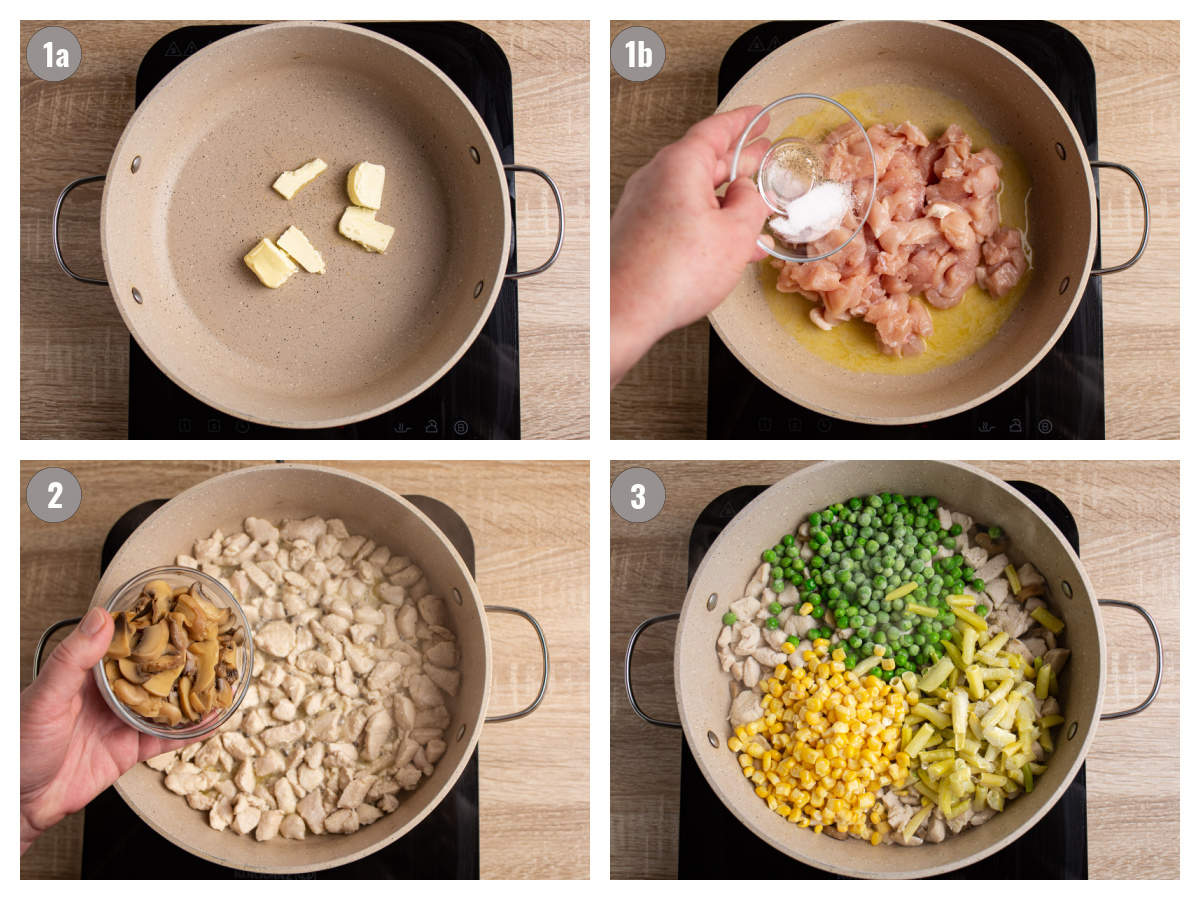
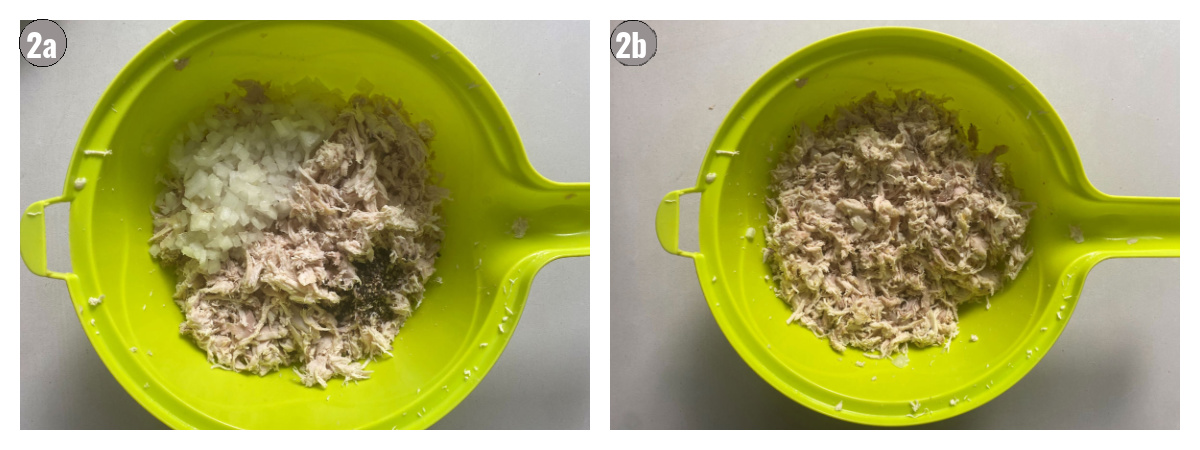
- Heat butter, add chicken, and seasonings. Simmer.
- Add mushrooms.
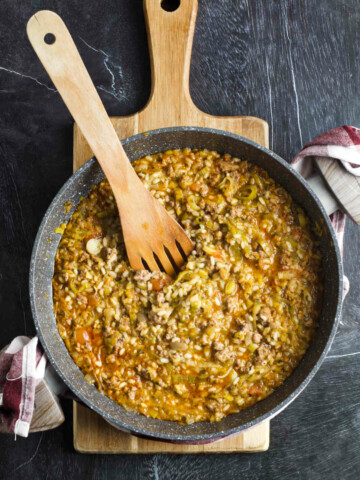
- Add remaining frozen mixed vegetables.
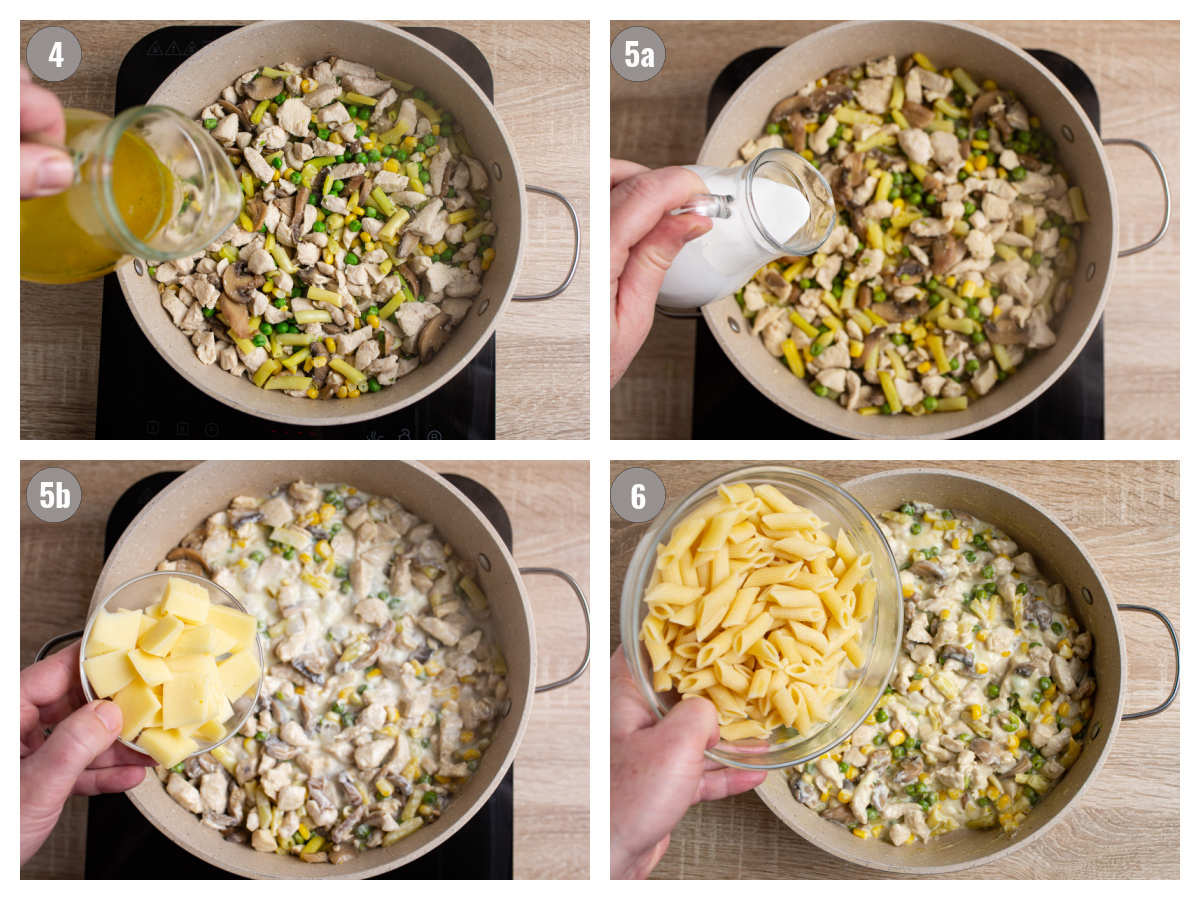
4. Add chicken broth and simmer. Cook pasta separately, save some water (not pictured).
5. Add heavy cream, cheese, and pasta water. Stir and simmer.
6. Remove off heat. Add pasta in, or serve over pasta.
Serving and Sides
Serving: Caveat! This is a dish that's best served right away. So... no keeping it in the fridge, and definitely no to freezing!
A downside of having a delicious, cheesy meal on your table quickly is that it tastes best immediately after it's made. If you need to reheat do it with your preferred reheating method, but add some milk, water, or broth.
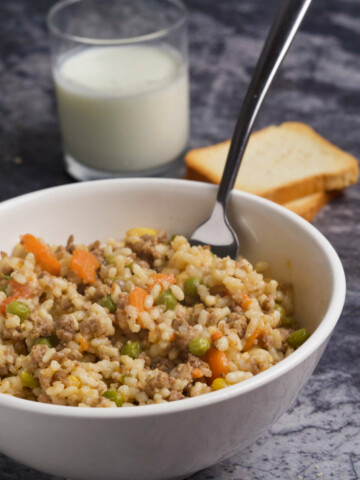
Sides: Penne and bow pasta work best. Rice, quinoa, couscous, and polenta work great.
More Recipes You'll Love
- Cheese Pie
- Veal Medallions in Creamy Mushroom Sauce
- Cream of Mushroom
- Meatballs in White Sauce
- Pasta with Veggies in Cream Sauce
Would You Do Me a Favor?
If you make today's Chicken, Vegetables and Edam Dish and like it, please consider leaving a ⭐️⭐️⭐️⭐️⭐️ (5-star) rating. This will help others find the recipe more easily!
You can also leave a comment, I read EVERY one! Finally, if IG is more your thing, consider tagging us @balkanlunchbox.
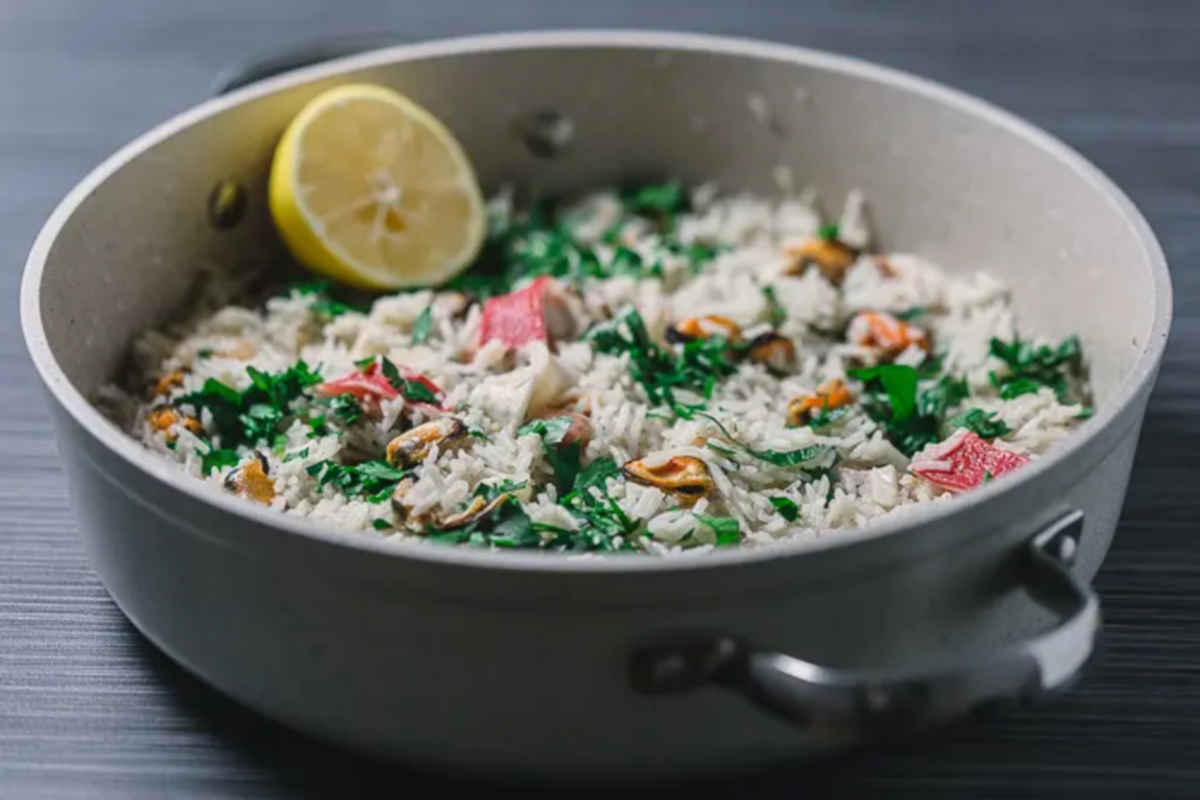
Frozen Mixed Vegetables with Creamy Chicken and Edam Cheese
Ingredients
- 2 tablespoons butter
- 11 ounces chicken breast diced finely
- Salt and pepper to taste
- 7 ounces mushrooms canned or fresh, diced
- 3.5 ounces green beans canned, frozen or fresh, diced into 1-2 inch pieces
- 3.5 ounces corn kernels canned, frozen or fresh
- 3.5 ounces peas canned, frozen or fresh
- 11 ounces chicken broth
- 11 ounces heavy cream
- 2 ounces yellow cheese edam or gauda, diced
- 1 box of penne pasta about 3.5oz/100g per person
Instructions
- In a deep pan, heat butter on low for 1 minute. Add chicken and seasonings, then raise temperature to medium high. Season to taste and simmer with frequent stirring for 6-7 minutes.
- Add mushrooms and simmer with frequent stirring for 2 minutes.
- Add green beans, corn and peas and continue stirring and simmering for 5 minutes.
- Add chicken broth and cover. Simmer for 15 minutes. As the vegetables are cooking, make pasta based on box directions, save 1 cup of pasta water.
- Add heavy cream, cheese, and pasta water to the sauce. Stir and simmer until cheese melts or about 2 minutes. Remove off heat and serve over pasta. (Alternatively, add the pasta directly into the pot, mix, then serve.)
- Keep in fridge for up to 1 days. Before serving add a cup of milk, broth, or water to the sauce, and heat using your preferred method.