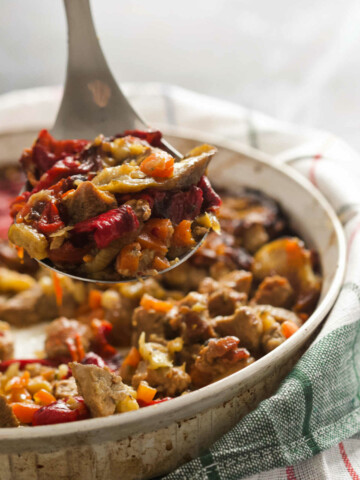
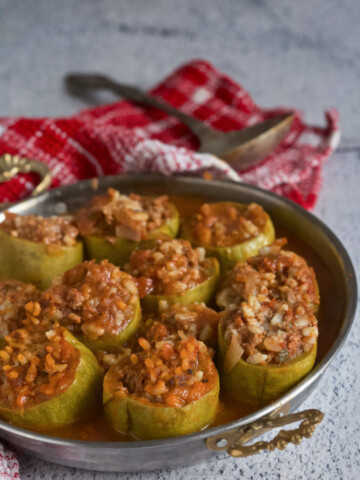
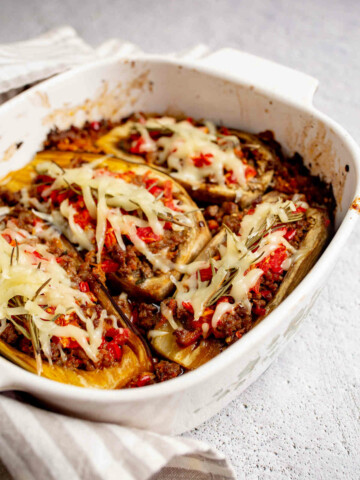
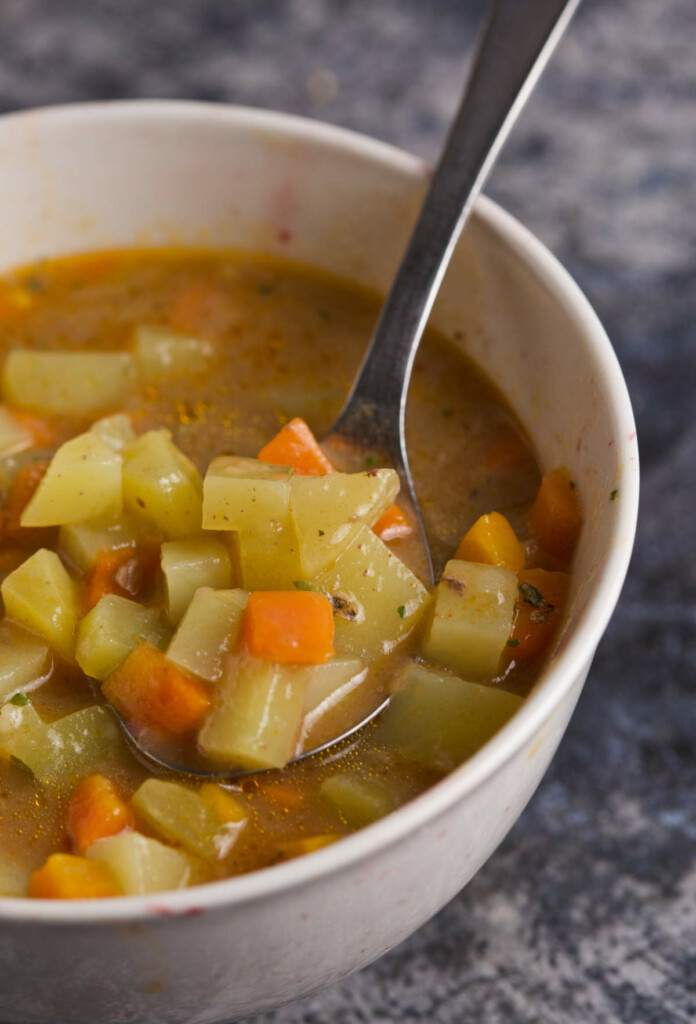
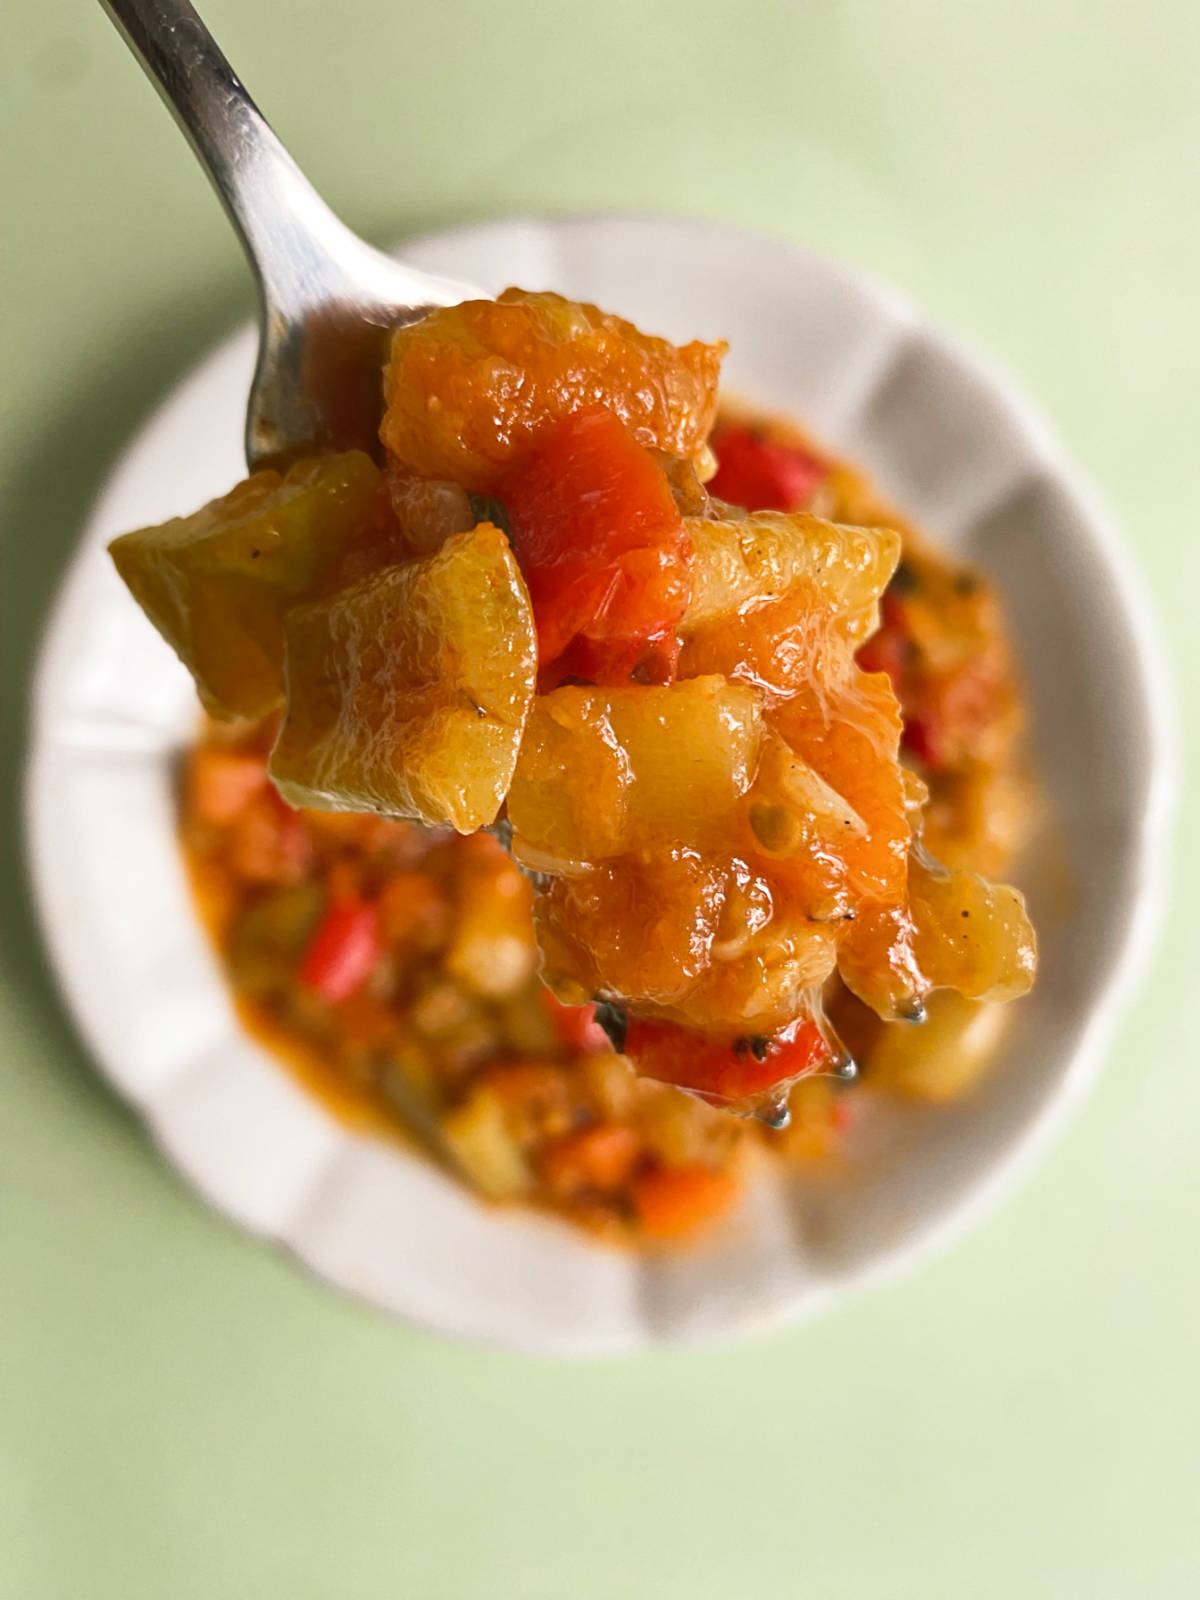
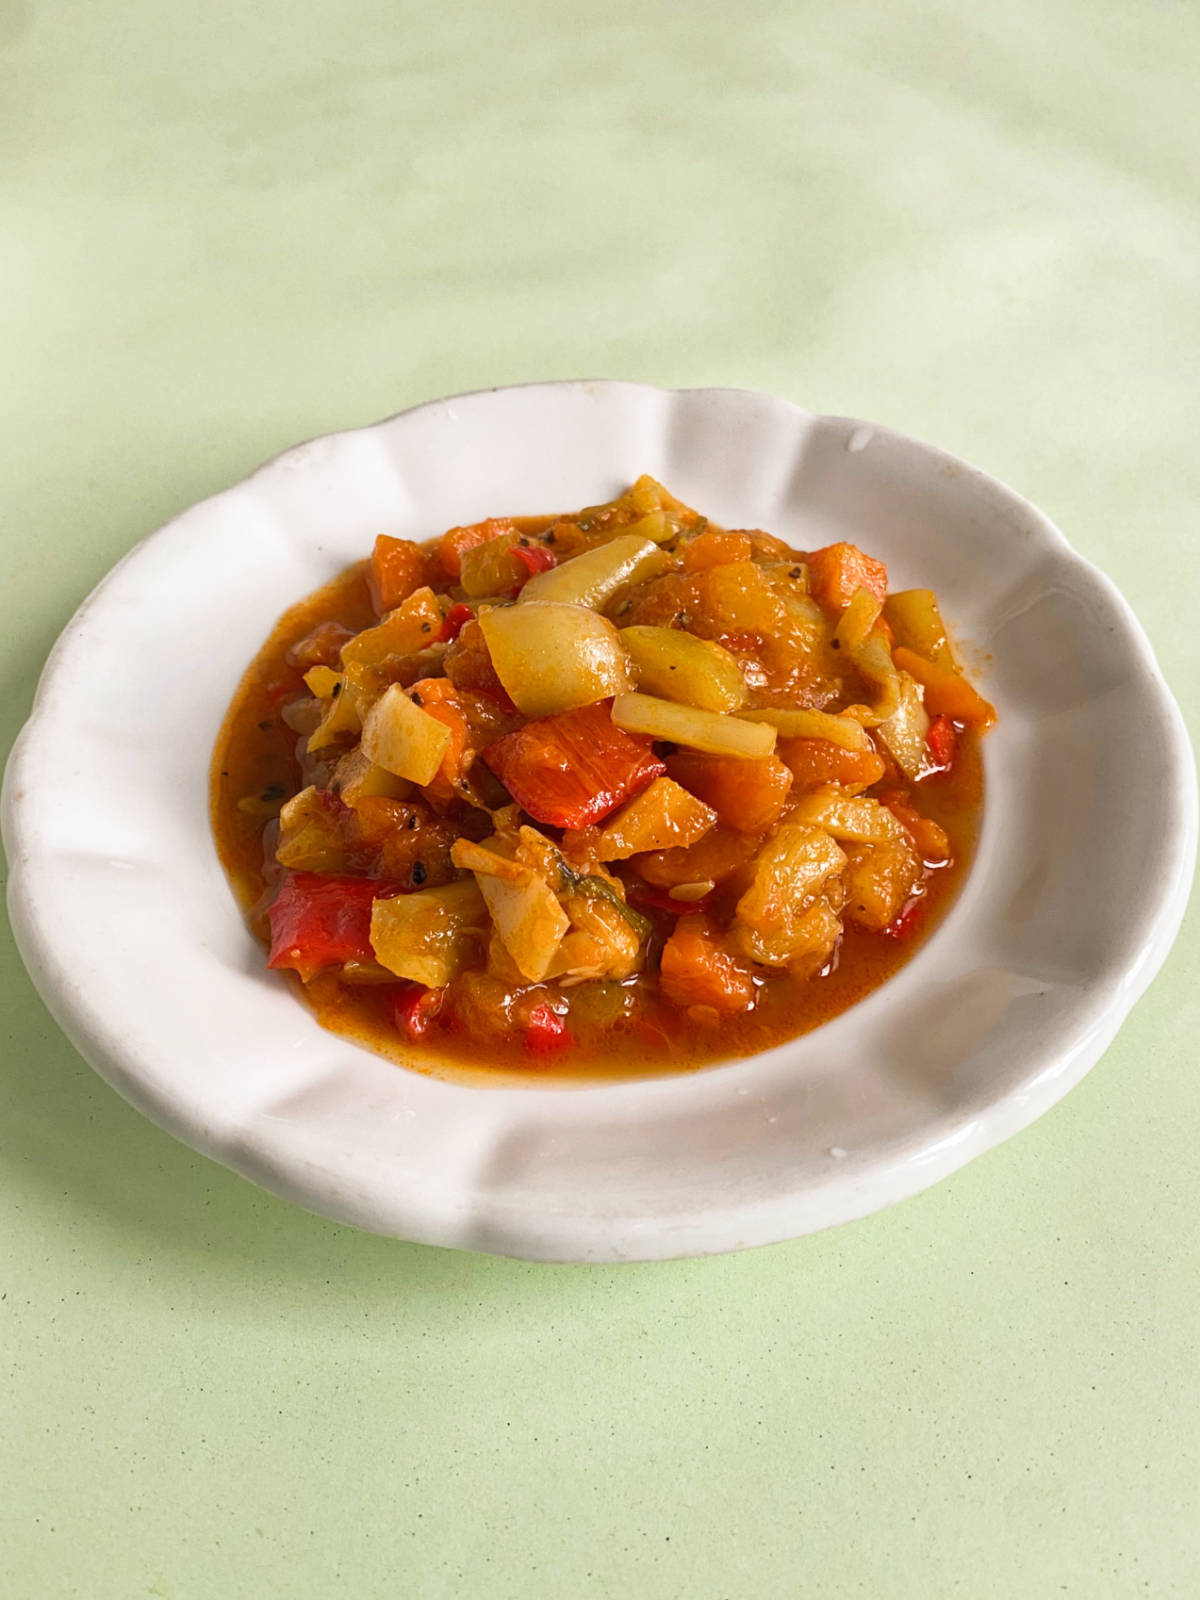
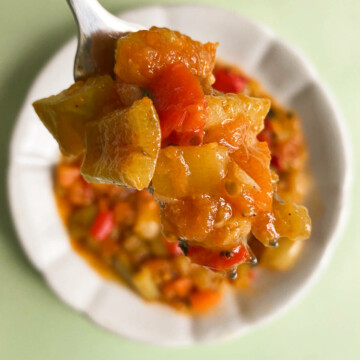
Djuvec (đuveč) is a flavorful, slow-simmered Balkan fall dish. This one-pot wonder soaks up the rich flavors of nightshade vegetables to create an incredibly hearty stew. You can think of it as Balkan ratatouille. Shall we?
Background
Djuvec (đuveč, ghivech) is an autumn stew popular throughout the Balkans and Eastern Europe. (It's the national dish of Moldova!)
The word djuvec (đuveč) comes from the Turkish "güveç." It designates a small, clay pot in which it was traditionally made - kind of like dagara, or Bosnian pot.
In its fundamental form, djuvec consists of tender vegetables and aromatic spices. In some regions, however, it's almost always prepared with meat and rice.
Djuvec is a more advanced version of satarash, another tasty vegetable stew. Bountiful vegetables sweat out all their sweetness through simmering, baking, or both.
We'll do a vegetarian djuvec today, but you're welcome to throw in some beef, pork, or lamb.
Why You’ll Love This Recipe
- Perfect With or Without Meat! Keep djuvec vegetarian, or add your favorite protein.
- One-Pot Wonder! Simple steps = minimal cleanup + maximum flavor!
- Customize to Taste! Add or subtract spices and veggies to reach the djuvec (đuveč) flavor that's right for you.
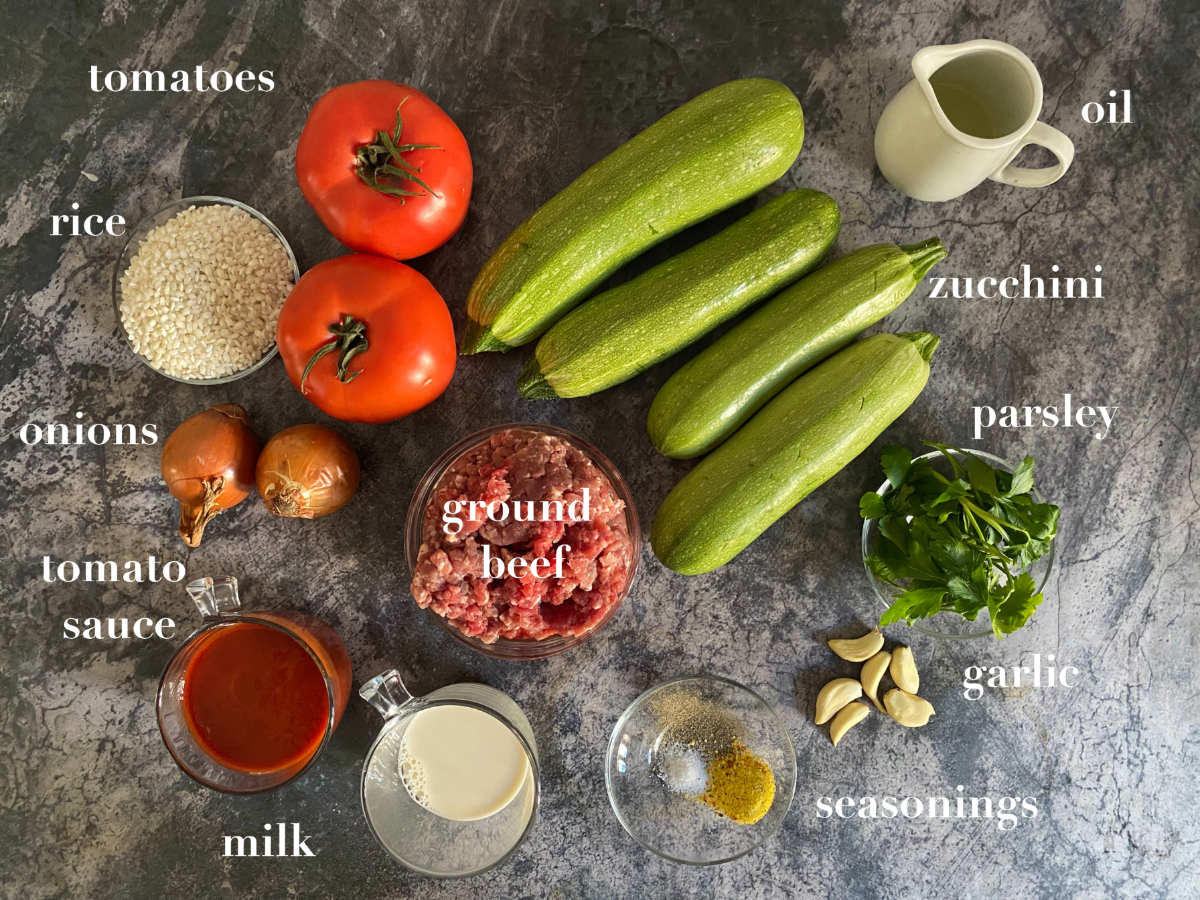
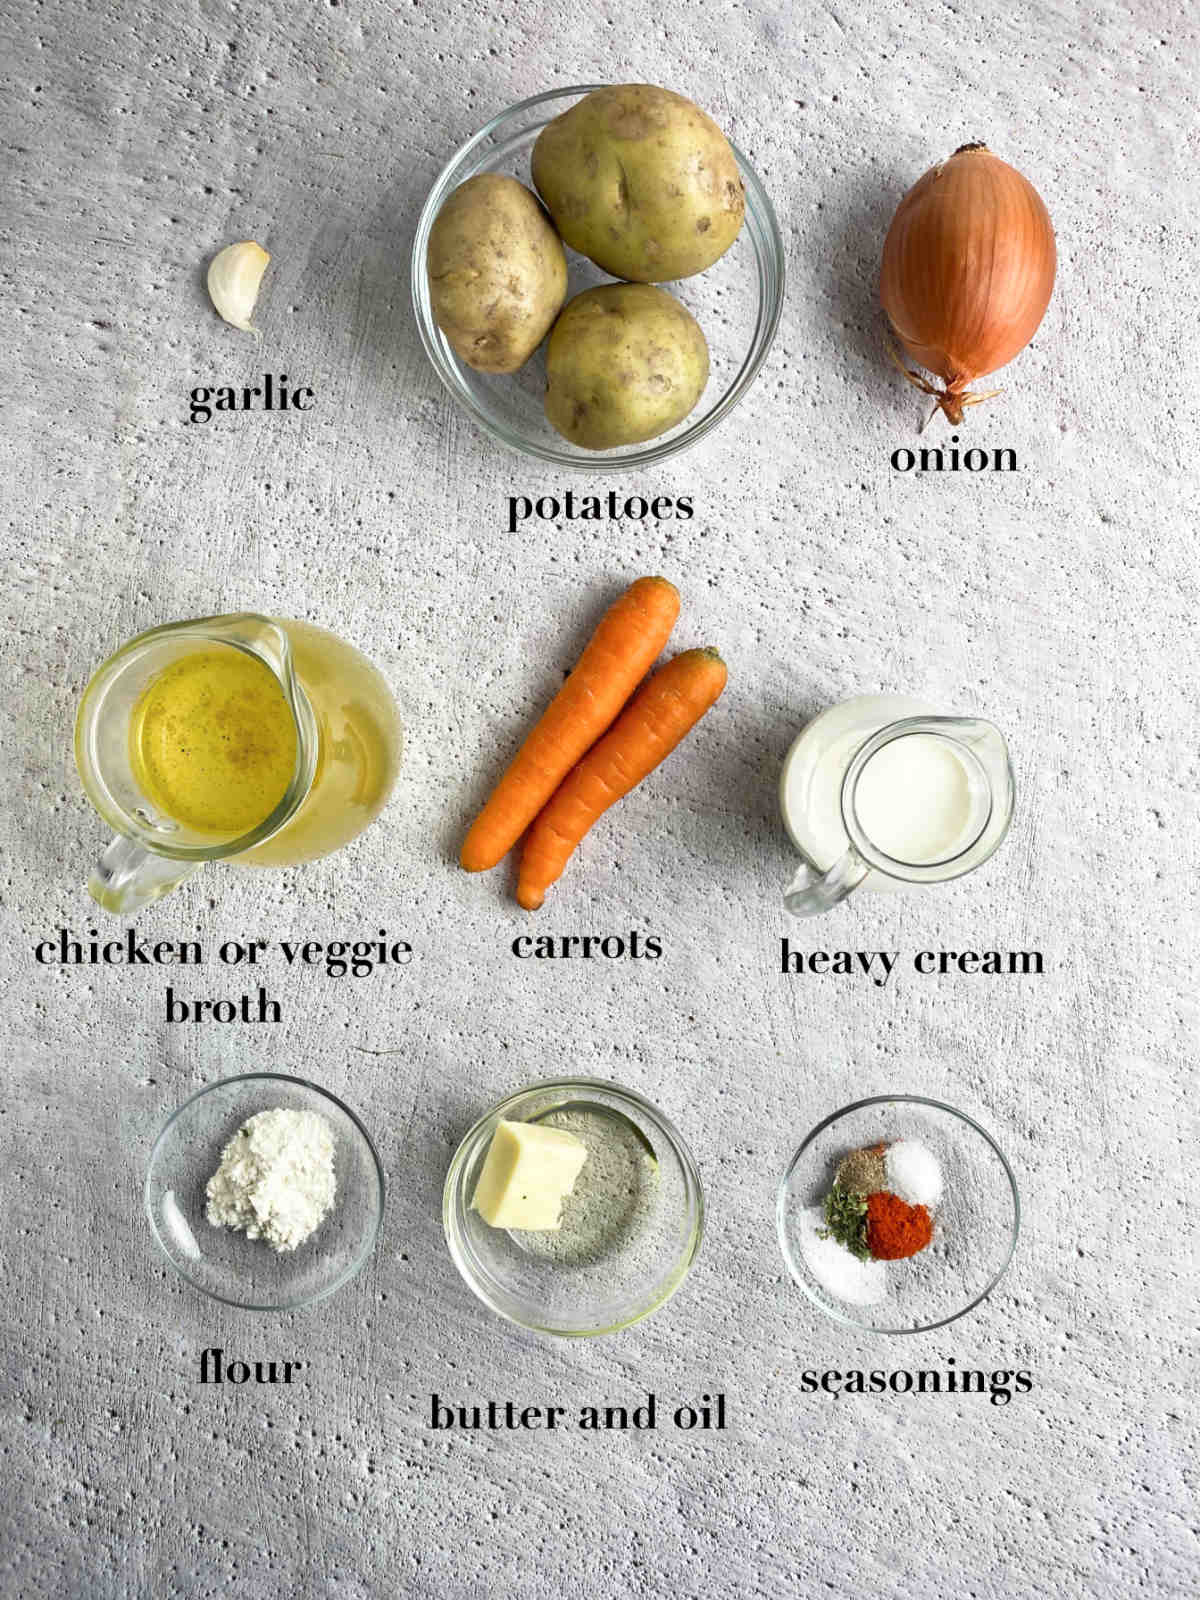
Ingredients
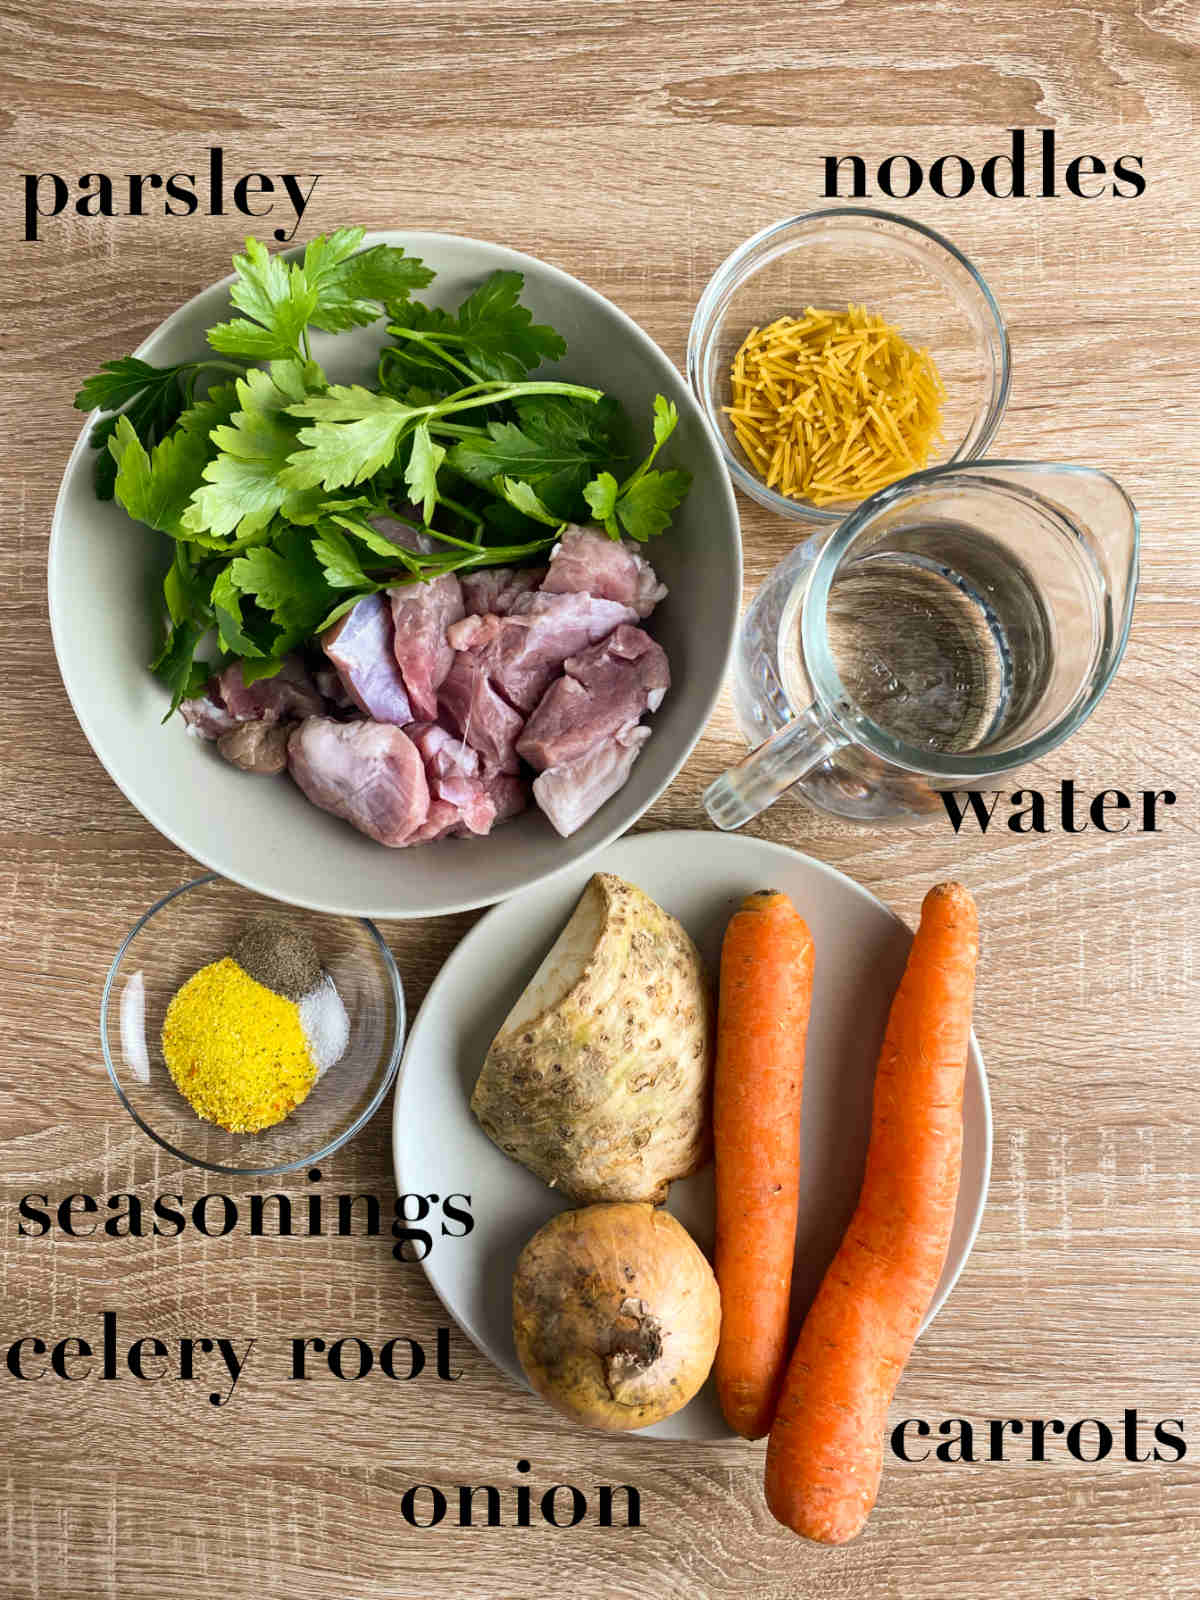
Here are the ingredients you'll need for djuvec (đuveč). The list is by no means final or exhaustive.
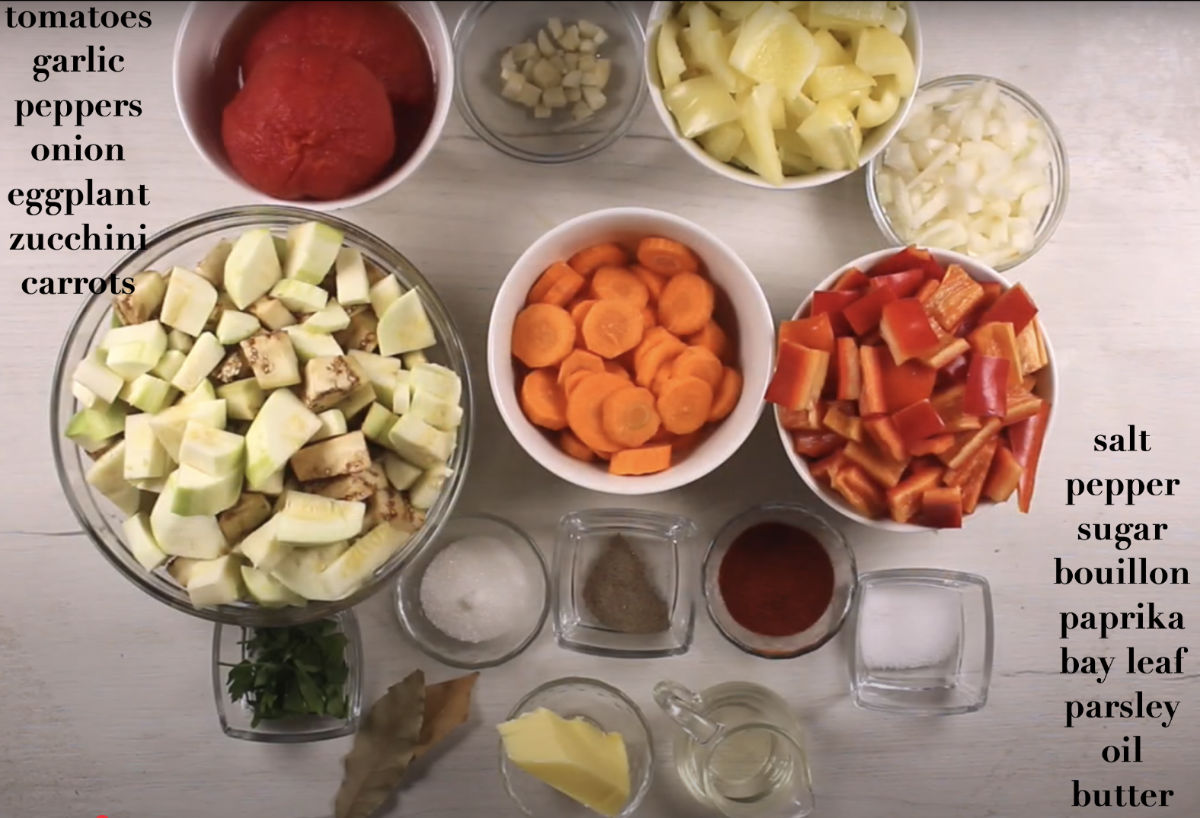
- Oil. Any type works.
- Butter. Or ghee.
- Onion. Red, yellow, or white.
- Carrots.
- Garlic.
- Tomatoes. Roma or on the vine. Avoid cherry tomatoes as the djuvec recipe calls for skinning them.
- Sugar. Any type.
- Herbs and Seasonings. Salt, pepper, bouillon, bay leaf, parsley, and paprika. Substitute with your own herb mix.
- Peppers. Green, red, yellow, or orange. Avoid too many spicy peppers.
- Eggplant.
- Zucchini.
- (Optional) meat. Beef, lamb, and pork work best. Avoid fish and poultry.
Instructions
Here are our simple step-by-step instructions to make a perfect djuvec (đuveč).
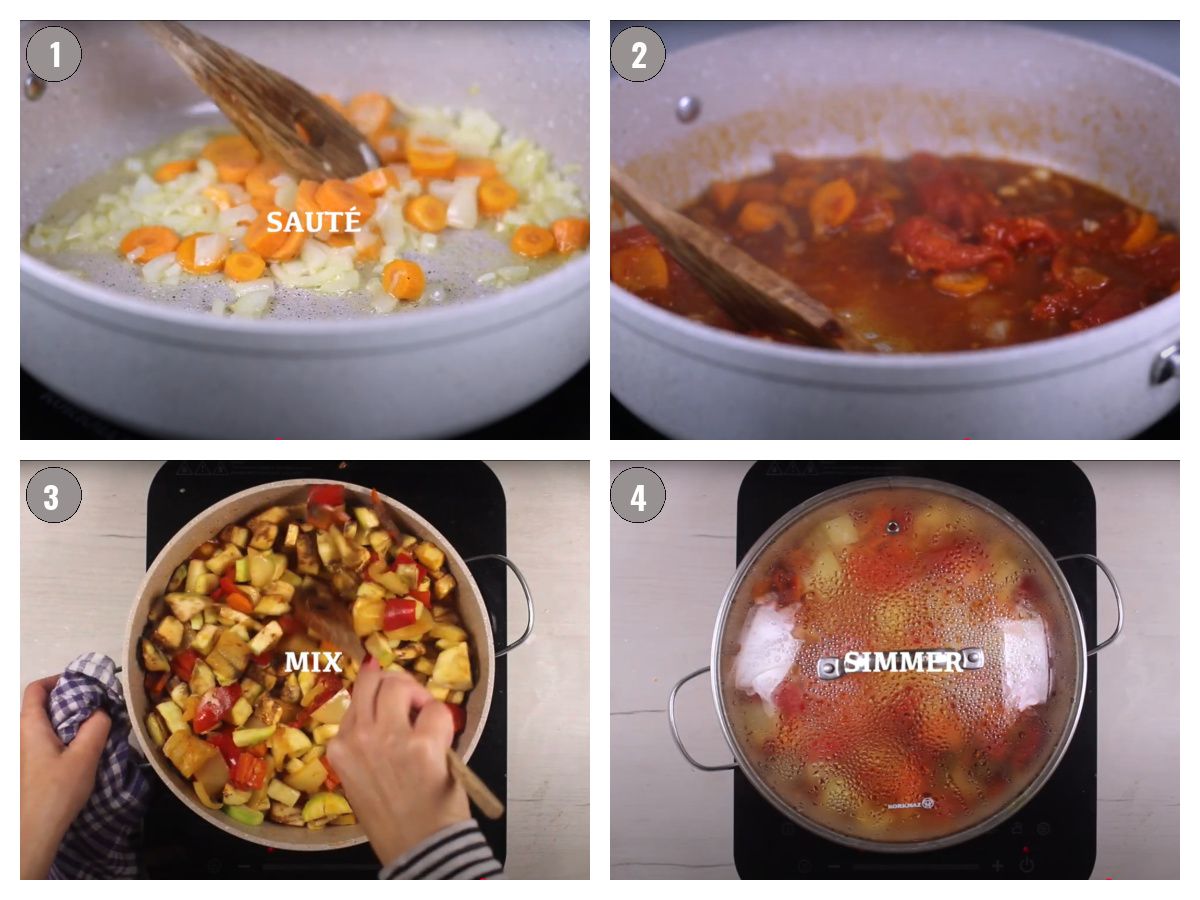
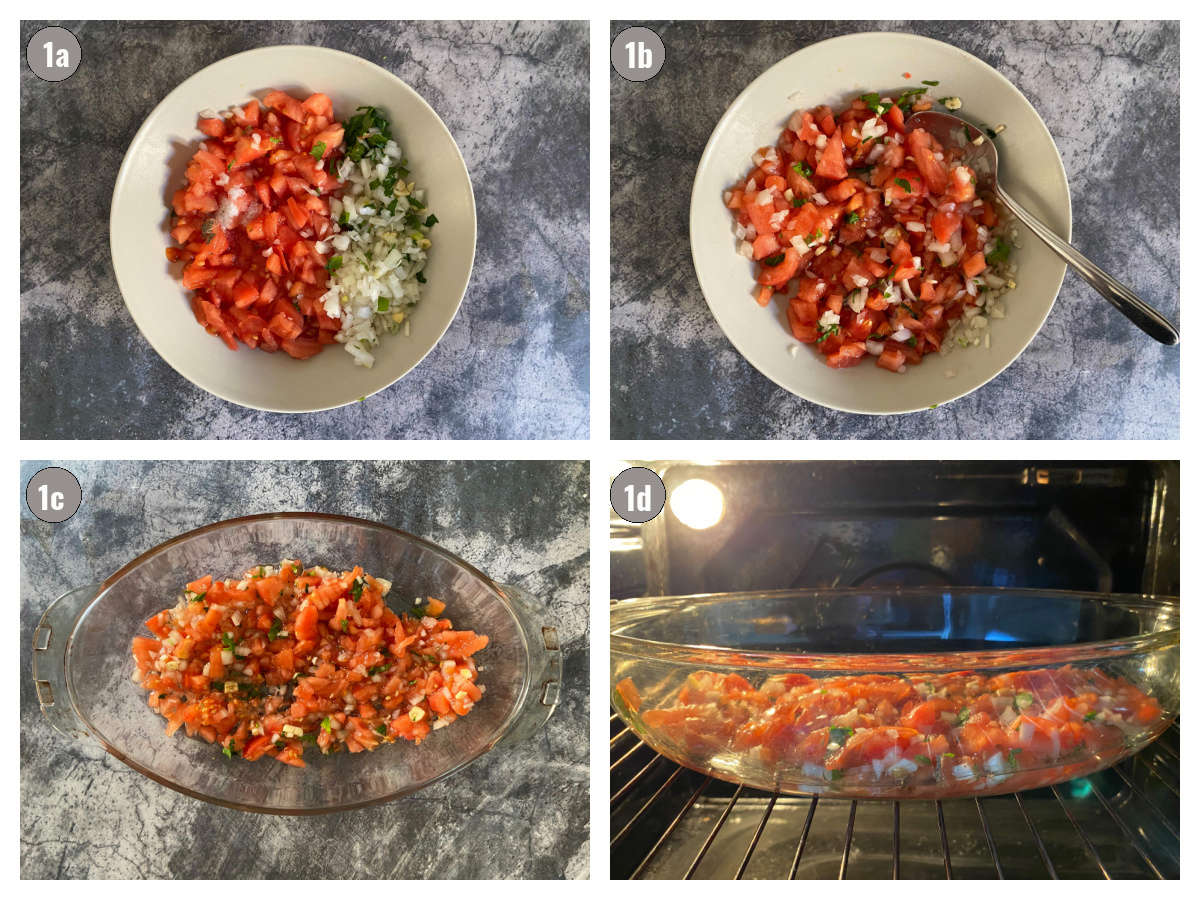
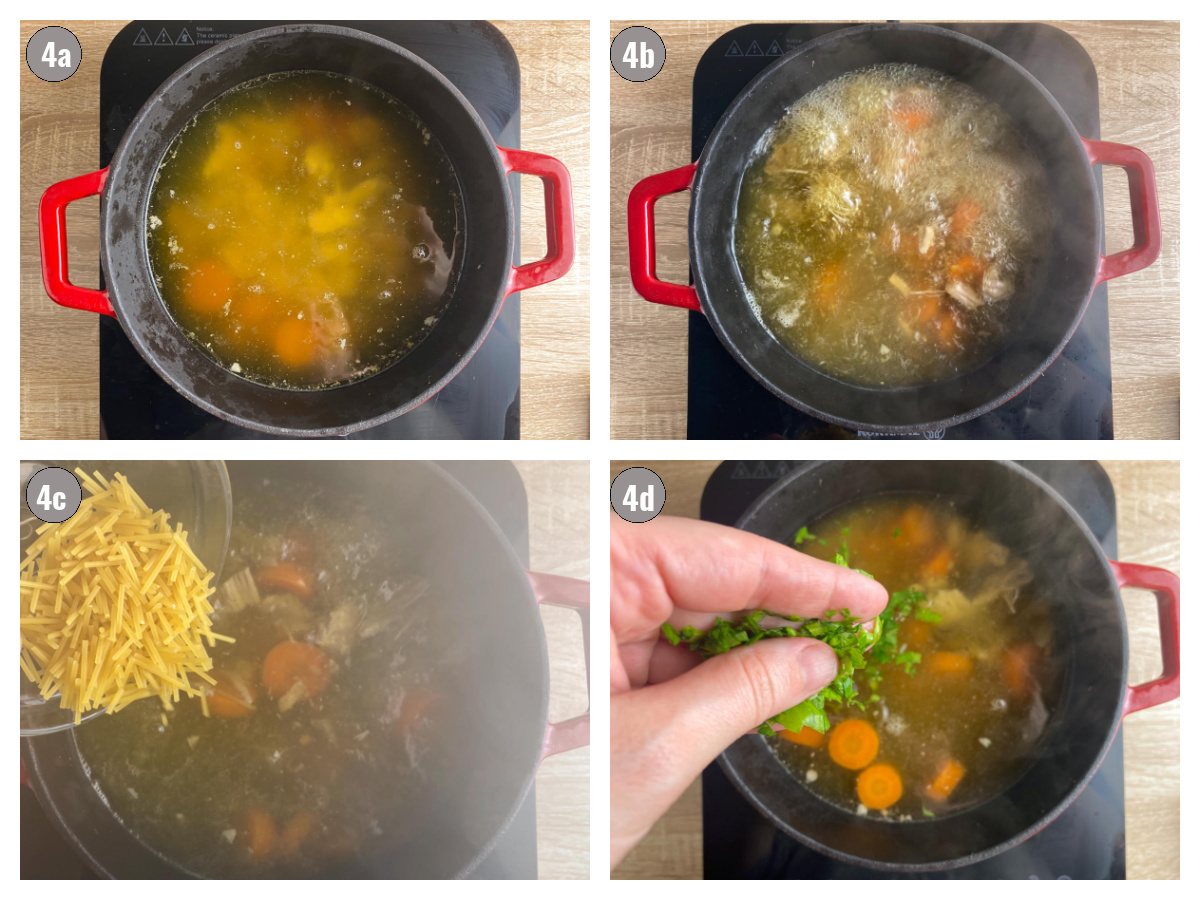
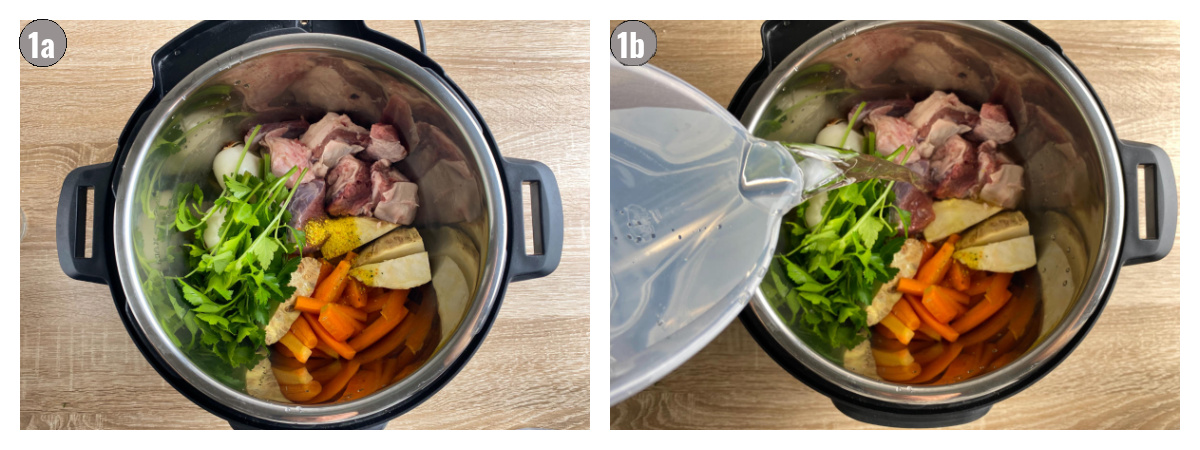
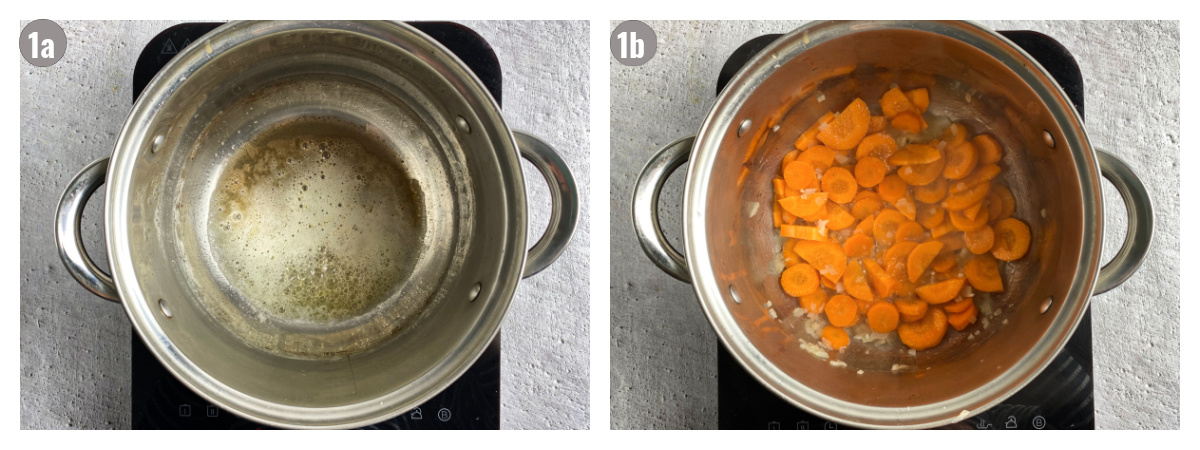
Step 1. In a large pan heat oil and butter over medium high. Add onion and carrots and sauté until translucent.
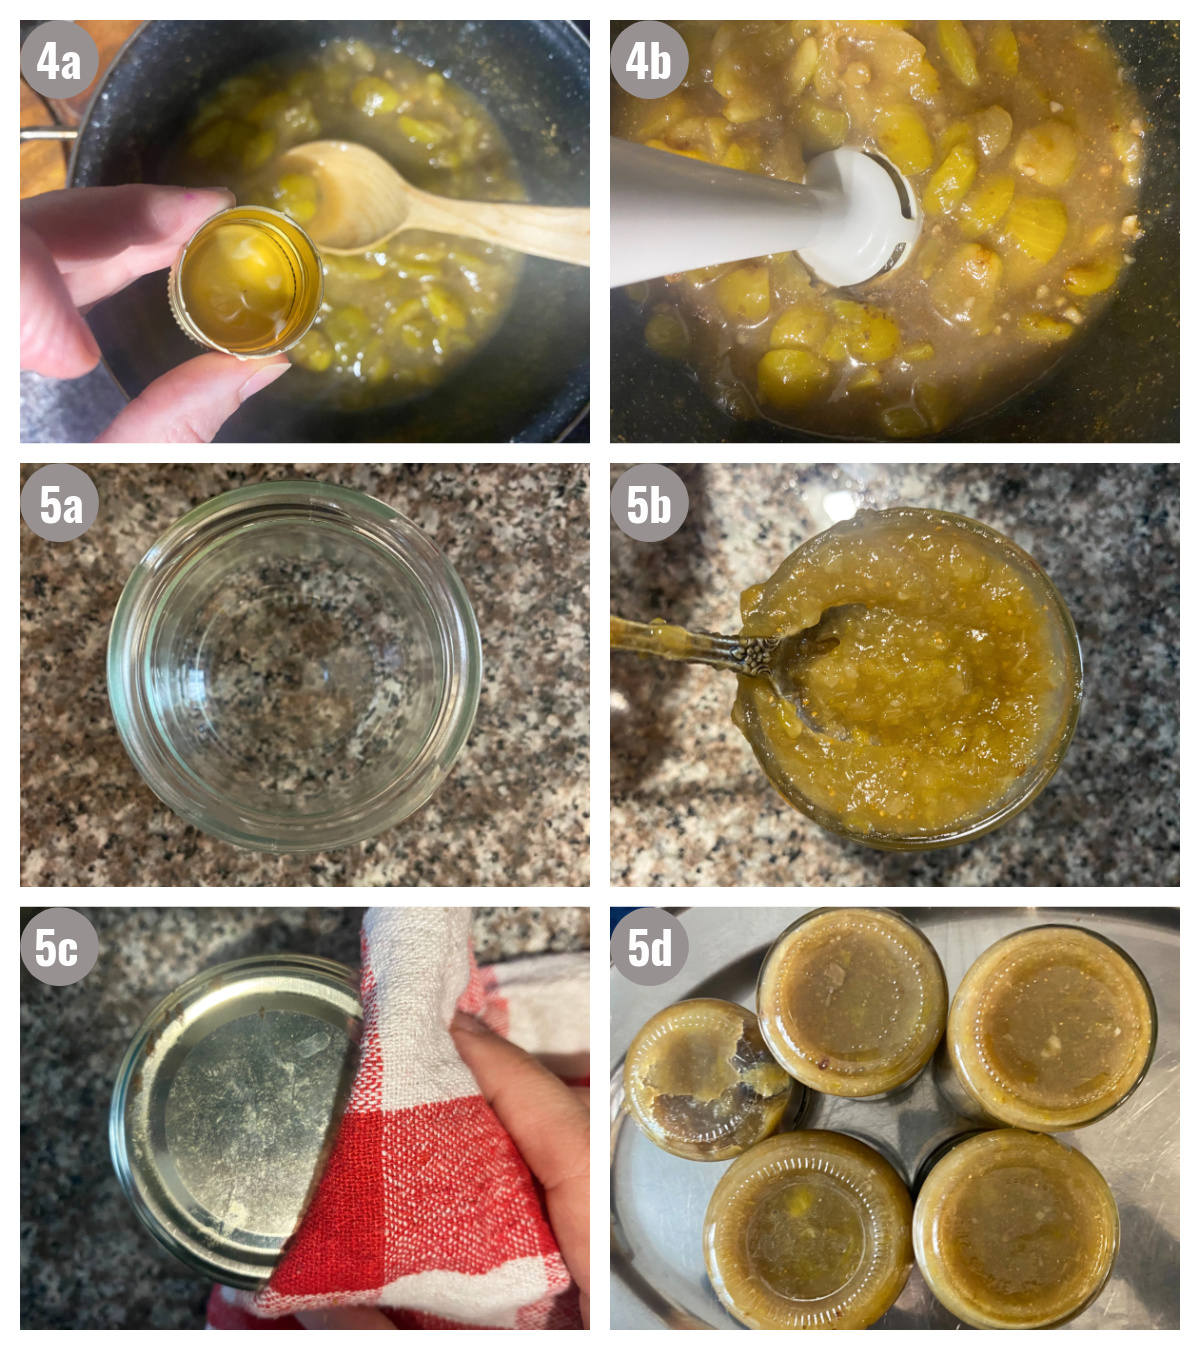
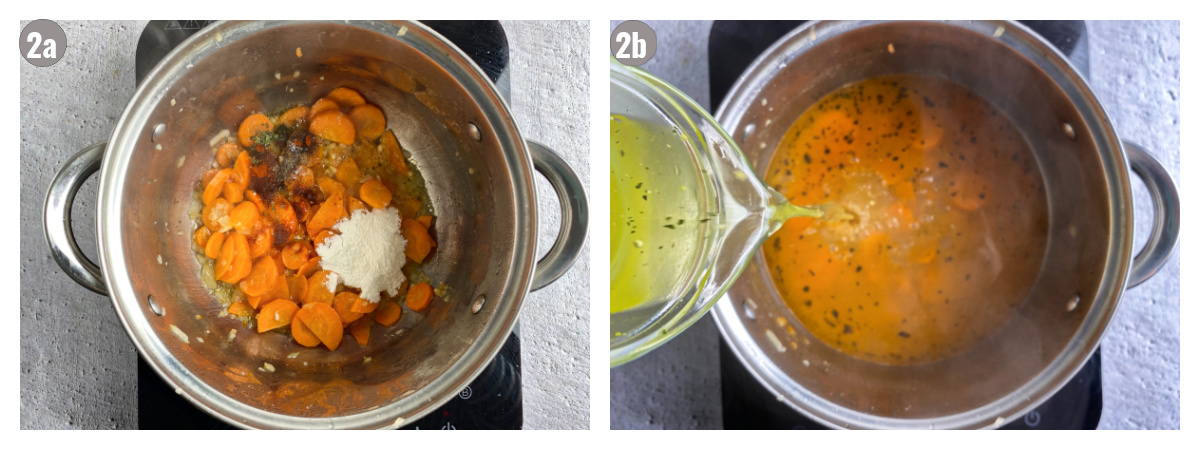
Step 2. Add garlic, tomatoes, paprika, sugar, and bay leaves. Sauté 5 to 10 minutes, then add water. Simmer for 5 minutes.
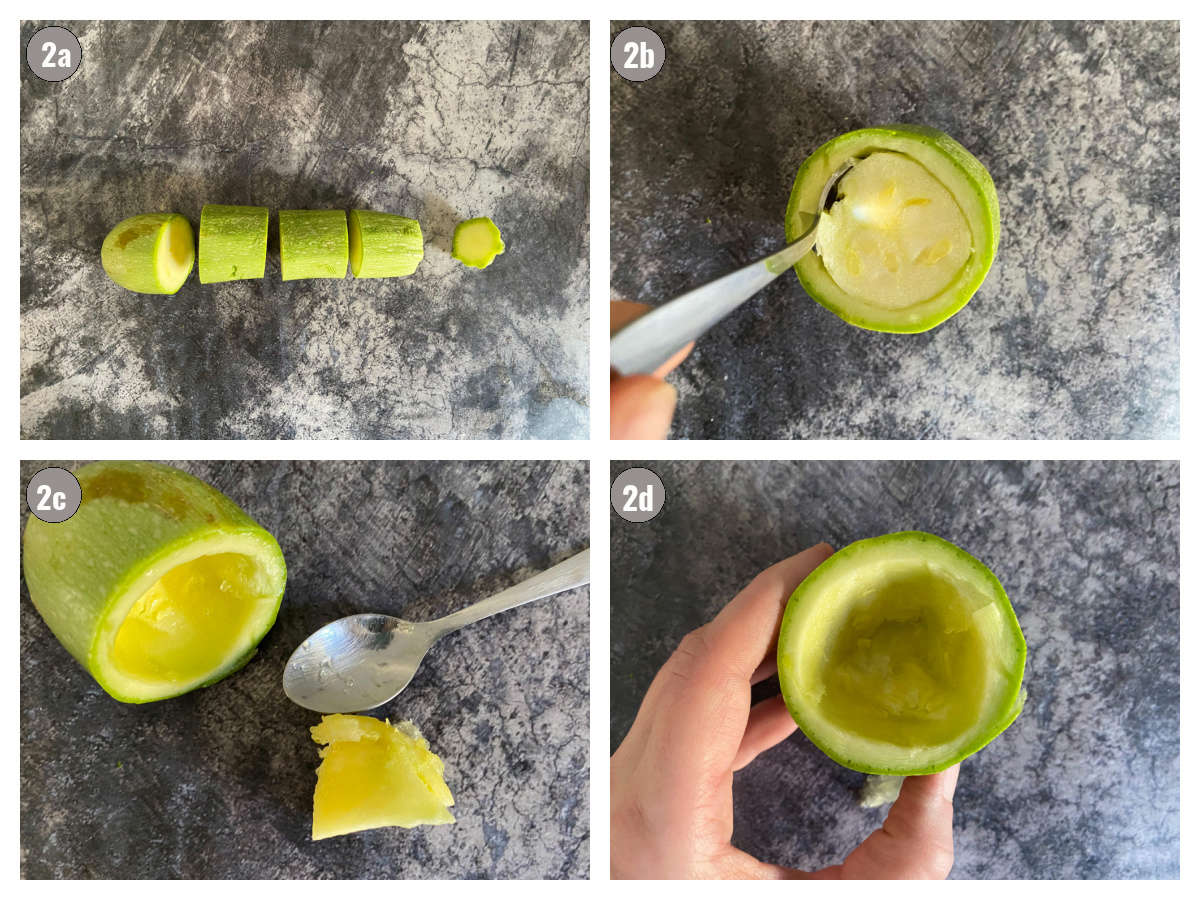
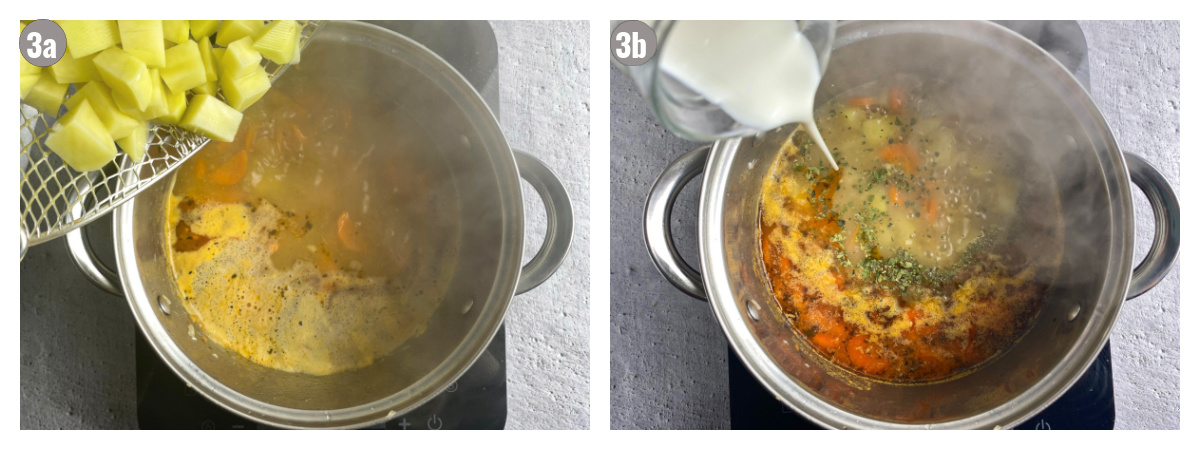
Step 3. Add bell peppers, eggplant, salt, and pepper. Mix thoroughly.
Step 4. Cover and simmer on low for 40-50 minutes. Add liquid as needed.
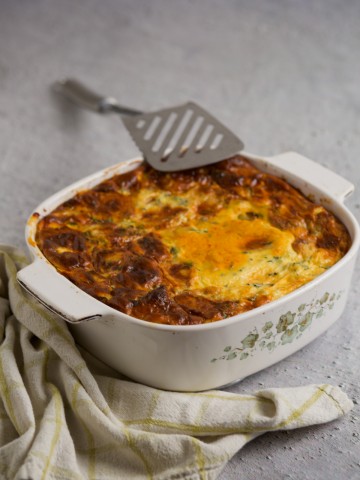
Step 5. (Optional, not pictured.) Transfer to a preheated oven and bake for an additional 15-20 minutes.
Variations of the Dish
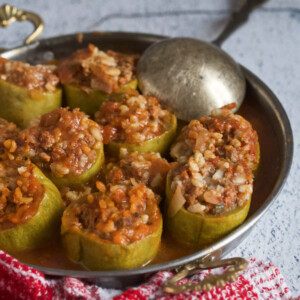
- Add Meat. Separately sear meat, and add to djuvec (đuveč) when adding eggplant.
- Spicy Kick. Add one or two chili peppers, or a plentiful pinch of red pepper flakes for a dash of spice.
- Add Grains. Add a cup of rice, bulgur, or quinoa when adding eggplant. In this case, add more liquid (broth) to the stew throughout stewing. Alternatively, cook rice on the side and top with djuvec (đuveč).
- Cooking Methods. Stovetop, stovetop plus oven, or oven only all work.
Recipe FAQs
Absolutely! Djuvec (đuveč) works well with most tomatoes.
(Avoid cherry tomatoes as they have to be skinned.)
Like most ratatouille-like stews, djuvec is by nature a little mushy.
However, you can control the amount of liquid you add so it doesn't become too much so.
As a general rule, we at Balkan Lunch Box don't recommend freezing vegetable-heavy dishes.
If you choose to do so, make the rice version of djuvec (đuveč), and freeze it up for a month in a freezer bag or an airtight container.
Handling
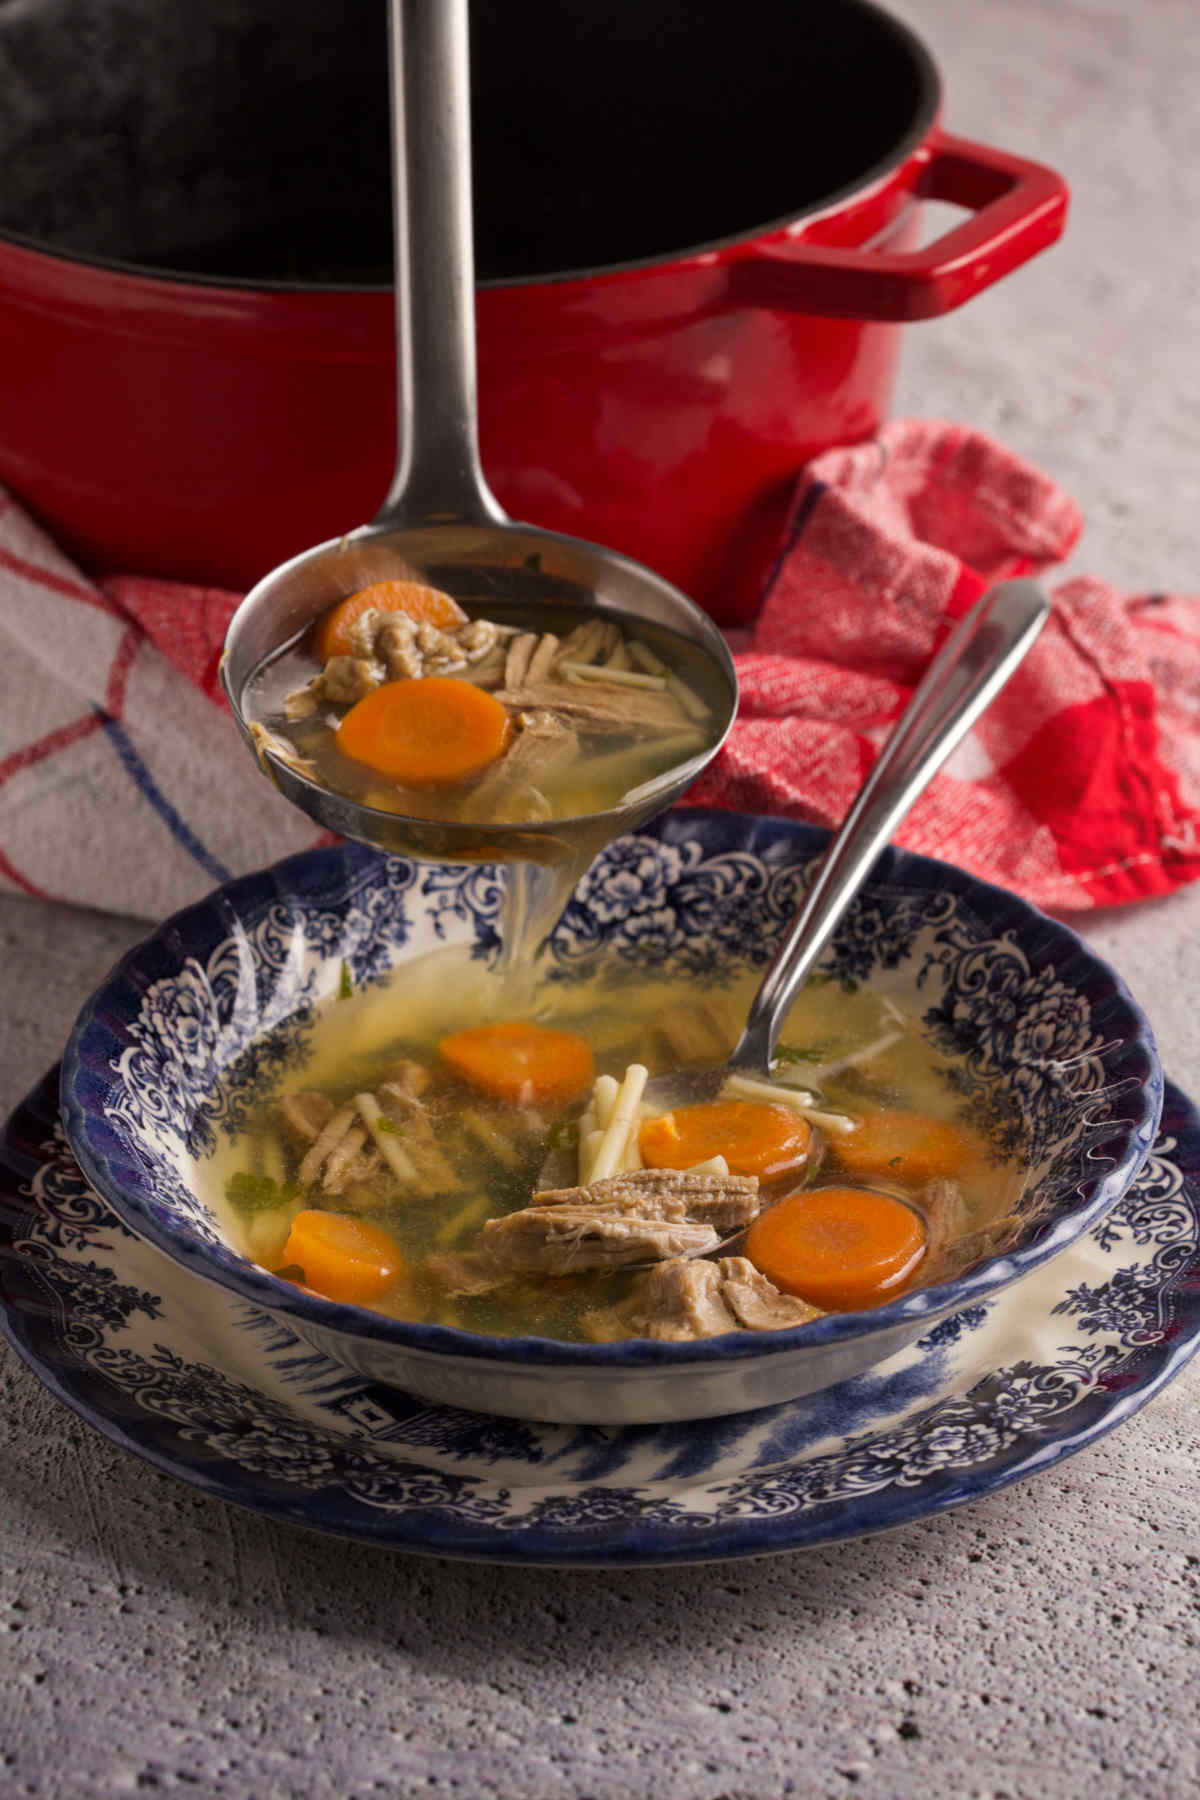
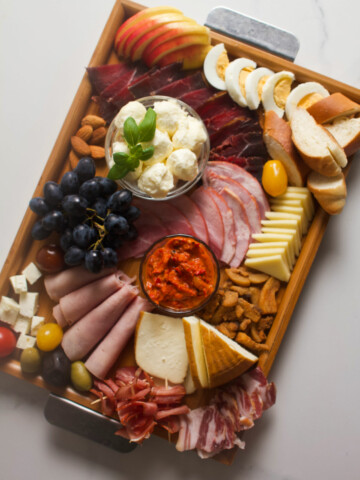
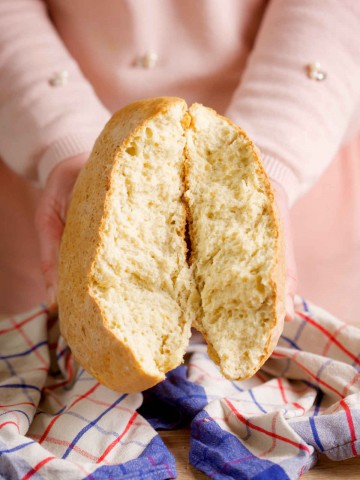
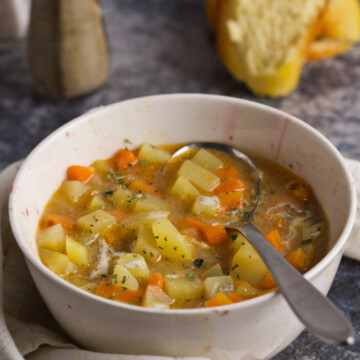
- Serving. Serve djuvec warm with some homemade Balkan bread, pogacha, rice, polenta, as a side to grilled meats like rissoles, or even fish.
- Storage. Refrigerate leftovers in an airtight container for up to 1-2 days. Anything longer, and the vegetables will become too mushy.
- Reheating. Reheat djuvec (đuveč) using your preferred method, but add a splash of broth or water.
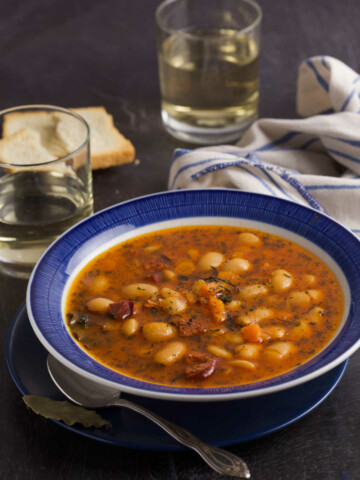
Vegetarian Recipes We 💙
Veggies? Yes, please!

Thoughts?
If you make today's djuvec aka Balkan ratatouille (đuveč) and like it, please consider leaving a ⭐️⭐️⭐️⭐️⭐️ (5-star) rating. This will help others find the recipe more easily!
You can also leave a comment, I read EVERY one! Finally, if IG is more your thing, consider tagging us @balkanlunchbox.
Prijatno, Dobar Tek, and Bon Appetit!
(Adapted from the recipe by S. Hajdarević)
Djuvec (Đuveč) - Balkan Ratatouille
Ingredients
- 2 tablespoons oil
- 1-2 tablespoons butter
- 1 yellow onion large, peeled, diced
- 2 carrots medium, peeled, diced
- 1-2 garlic cloves peeled, minced
- 3 tomatoes medium, peeled, crushed
- 1 tablespoon paprika or more
- 1 teaspoon sugar
- 1-2 bay leaves
- 2-3 cups vegetable broth substitute with warm water with 1 tablespoon of stock powder, 1-2 tablespoons Vegeta, or 1 bouillon dissolved in warm water
- 2 yellow bell peppers cored, diced
- 2 red bell peppers cored, diced
- 1 eggplant large, peeled, diced
- 1 zucchini large, peeled, diced
- salt and pepper to taste
- 1 tablespoon parsley fresh, minced
Instructions
- In a large, deep pan (or shallow pot) heat oil and butter over medium-high. Add onion and carrots and sauté until translucent (about 5 minutes).
- Add garlic, tomatoes, paprika, sugar, and bay leaves. Sauté 5 to 10 minutes, then add a little bit of broth. Simmer for an additional 5 minutes.
- Add bell peppers, eggplant, zucchini, salt, pepper and remaining broth. Mix thoroughly and cover almost all the way. Simmer on low for 40-50 minutes, or until the vegetables are completely tender. (There should be just a bit of liquid left in the pan so it's stewy but not soupy.)
- Take the bay leaves out, garnish with parsley, and serve.
- (Optional) Preheat oven to 350°F (180°C). Transfer to a baking pan and bake another 15-20 minutes, or until a slight crust forms on top of the veggies. (Add more broth as needed so the vegetables don't dry out.)
- Serve djuvec warm with some homemade Balkan bread, pogacha, rice, polenta, as a side to grilled meats like rissoles, or even fish.Store leftovers in an airtight container for up to 1-2 days. Anything longer, and the vegetables will become too mushy.Reheat djuvec (đuveč) using your preferred method, but add a splash of broth or water.
Video
Notes
- Dish Variations