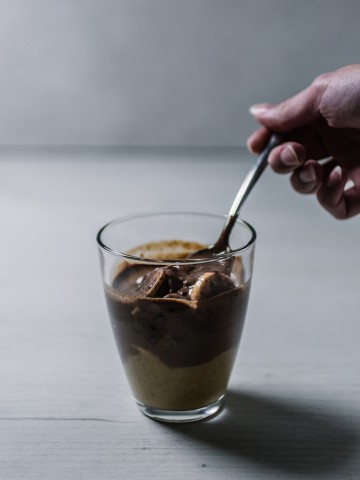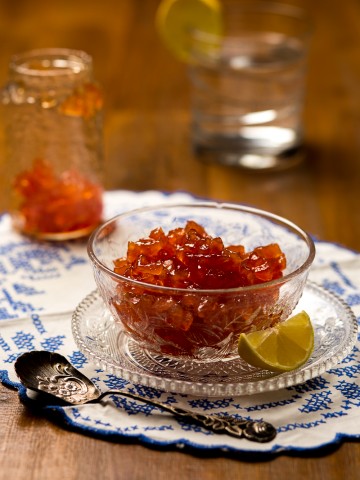
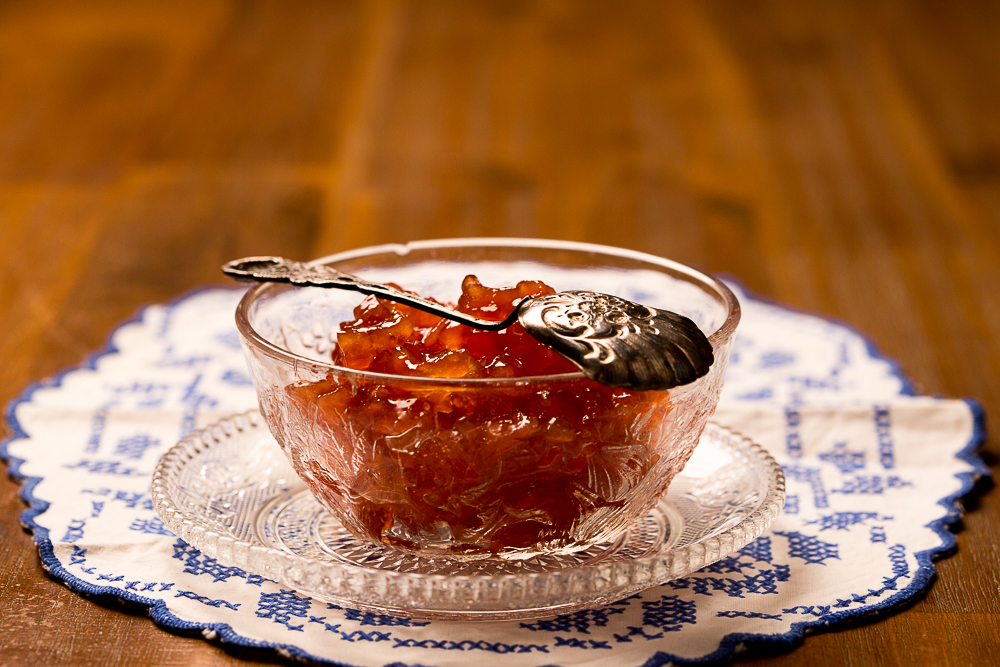
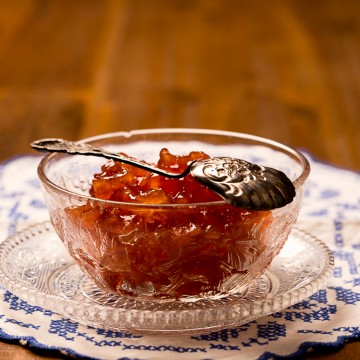
Tasty quince dessert, made by poaching quinces until perfect reduction and softness of fruit are achieved. The resulting dessert (a condiment too!) is best described as quinces in simple syrup. Similar to Turkish ayva tatlisi, and Italian frutta sciroppata, this dessert sauce is great by itself or as a topping.
Poached Quince Dessert
There was a time when upon opening a wardrobe or glancing at a window seal, your eyes were met with an object so yellow and aromatic it pulled you straight into now. The past was spent, and the future delegated to some other latitude while you stood face to face with the misshapen apple, the yellowest of pears, mysterious and sweet-smelling quince.
Today we are taking that quince for consumption.
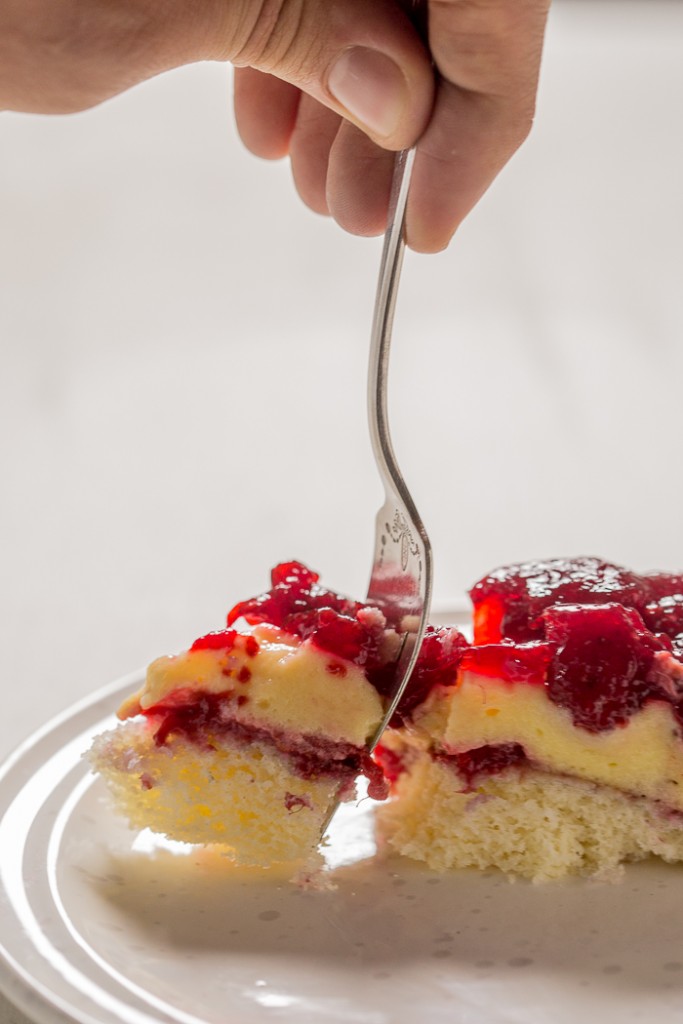
This dessert is unique. The closest I can do is to get you to think of it as a rich man’s version of canned fruit if canned fruit was harder and sweeter, and the sauce was thicker and also sweeter.
The original name for this type of dessert is slatko, meaning sweet. 'Slatko' is an adjective except in this case when it transforms into a noun. But how do I name our slatko od dunja in English? I wanted to be more precise than calling it 'the quince sweet.'
In today's sugar-vary environment, how do I write about, or name the dessert based heavily on simple syrup, even when it's made with something as beautiful, as aromatic, and as culturally significant to the Balkans as a quince?
I went with the poached quince dessert. Think of it as a Balkan version of the Italian frutta sciroppata or Turkish ayva tatlisi.
'Fruit in syrup' suggested my reader Sabrina.
Quince Significance in the Balkans
Ottomans brought the quince to the Balkans. Immediately upon coming here the quince took on a romantic hue. It grabbed a hold of lore and music and achieved solid cultural significance.
There is something about the quince. Heavy. Hard. Tart. Beautiful. It doesn't like that you try to consume it raw. You may want to, but even when ripe it tastes unripe. You might handle a slice or two, but it’ll never let you finish it whole.
The quince insists on preparation. It insists on patience. It’s worth the wait.
Regrettably, people consume less of them today than ever before. For the generation of our grandmothers it was unthinkable not to have a few young quinces strategically placed around the home from where they'd expel their magical aroma as they ripened.
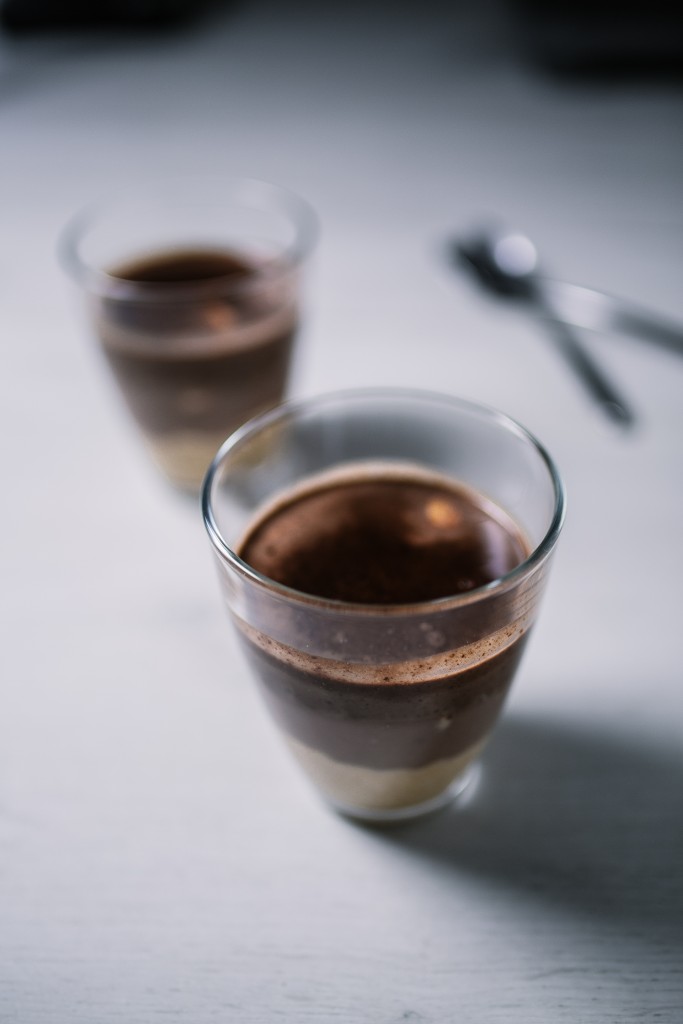
Back in the day when you visited a friend or a neighbor in Serbia the first thing they brought you was a small bowl of poached quinces in simple syrup, along a glass of water.
I thought about the meaning behind this kind gesture and distances come to mind. If you lived in a village then, it was a trek to reach your neighbor’s house. Quince syrup offered a perfectly timed sugar jolt to revive your energy until dinner.
Meanwhile, we love the idea of the quince, but only the idea. Give us something easy to make, we say.
How to Make Poached Quince Dessert
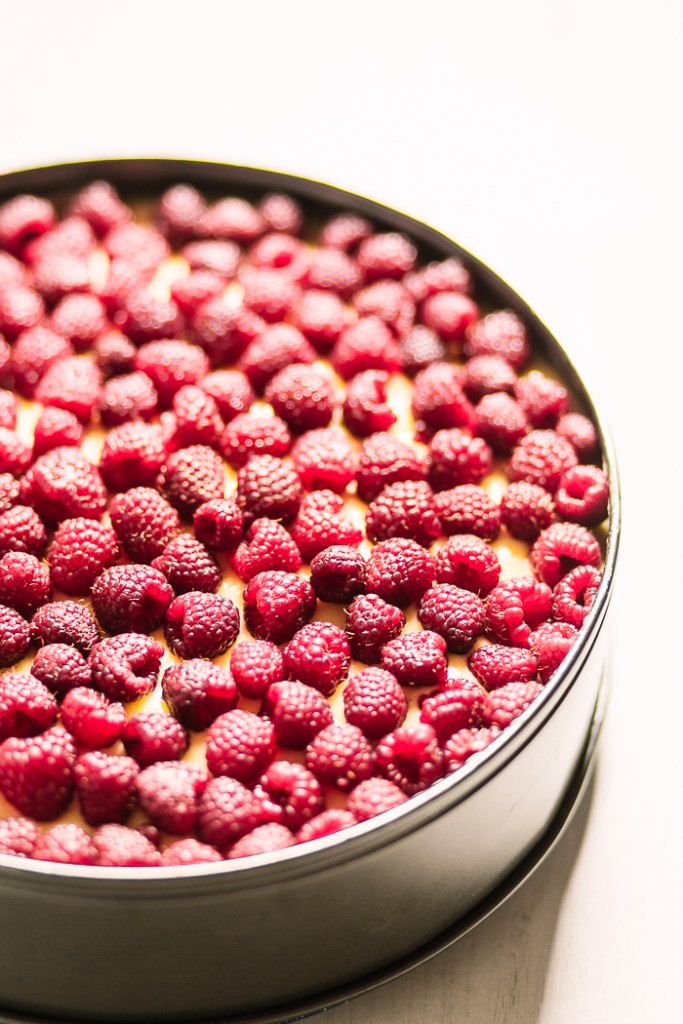
When you head over to the market to get the quinces (sometime between October and December, during their season), always get one or two more than you think you’ll need.
Bruises on the outside of the fruit are not an indication of it going bad, or being ripe on the inside. In reality, a quince may trick you. It may be perfectly yellow and hard on the outside, but as you cut it you may discover bruises on the inside. Don’t use those.
Core it and peel like you would an apple. But be careful! It’s tough. (Imagine peeling a watermelon.) There is no use being speedy lest you cut your finger. The quince will not let you handle it absentmindedly.
This quince recipe is even simpler than the strawberry syrup as there is no marinating.
But it’s helpful if you get a large pot with water with sugar and lemon ready before you start peeling. Quinces brown easily. The best way to prevent this is to either smear pieces with lemon juice, or to drop them into the pot, right as you’re cutting them.
As mentioned we mostly prepared the strawberry syrup in my family. Grandmother loved strawberries, and she was the one who prepared it for dessert, and as a condiment for winter. (Quince dessert is equally good for conserving. Method is the same - just get more quinces, sterilize jars, and make a larger batch.)
But when I was testing the recipe for quince dessert, suddenly the old and tried recipe seemed basic. So I overcomplicated it. I first made the simple syrup, then added the quinces in. This resulted in quinces remaining hard while the syrup turned to something you'd use for hair removal. Lesson? Simple does it!
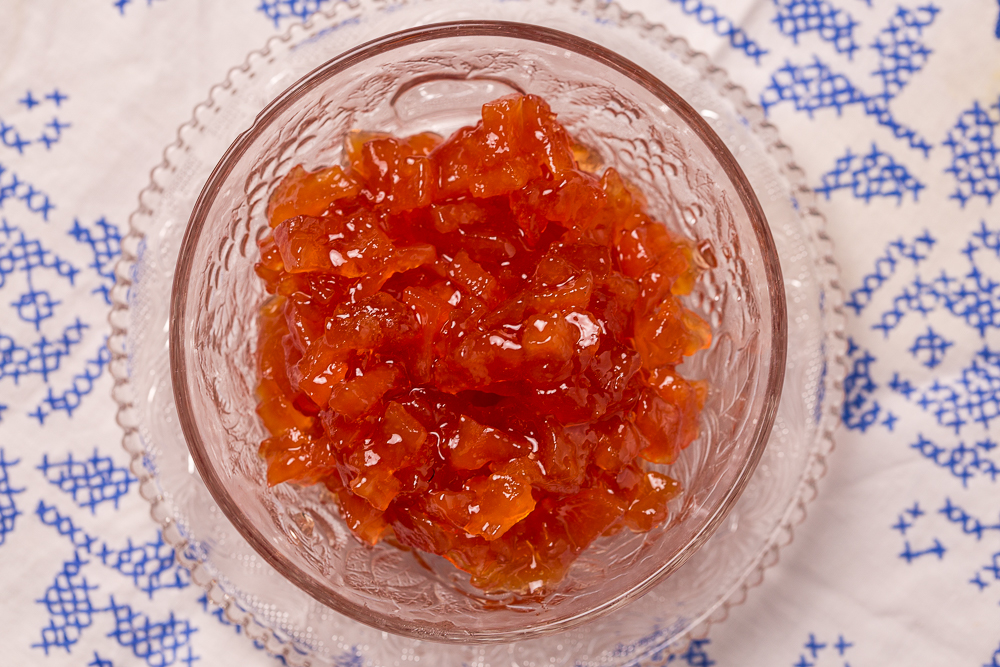
Quinces don’t have to fall apart, but the pieces do need to soften the way we need that aroma of theirs. If you don't like chunks, grate them.
It couldn’t be easier from here.
Bring to a boil on medium, and then lower the heat. Simmer for an hour or so, removing the foam that forms on top. You won’t be able to remove all of it as the syrup frequently bubbles up. Get as much as you can and don’t worry about the rest.
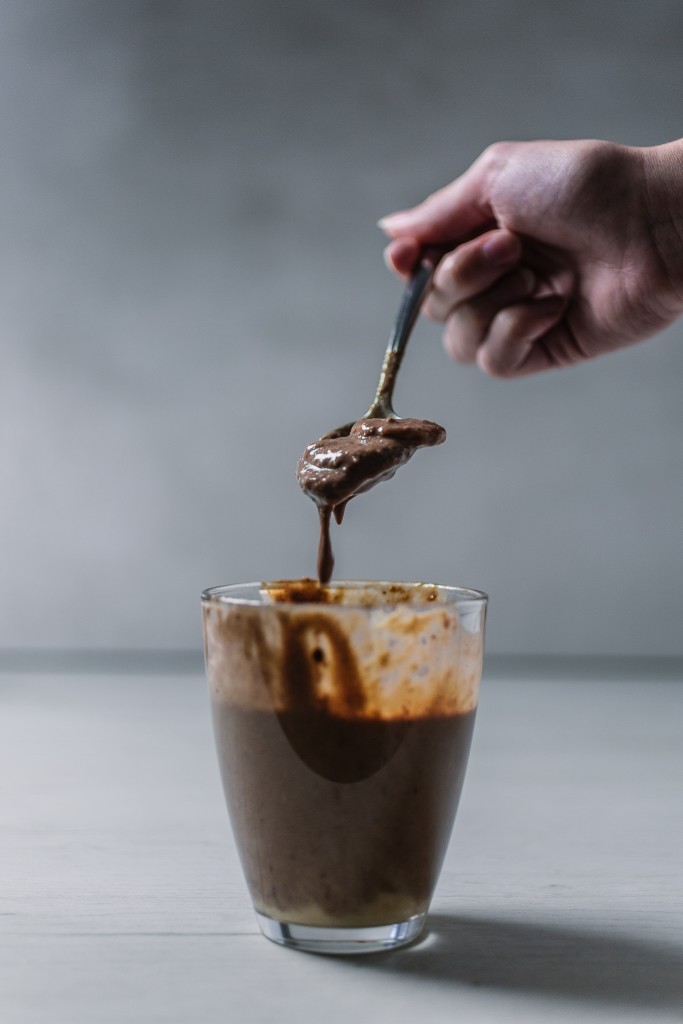
Cooking may take you an hour or an hour and fifteen minutes. Rely more on the spoon than the clock. You’re looking for the moment when, upon drawing a line on the bottom of the pot with your spoon, the quince syrup separates easily.
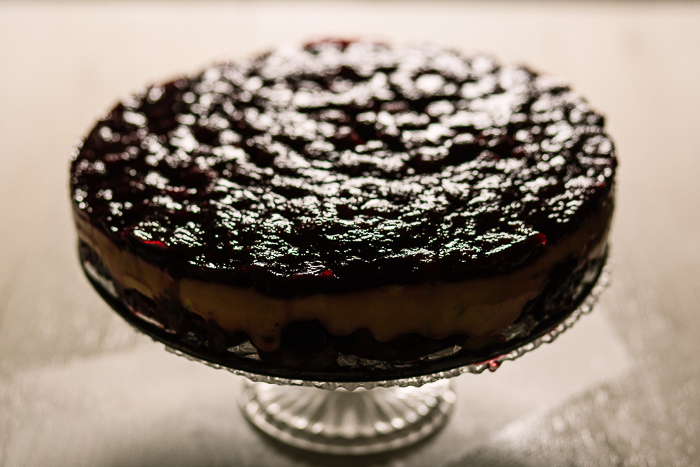
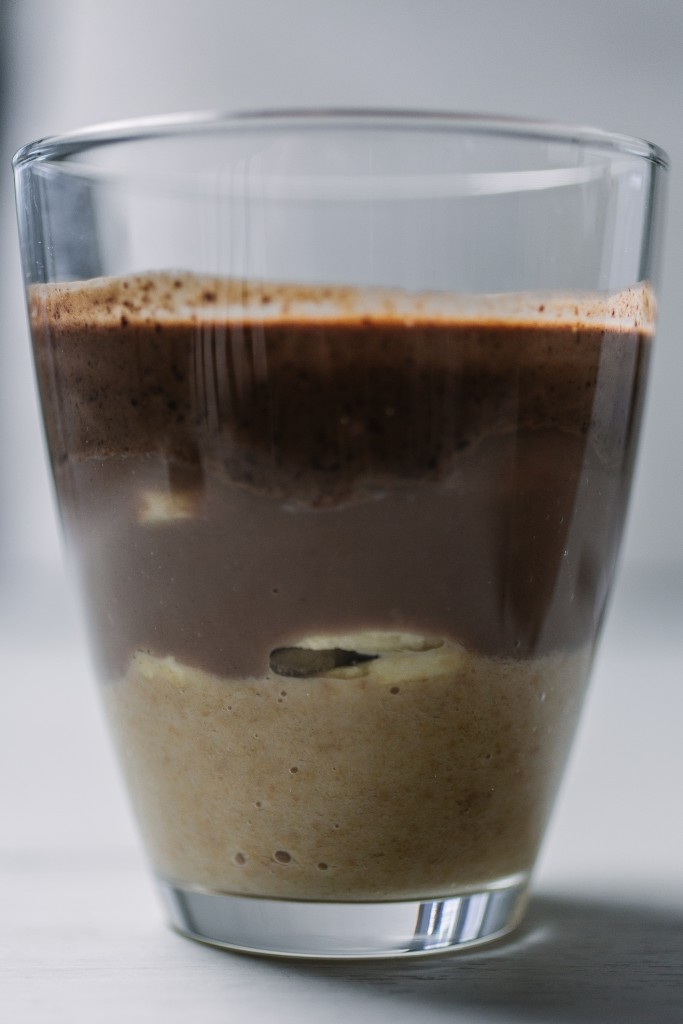
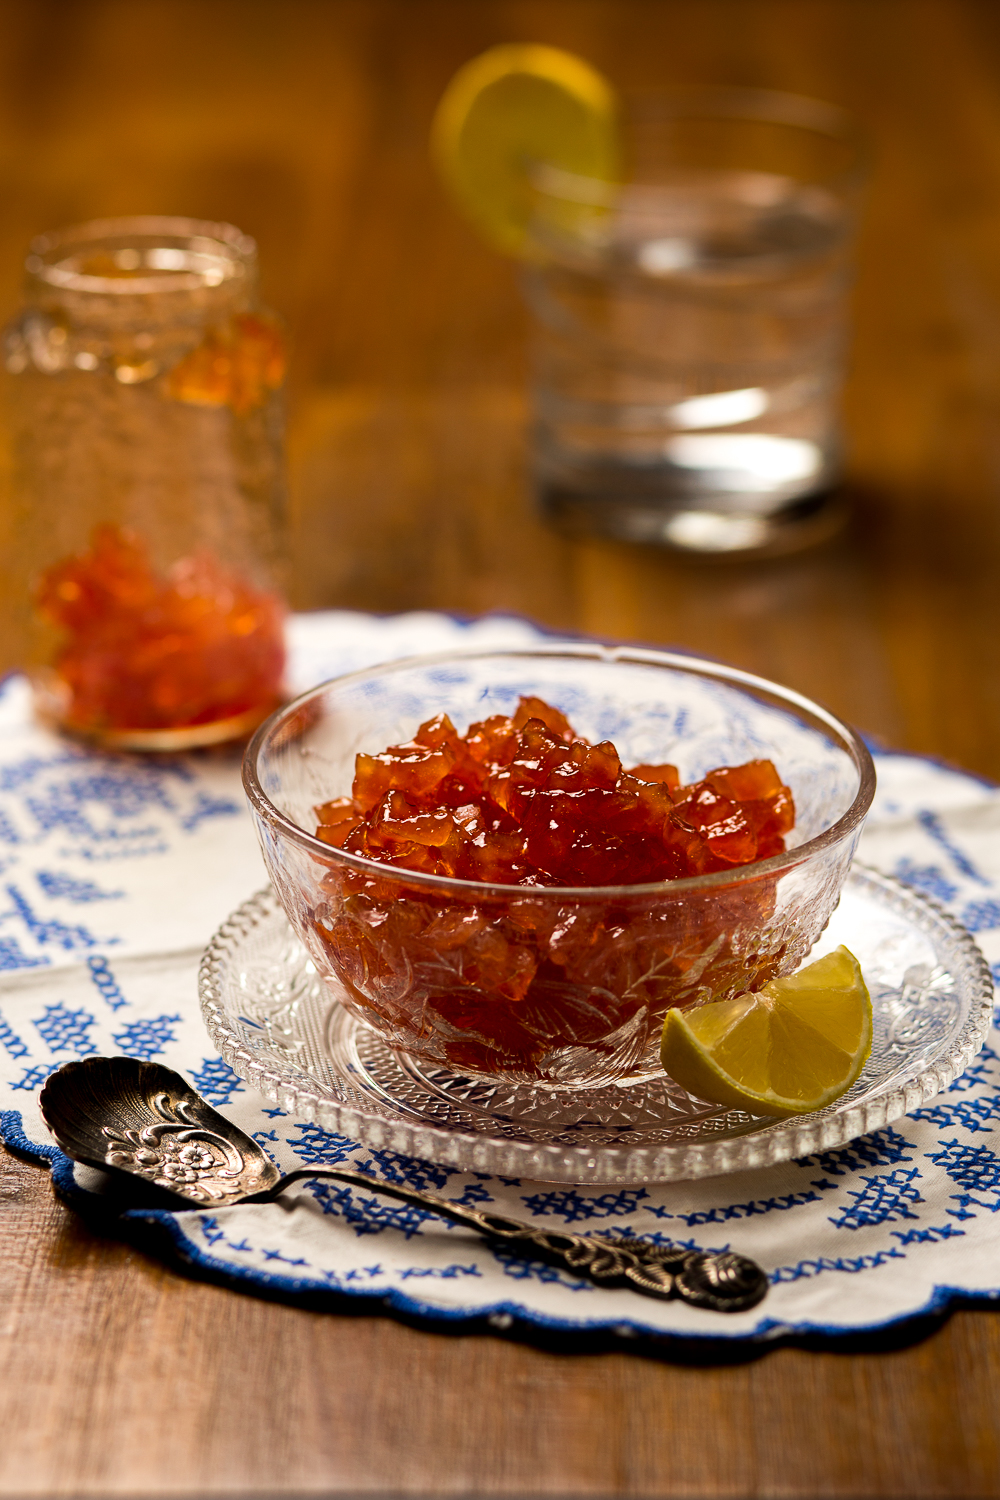
As they cook, quinces will change their color to dark orange (burgundy almost). Forty-ish minutes in, the aroma will intoxicate you.
If you want a thinner syrup consistency, use more water and grate quinces. This is a better method if you plan to conserve them.
Other Quince Recipes
There are a few other quince delicacies.
- There is, of course, the Turkish ayva tatlisi.
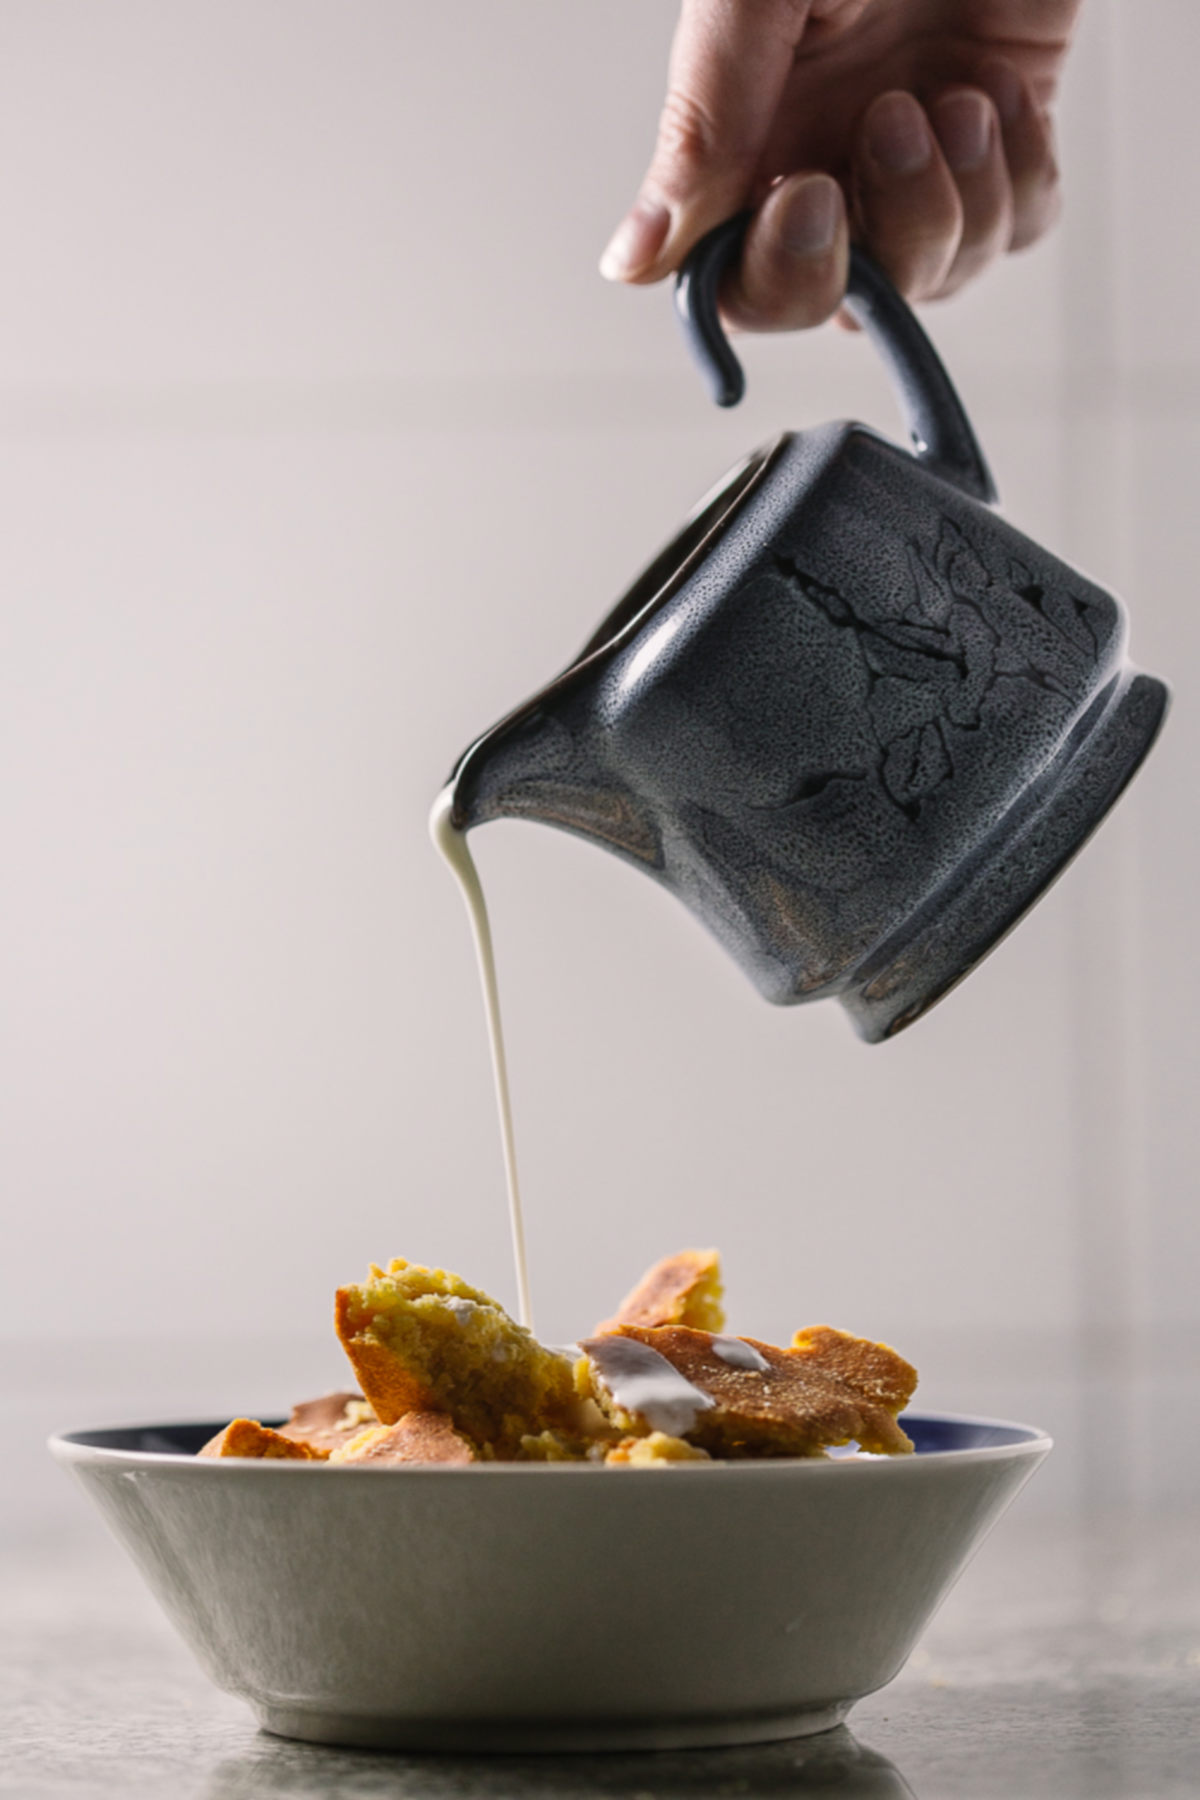
You make ayva tatlisi similarly to quince dessert by cooking quince halves in simple syrup, and then topping them with cream made from the milk of a water buffalo. - Italian frutta sciroppata (fruit syrup).
Delicious Italian version of our recipe, although in syrup thickness it seems to be somewhere between canned fruit and simple syrup. - A type of tufahije with quinces exists too.
Here quinces exchange the poached, walnut apples, but preparation usually calls for an additional oven bake, something that may or may not happen with regular stuffed apples.
A simple jam tart. - Chef and blogger extraordinaire David Lebovitz has created a perfect tart to use the quince jam with. And if you ever wondered how to make the perfect tart crust, this recipe is it.
- Baked quinces.
Some people prefer no fuss recipes, especially when a new food is introduced. If this is you, baked quince is right up your alley. - Quince juice? Oh yes!
For those of us who like to quench our thirst with unusual drinks (juniper berry juice anyone?), there is always the quince juice. - Maybe you’ve heard of kitnikez?
It's a quince jelly from Serbia's Vojvodina province. Kitnikez probably originates from Austria-Hungary as it’s a local pronunciation of German for quitttenkäse, or 'quince cheese. Elsewhere it goes under membrillo.
Poached Quince Dessert
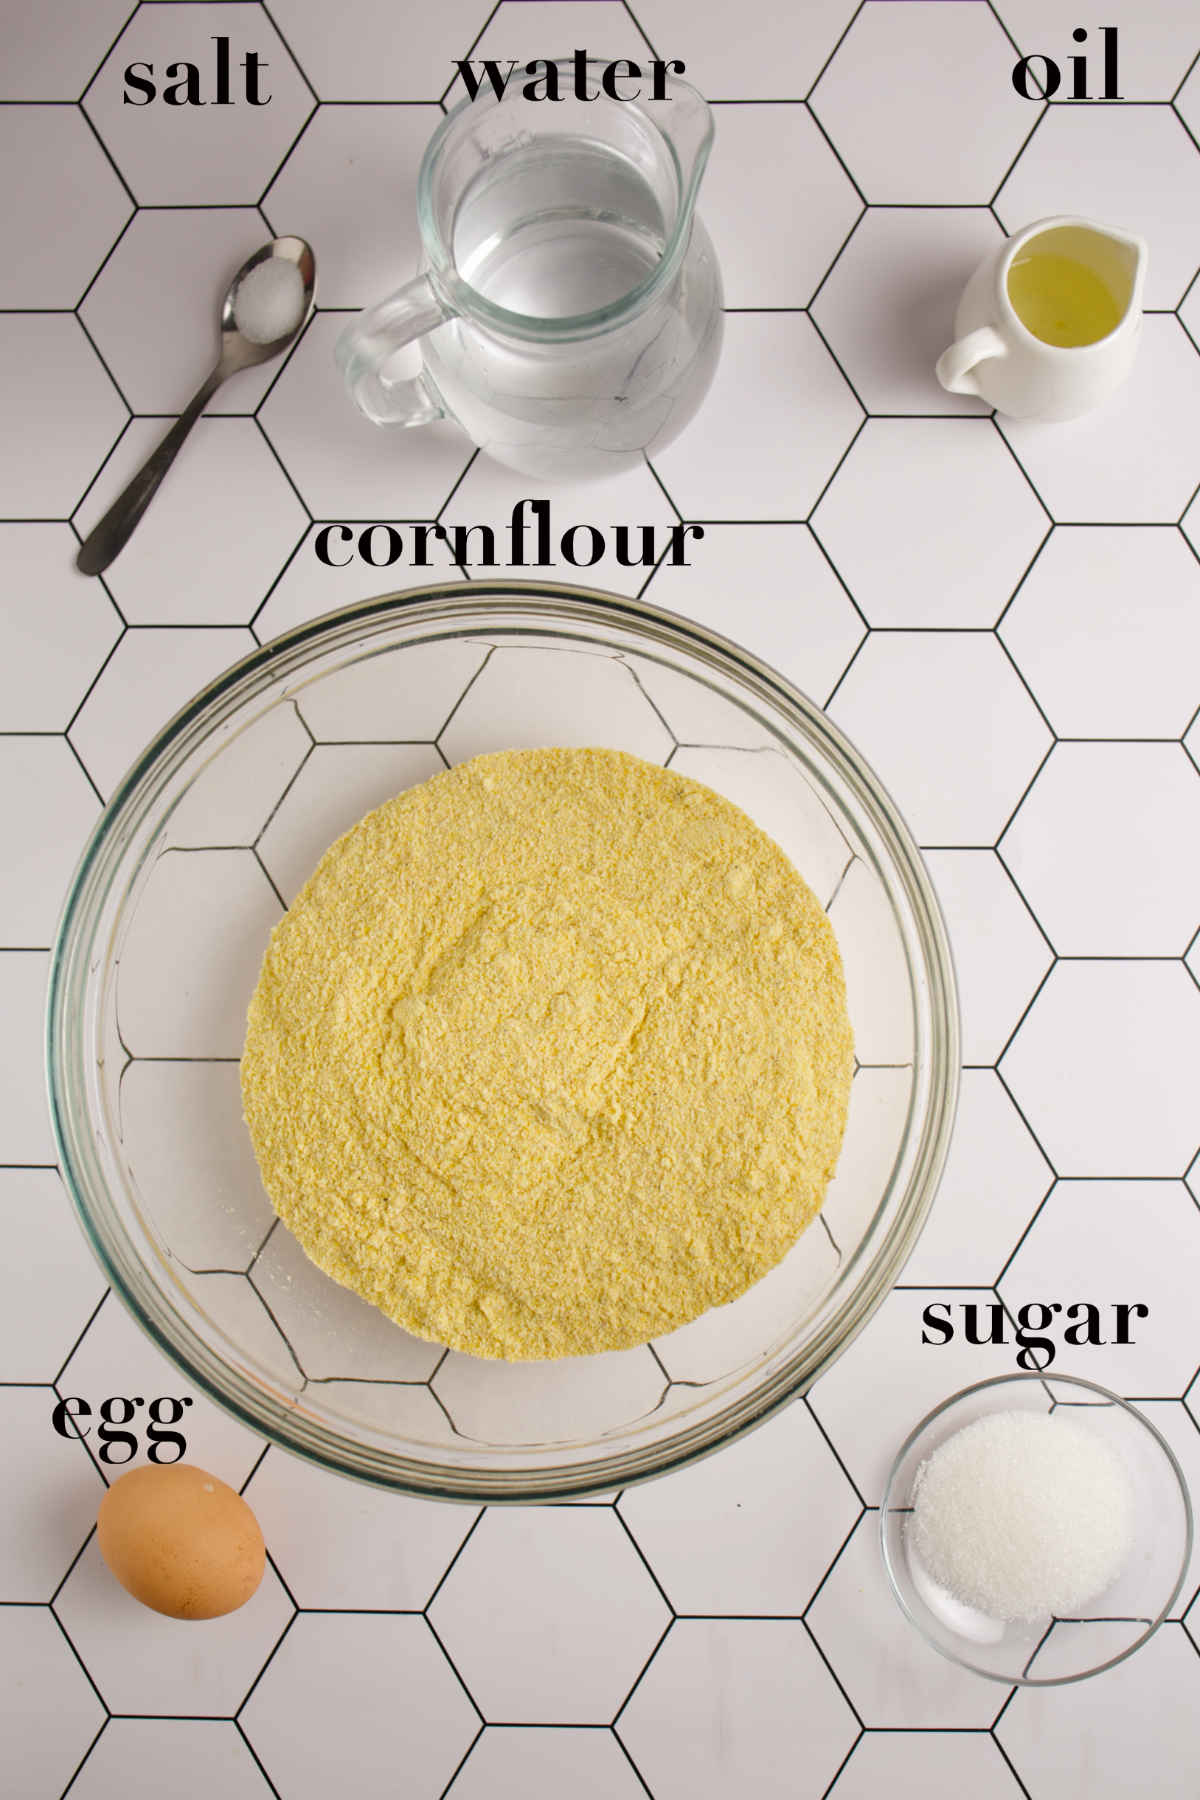
Ingredients
- 3 large quinces about 2 pounds
- 11 ounces water
- 18 ounces sugar
- 1 lemon juice only
- Optional 3-4 ounces chopped walnuts
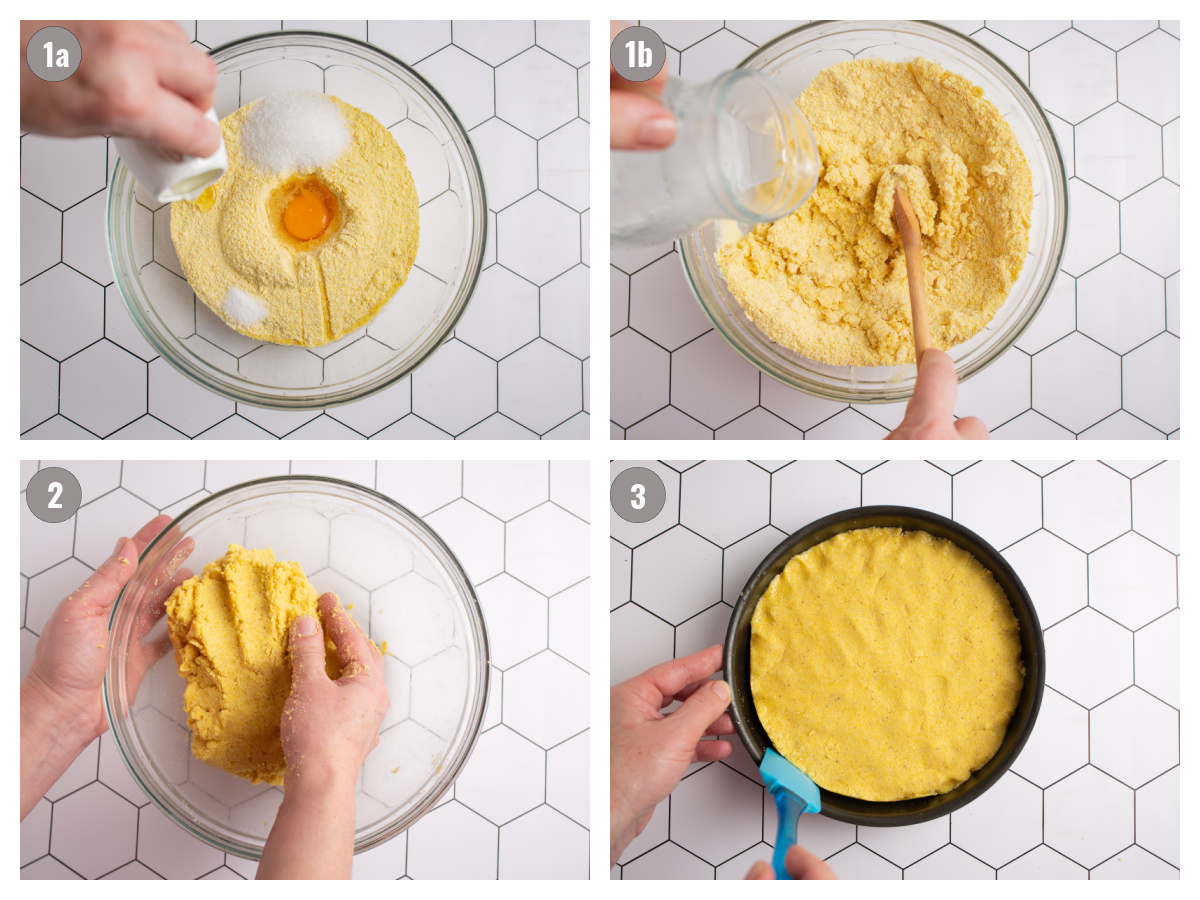
Instructions
- In a large pot combine sugar, water and lemon juice.
- One by one, peel and dice quinces. To prevent browning, add batches of diced quinces to the pot as soon as you dice them. Stir until integrated.
- Bring to a boil on high, then bring the temperature down to low. Simmer for 60-75 minutes.* Instead of stirring carefully shake the pot every now and then.
- As the foam starts to form on top of the quince syrup, remove as much as you can with a spoon.**
- About 20 minutes before quince dessert is done heat oven to 390°F (200°C). Wash jars thoroughly with detergent, rinse and dry them. (If using walnuts, this is also the time to put them in the syrup.)
- Place jars on a baking sheet and heat them for 15 minutes in the oven. (This will sterilize them.)
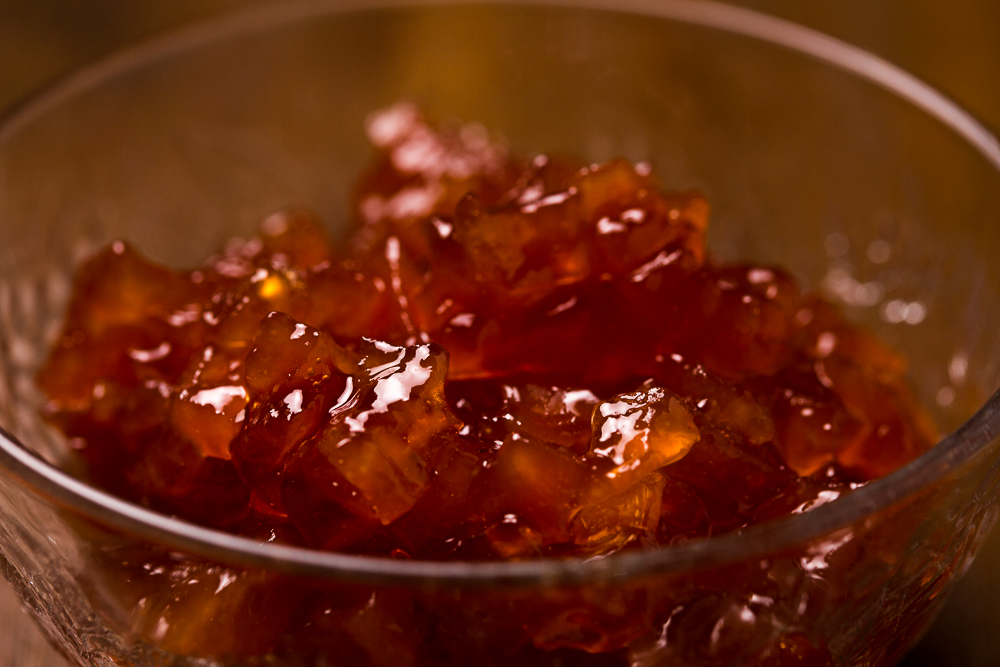
- To check quince syrup for done-ness draw a line on the bottom of the pot with a spatula. Dessert is finished when the syrup is separating nicely (it'll be the consistency of honey, or lighter).
- Carefully transfer the quince dessert into sterilized jars. Close jars and flip them until the jars and dessert cool down.
- Serve with coffee, water or tea.